Welcome to this month’s Creativity Abounds Blog Hop, where we are focussing on techniques, and I have decided to show you how to make an ink blended background using the soon to be released Country Birdhouses bundle from Stampin’ Up! It will be available from the 1st May!!
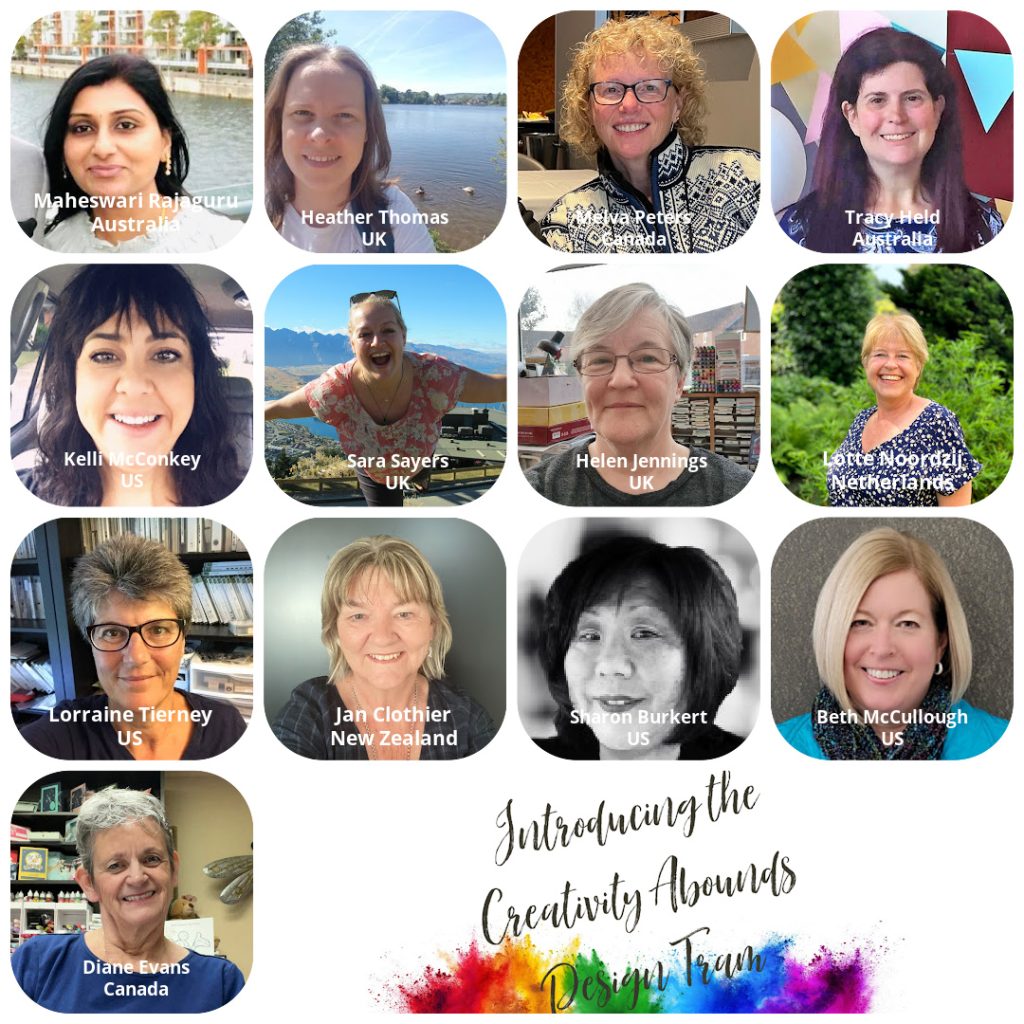
The Creativity Abounds Blog Hop group consists of Stampin’ Up! Demonstrators from all over the world, and we just love sharing our joy of creativity with you.
We create monthly tutorial bundles as well as blog hops, and you can grab this month’s by clicking on the button below if you fancy learning more about these awesome techniques. You even get video tutorials this month!!
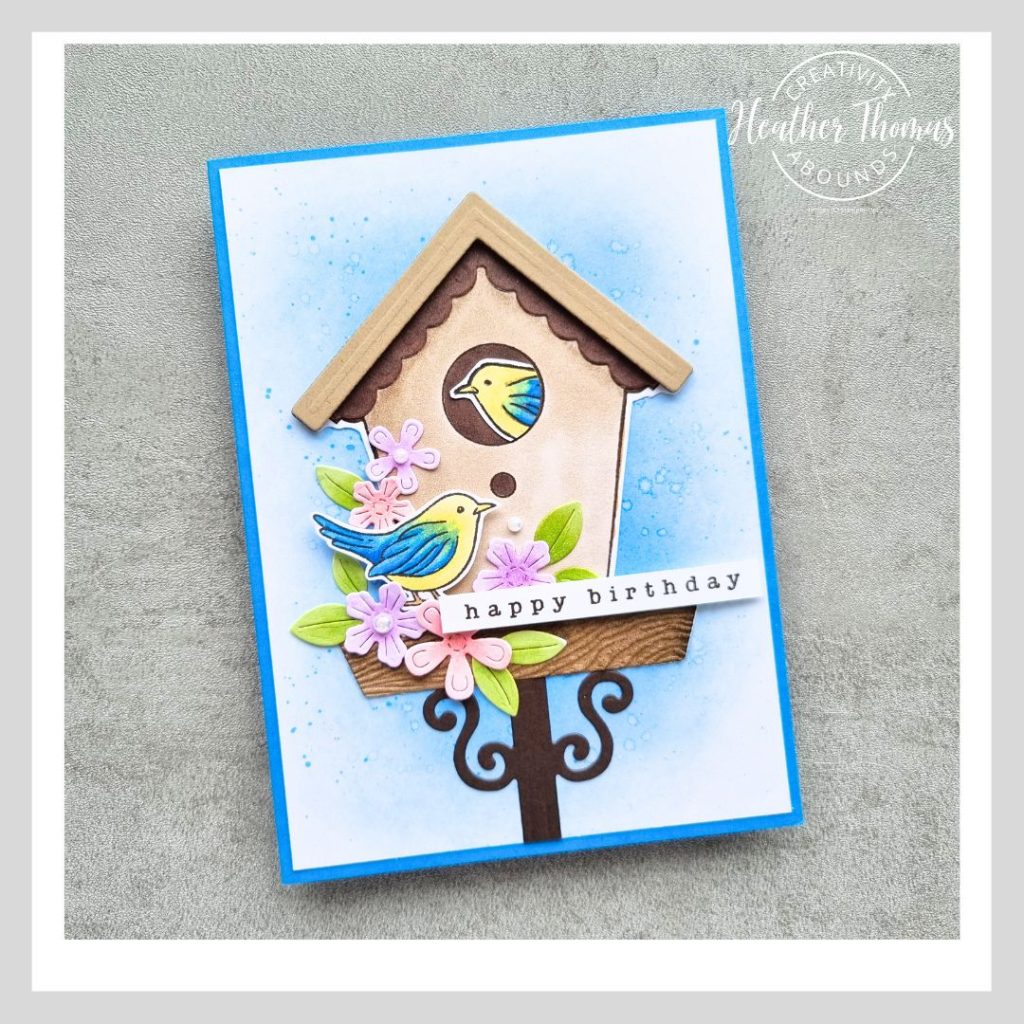
I thought the bird house would look great against an ink blended background because it would look like the summer sky behind it, and the colour Azure Afternoon was just the perfect colour for this. That’s also the colour I used for the card base too, to compliment.
My biggest tip when creating ink blended backgrounds is to go slowly and build up layers of the ink, using the Stampin’ Up! blending brushes, and as I say to my class ladies, you can always add more but you can’t take it away!
Start in the middle of the piece of Basic White card and gently sponge the ink on until you are happy with how it looks (the video tutorial in the tutorial bundle will show more precisely how I do this) and then use a paintbrush to gently splatter some fine water onto it. This will react with the ink and create detail and interest.
Then to finish the background off, add some splatters of Azure Afternoon either with the Stampin’ Blends alcohol markers or the Stampin’ Write Marker.
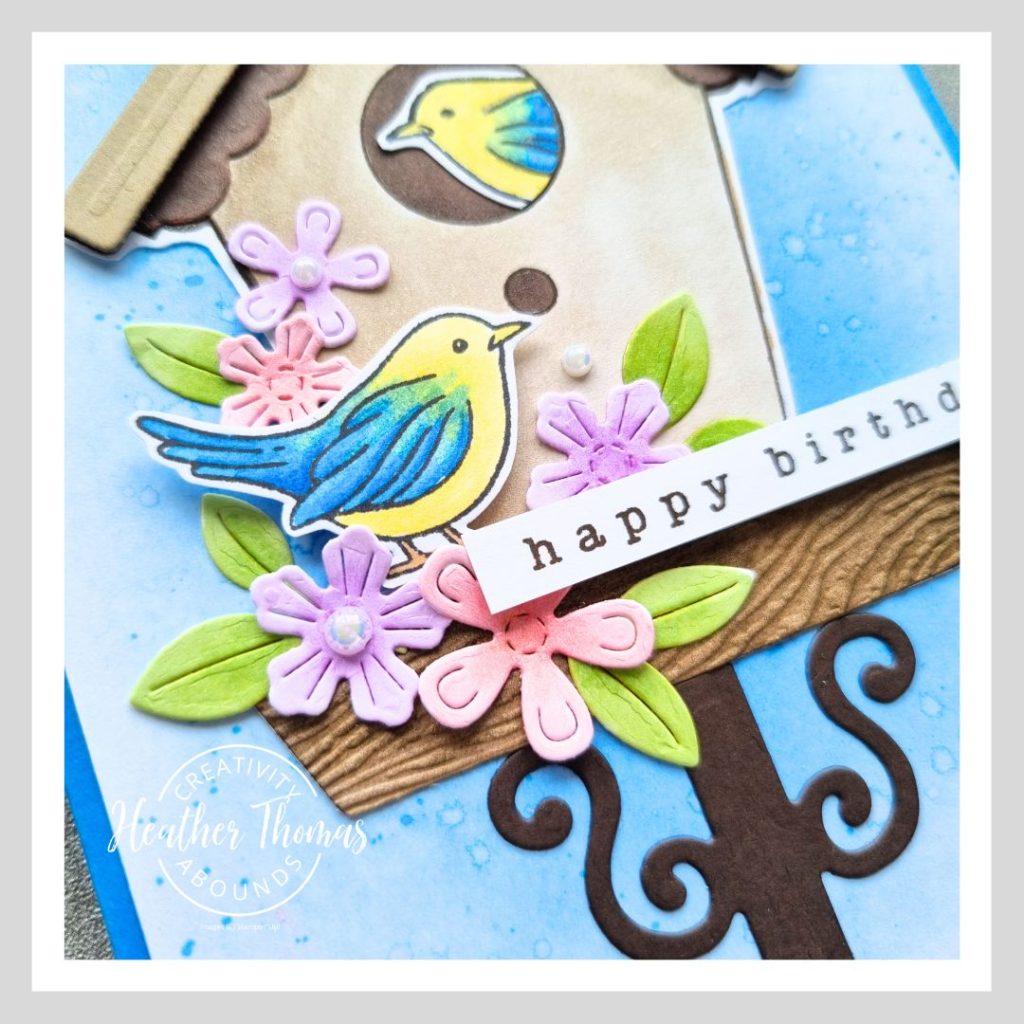
To create the birdhouse itself, I used a combination of colouring with my alcohol markers and layering with the beautiful co-ordinating die set. I love how the base turned out after I had sponged it with Early Espresso ink and embossed it with the Timber Embossing Folder.
The flowers and leaves are also from the die set and, once cut, were coloured in with my alcohol markers too – I love how they look so soft and gentle.
To get the bird just poking his head out, I stamped the bird and then used the birdhouse stamp to stamp over him, and then cut along the second stamped line, just leaving his head and chest. Then all I had to do was colour him in and stick him on!
I hope that you enjoyed this post today, and don’t forget to download the tutorial if you want more detailed information on how to use the techniques shown. Every technique also has a second card, so you will have so much inspiration!
Please do check out the rest of the hop too, I know everyone will have some amazing techniques for you!
Until next time, Happy Stamping xx
- Shop with me online – spend over £20 and receive 10% in Stampin’ Rewards – that’s 10% of your order price back to spend on a future order!
- Click Here to come and join our amazing team of Songbird Stampers, a whole new world of fun and friendship (and discounts!!) await you. Want more information? Why not check out all the FAQs over on the Join My Team page
- Why not follow me on Facebook, for live videos, projects and updates – The Songbird Stamper
- Or Subscribe to me on YouTube – The Songbird Stamper
Love your blended background.
Very pretty – I love an inky, splashed background! But what’s even lovelier is the colouring of your bird and flowers, along with the embossed and inked stand for the birdhouse.
Beautiful! Looks like Spring on a card!