I just love the new Cottage Rose stamp set from Stampin’ Up! and I wanted to make a very special type of project with it today – handmade wedding invitations. When you think weddings, you think special, don’t you, and so I knew this design needed to have the wow factor, but it also needed to be relatively quick to make because you could easily be making a few!
I hope you like this project as much as I do, and even if you aren’t making your own handmade wedding invitations this design could easily be turned into a special birthday, anniversary or thank you card too. (Like I have done here!!)

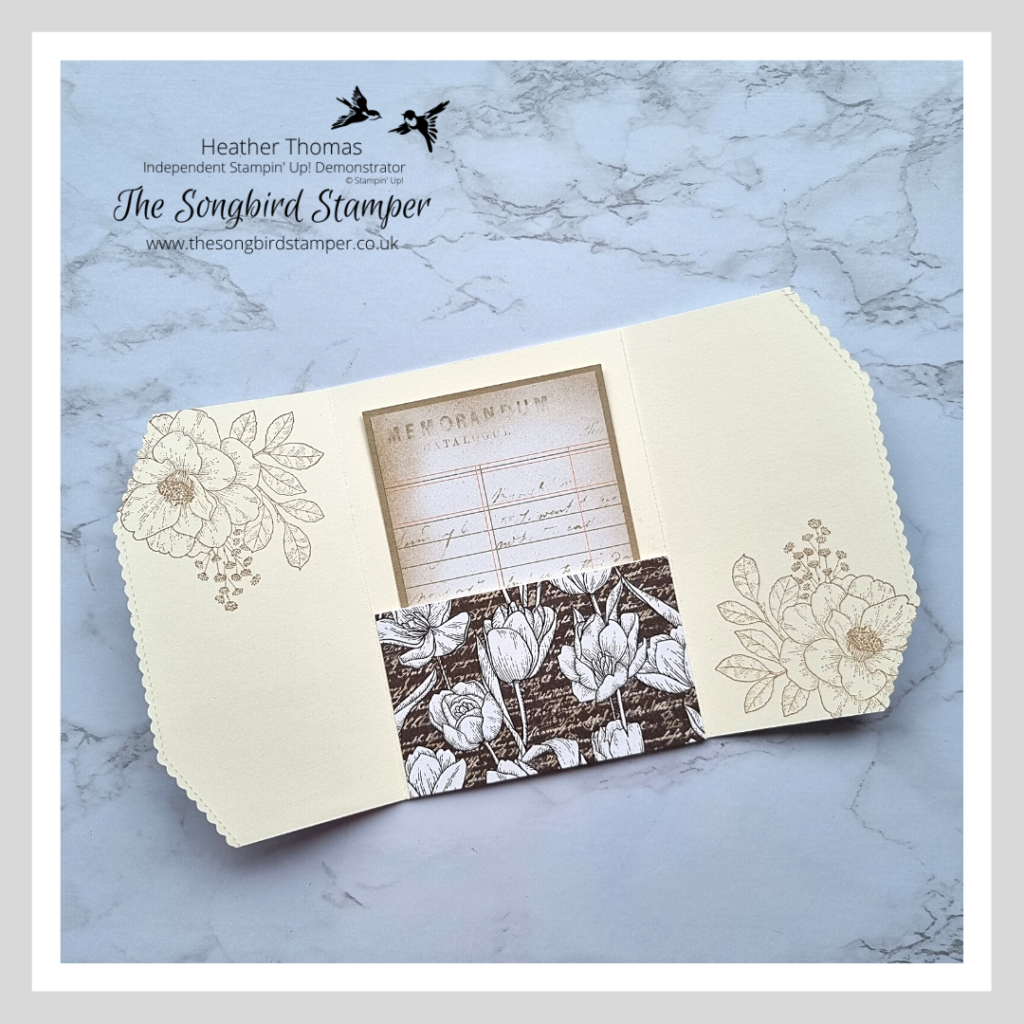
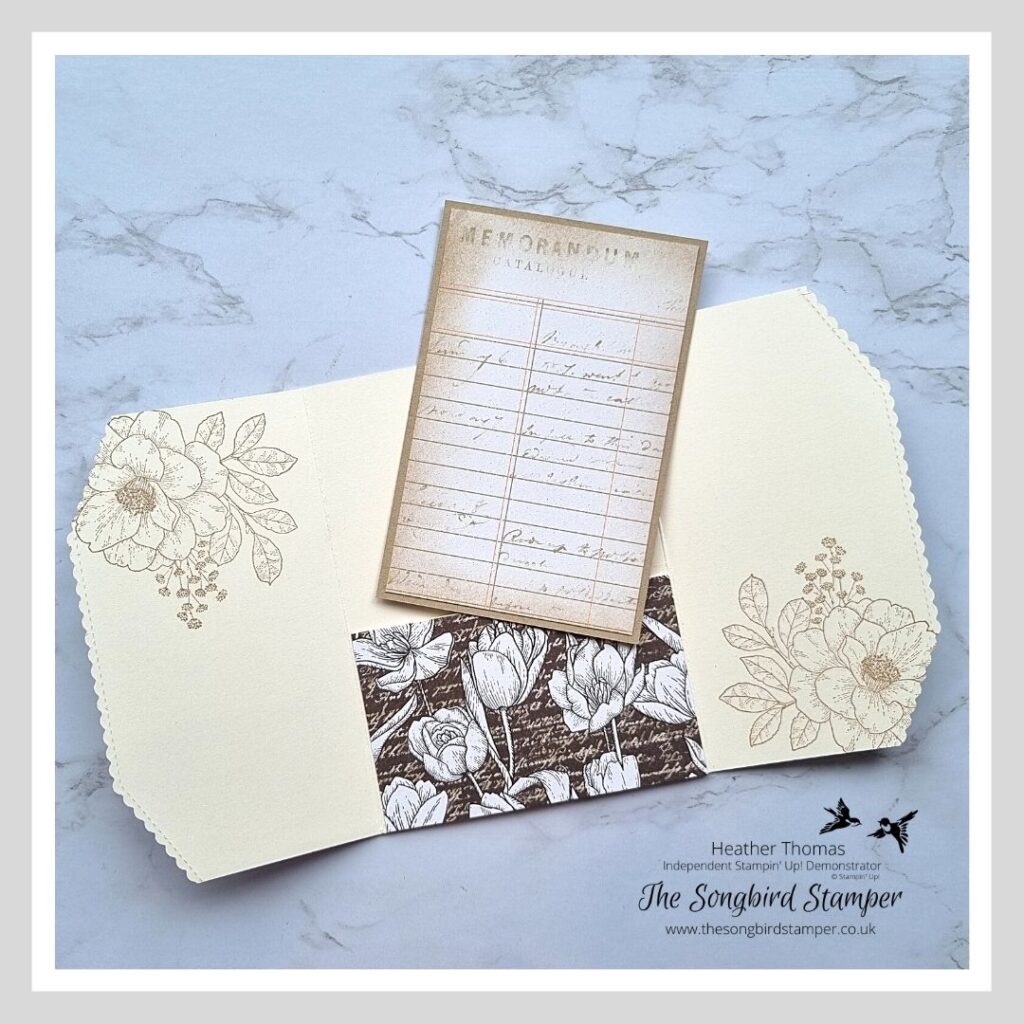
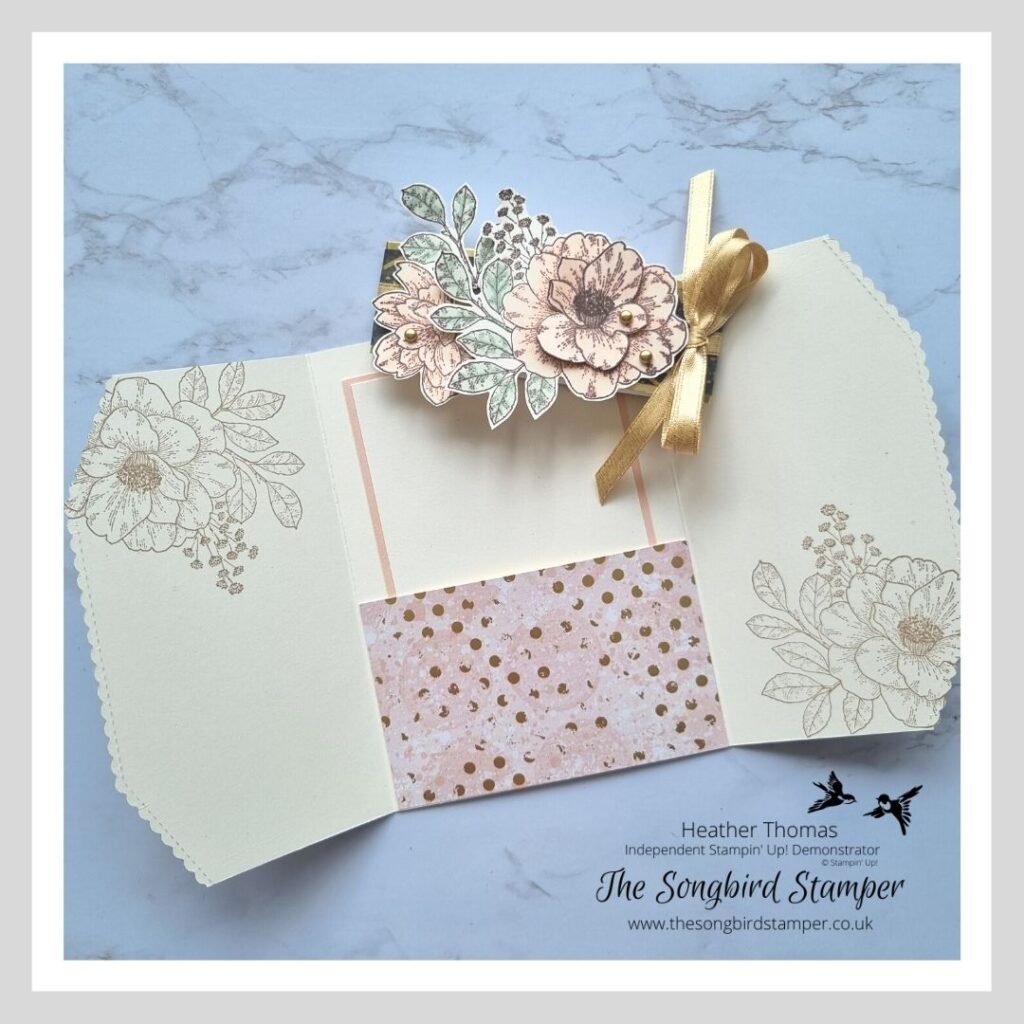
The papers I used for this first version are the Abigail Rose papers, which compliment the stamp set just beautifully. I have also used Very Vanilla cardstock – something I don’t often do, but I just wanted a slightly softer, more vintage feel to this project.
There is a video below showing how to make this card, just in a different style using different papers, but the measurements are here for you now – this really is quite a straightforward ‘fancy fold’.
- Very Vanilla Card for the base – 26.5cm x 14.5cm scored at 8cm and 18.5cm
- Very Vanilla for the pocket – 10.4cm x 6.5cm
- DSP for the pocket – 10.4cm x 6.5cm
- Insert Coloured Mat – 13cm x 8.5cm
- DSP or Very Vanilla Layer – 12.5cm x 8cm
- Belly Band Cardstock – 27.5cm x 3.5cm
- Belly Band DSP – 27.5cm x 3cm
The ink colours I have used (for both styles) are Crumb Cake (for stamping inside) and Early Espresso (for stamping the images to colour). I then coloured in the images using my Stampin’ Blends in
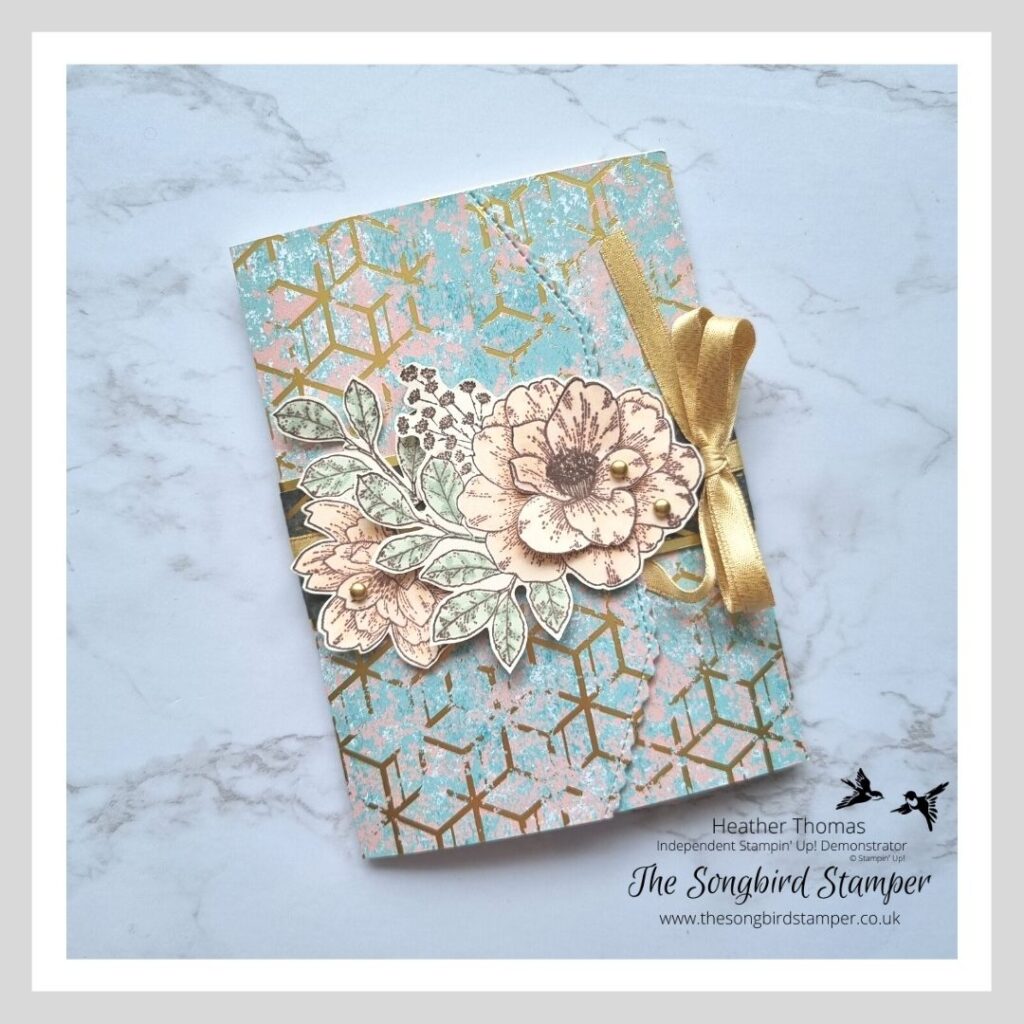
Here are some pictures of the alternative colour way, using the Texture Chic papers from Stampin’ Up! I think either of these would work well for handmade wedding invitations, but obviously it depends on the colour scheme you are making for, so just change up the colours and papers to suit.
I hope that you enjoyed this tutorial and the video – sorry about the missing bit – I honestly have no idea what happened! If you have any questions, please do get in touch, or if you would like to purchase any of the supplies that I have used in this project today please visit my ONLINE STORE. Alternatively, click on the photo links below to purchase individual items.
Until next time – Happy Stamping!!
Heather xx
Product List")


 Designer Series Paper")
 Specialty Designer Series Paper")

 Shimmer Ribbon")


- Shop with me online – spend over £20 and receive 10% in Stampin’ Rewards – that’s 10% of your order price back to spend on a future order!
- Click Here to come and join our amazing team of Songbird Stampers, a whole new world of fun and friendship (and discounts!!) await you. Want more information? Why not check out all the FAQs over on the Join My Team page
- Why not follow me on Facebook, for live videos, projects and updates – The Songbird Stamper
- Or Subscribe to me on YouTube – The Songbird Stamper