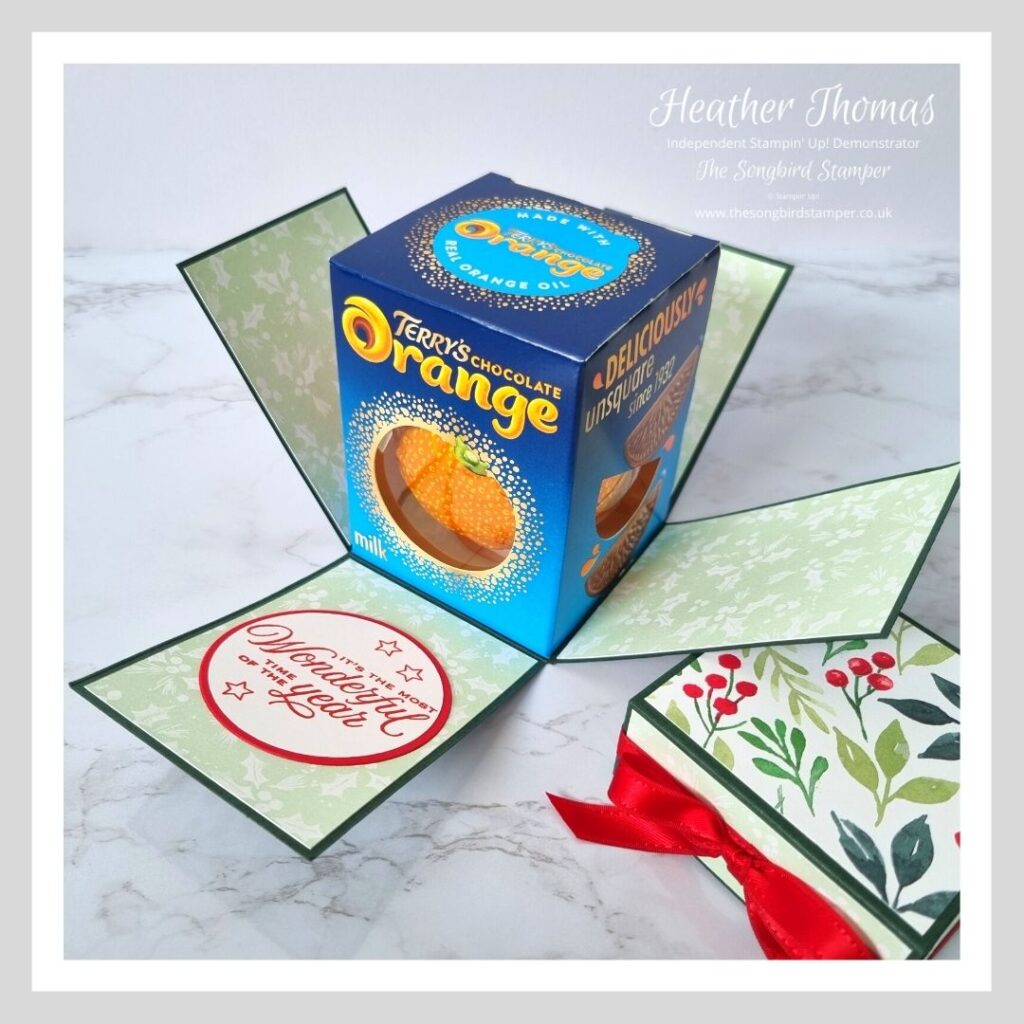
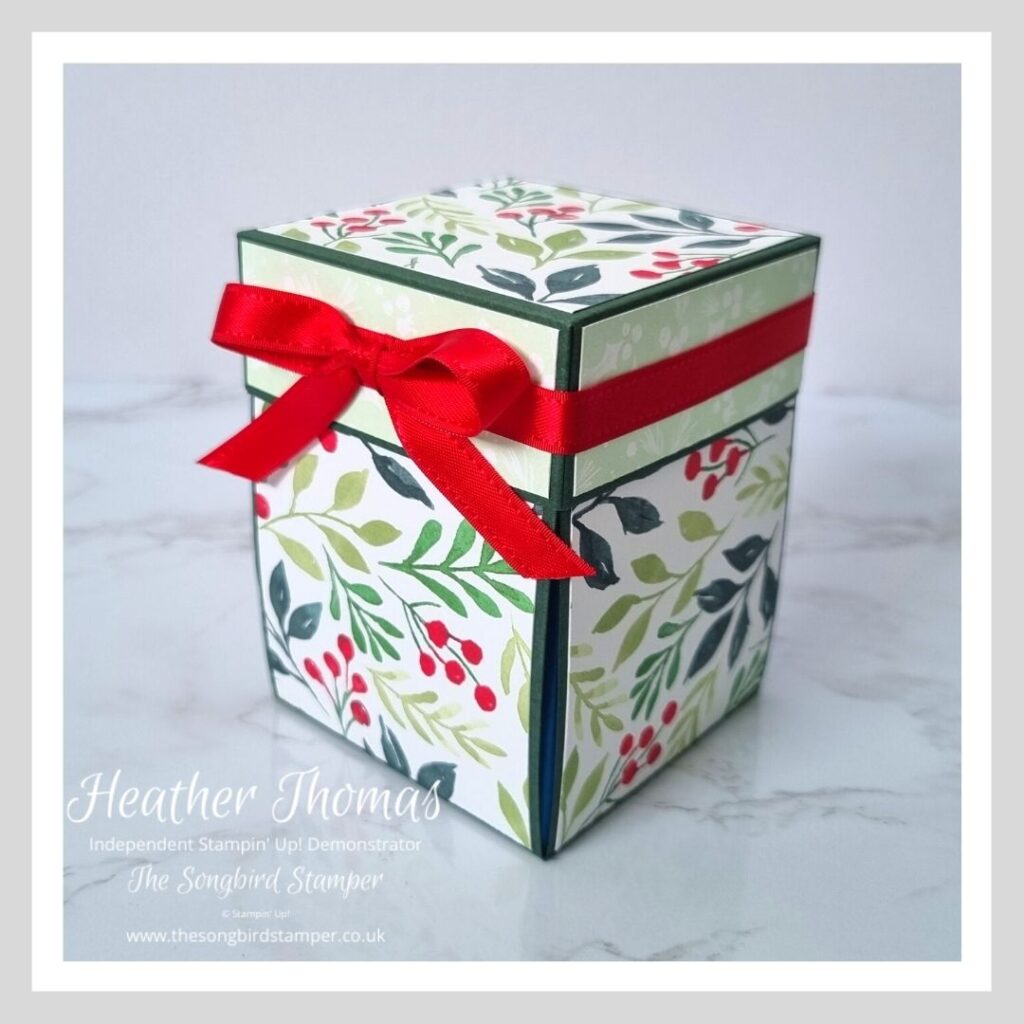
Ooooh, I love an exploding box, and even better is an exploding chocolate gift box! This project is super quick and easy to make and will surprise and delight the recipient for sure. An unassuming box, when you lift the lid the sides fall away and you are left with a scrumptious Terry’s Chocolate Orange!

All you need to make this gorgeous project is a sheet of 12″ x 12″ cardstock cut down to 26.1cm x 26.1cm and a piece of the same colour measuring 13.1cm x 13.1cm. Oh, and some designer series paper, but I am sure that we all have some patterned paper lying around!
Score your large piece of card at 9.5cm on all four sides and then cut away all four of the corners, so you are just left with the very central square and four ‘flaps’ coming off from it. Next, score your smaller piece of cardstock at just under 3cm on all four sides (simply line it up at the 3cm mark and then pull it backwards a fraction, the width of a sheet of card, so about a mm). Cut the corners to make tabs and then make this into a box lid using some strong adhesive.
Now, make sure your box lid fits on your box with the chocolate orange inside!

To decorate the box, cut 8 pieces (4 each of 2 designs) of paper to 9.1cm x 6.7cm and stick these on the large flaps, both inside and outside of the box. To decorate the lid cut 1 piece of paper to 6.8cm x 6.8cm and 4 pieces to 6.9cm x 2.6cm. Stick all of these pieces on and then decorate how you would like to!
I have put some ribbon around the top, and a bow, and on the inside I have stamped a simple greeting and used the layering circle dies to create a mini focal point, but you could leave yours blank or go mad with the decoration, the choice really is yours.
To see how I made this exploding chocolate gift box, and how I decorated a White Chocolate Orange box, why not check out the quick YouTube tutorial!

Thank you so much for stopping by today, I hope that you get chance to make a few of these at some point, and I hope that you have fun doing so. Until next time, happy stamping!
Heather xx