Hello and welcome to the fourth post in my Christmas Gift/Craft Fair ideas project, where today I am going to show you how to make an easy handmade stocking filler. I have used the amazing square acetate card boxes for this project as it keeps it super simple, and you can decorate it in so many different ways!
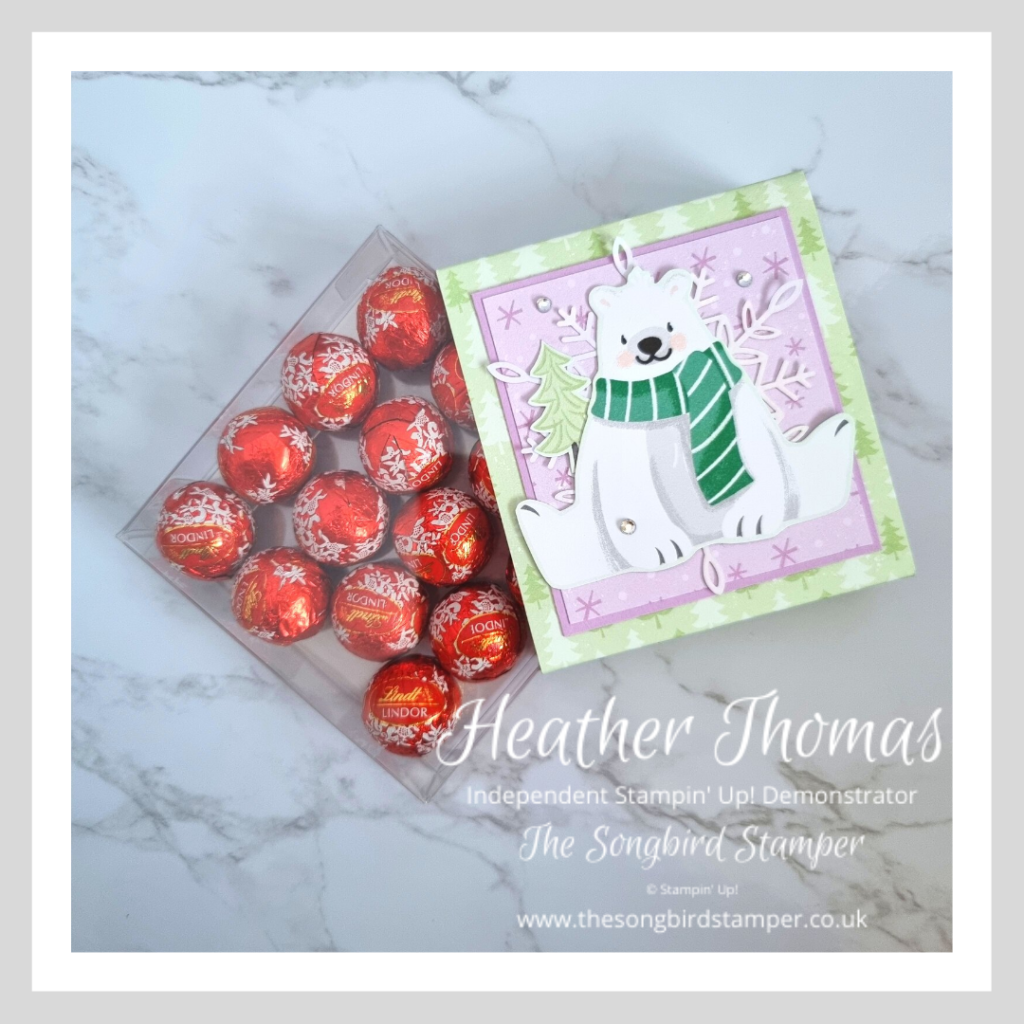
As you can see I have filled my handmade stocking filler with mini Lindt chocolate balls, a whole pack (minus two for obligatory testing!) fits in here and it is just a really nice way to dress up a yummy treat. I have used the Penguin Place Designer Series Paper that was a Sale-A-Bration giveaway a few months ago, the colours and the animals are just so gorgeous!
To make the wrap for your box, simply cut a piece of paper to 7.3cm x 25cm and then gently use your fingers to wrap it around the box and crease it as you go. I haven’t worked out the exact measurements, but it is easy enough to bend the paper into shape. Then simply glue the end of the paper and stick it in place.
You can watch the video to see how I did this in a bit more detail…
To decorate the front, cut a piece of cardstock to 6.8 x 6.2cm and a piece of patterned paper to 6.4cm x 5.8cm. Layer them together and then stick them onto the front of your box. The polar bear and the tree are fussy cut from the Designer Series Paper and layered over one of the gorgeous Wonderful Snowflakes, and I have put three basic rhinestones on the front for a little bit of sparkle.
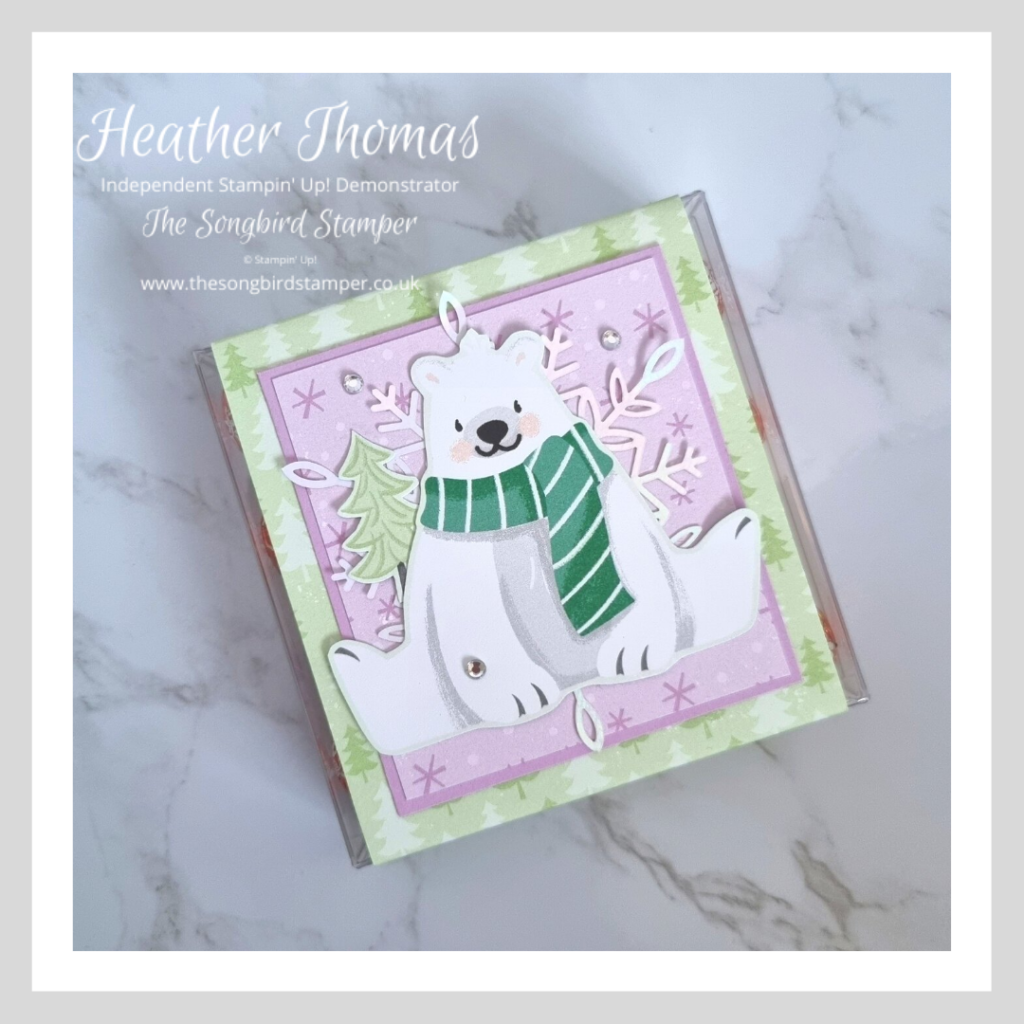
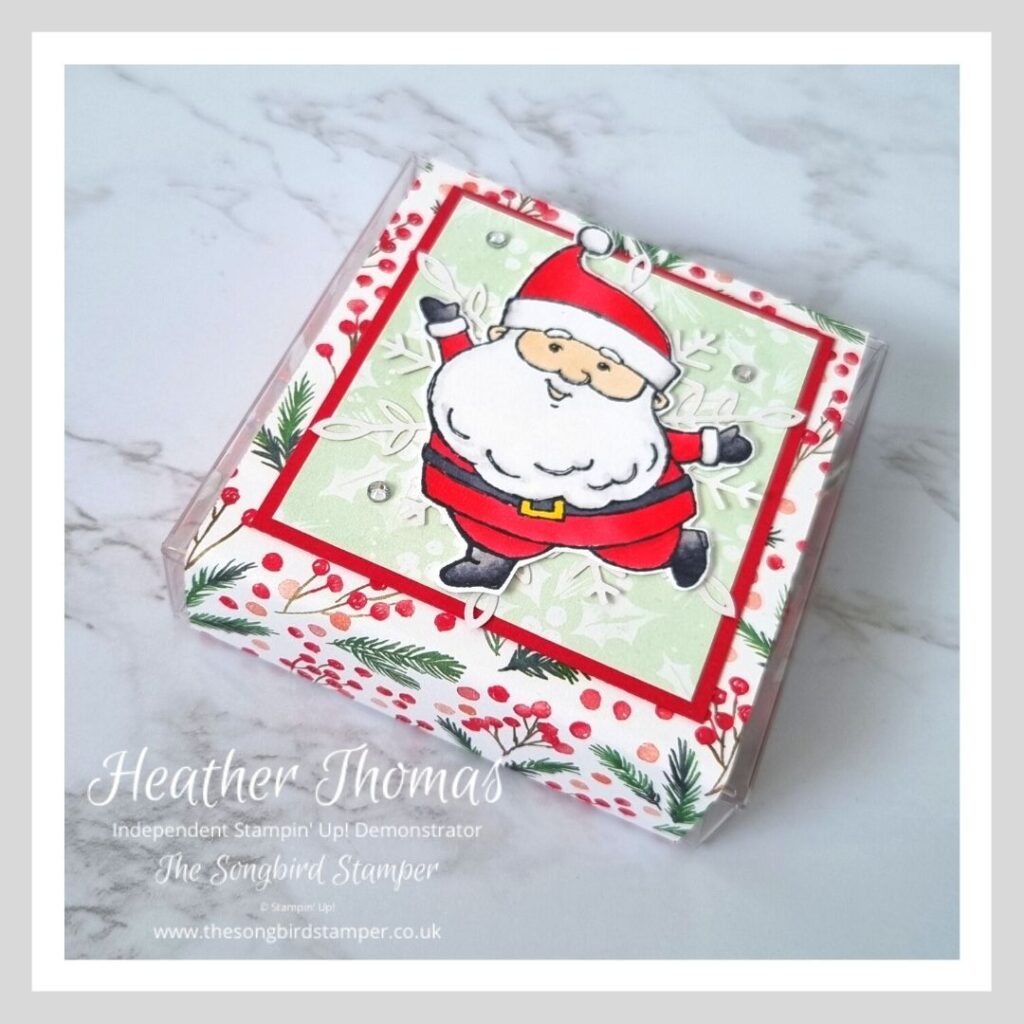
I also made another of these, decorated in a similar way but using different papers and stamps… I wonder which you prefer? I must say my favourite has to be the polar bear!
I hope that you enjoyed my tutorial for how to make a handmade stocking filler, and I hope that you might have a go at these yourself. The acetate card boxes really do make this such a fun and easy project!
Until next time, Happy Stamping xx
- Shop with me online – spend over £20 and receive 10% in Stampin’ Rewards – that’s 10% of your order price back to spend on a future order!
- Click Here to come and join our amazing team of Songbird Stampers, a whole new world of fun and friendship (and discounts!!) await you. Want more information? Why not check out all the FAQs over on the Join My Team page
- Why not follow me on Facebook, for live videos, projects and updates – The Songbird Stamper
- Or Subscribe to me on YouTube – The Songbird Stamper