This quick and easy notecard set is one of several projects that have been lying around my craft room waiting for me to finish. I had a tidy up of my shelving this week when I cam across it again and thought ‘today is the day!’
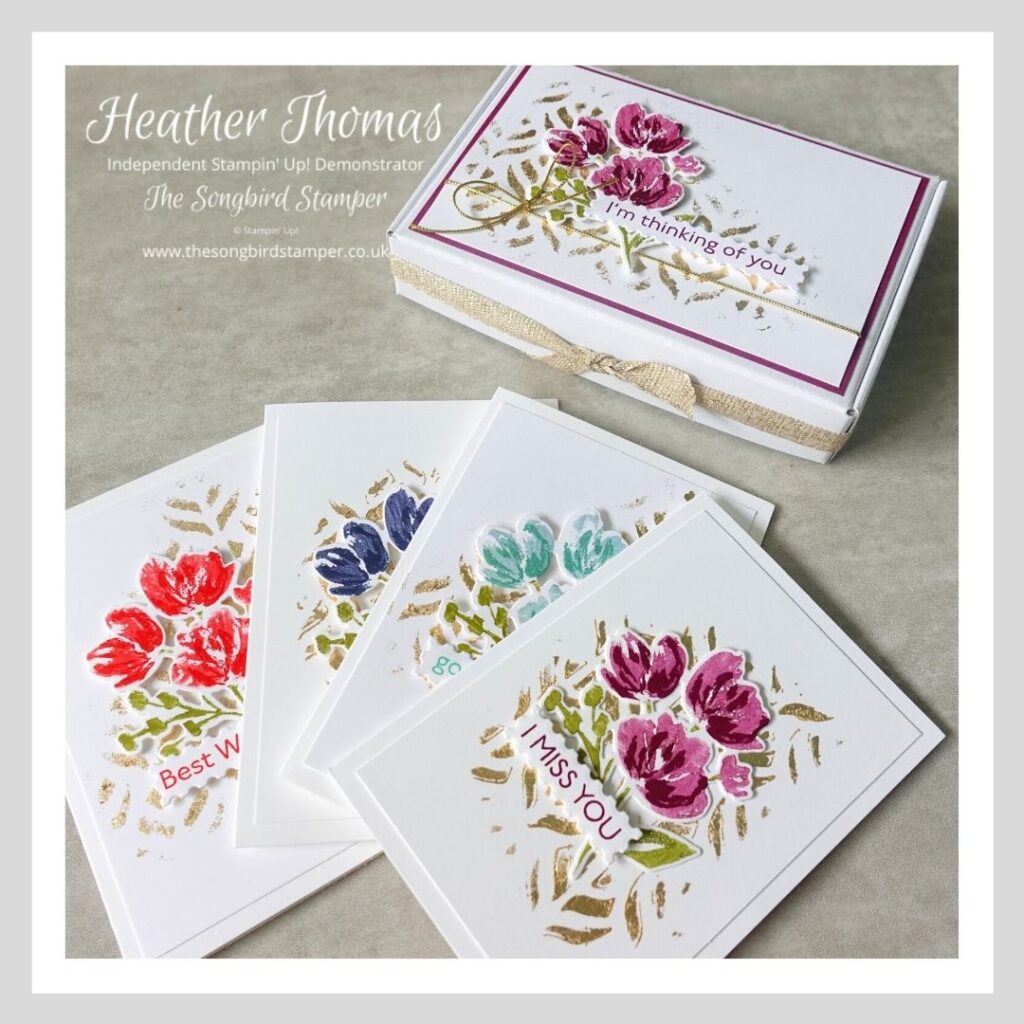
The box that holds the cards is one of the Mini Paper Pumpkin boxes, so versatile and they make crafting a breeze, as all we need to do is decorate them. And they are very sturdy too, so make a perfect gift. The cards are also quick and easy, as these are the Notecards and Envelopes, you get 20 in a pack for just £6.50!
I used the Art Gallery Bundle to decorate the box and all of the four cards, made in four beautiful colours, Poppy Parade, Misty Moonlight, Coastal Cabana and Rich Razzleberry. The background is actually our Gilded Leafing, but the glimmer hasn’t shown up too well on the photos here, you will have to trust me, it looks STUNNING!
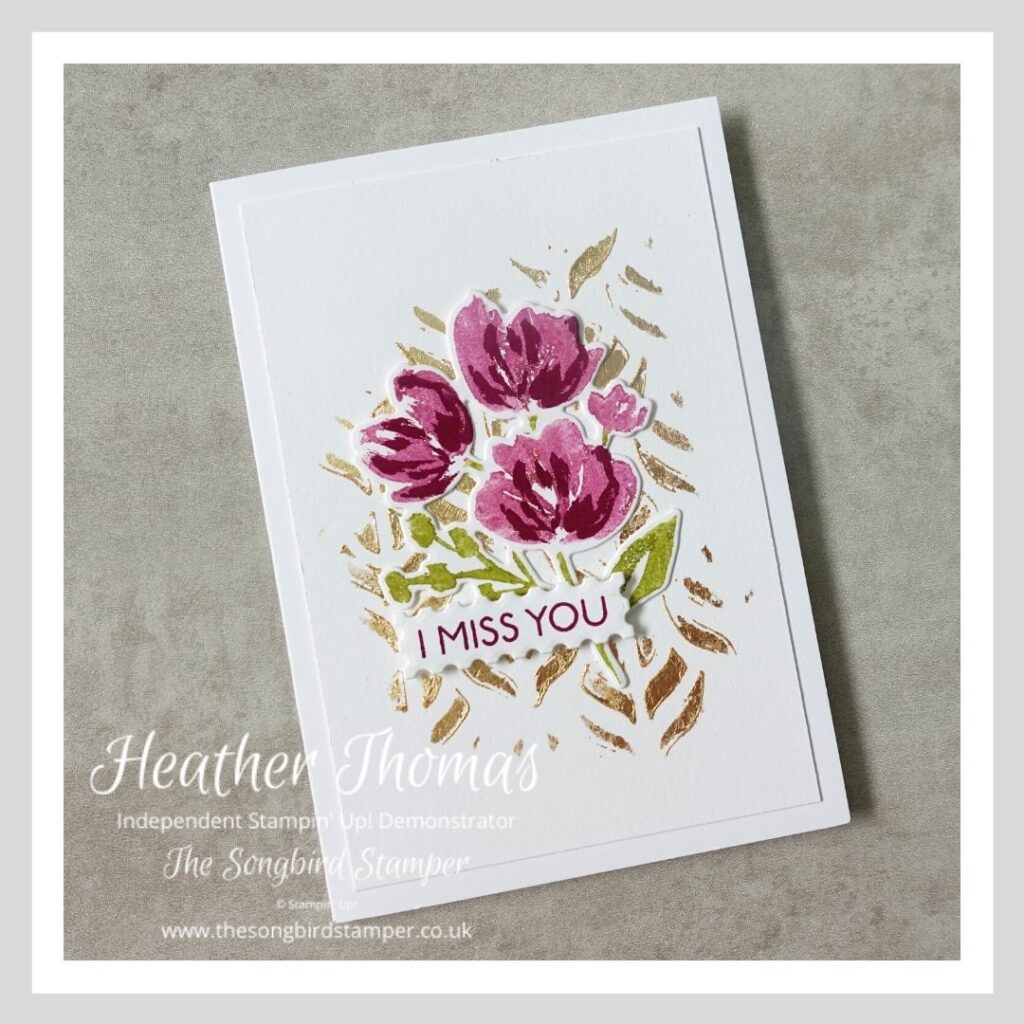
I used the Basic Patterns Decorative Masks to sponge some Multi-purpose liquid glue onto a Whisper White panel measuring 8cm x 11.8cm. I then popped the panel into my tub of Gilded Leafing before gently sponging off the excess (WITH A CLEAN SPONGE!!)
To get the stamp inked with both the Old Olive green and the Rich Razzleberry I used my Stampin’ Write Markers. I do love this technique as it allows you to get multicoloured images, and it always works so well! The small overlay stamp is then added for a little bit of detail.
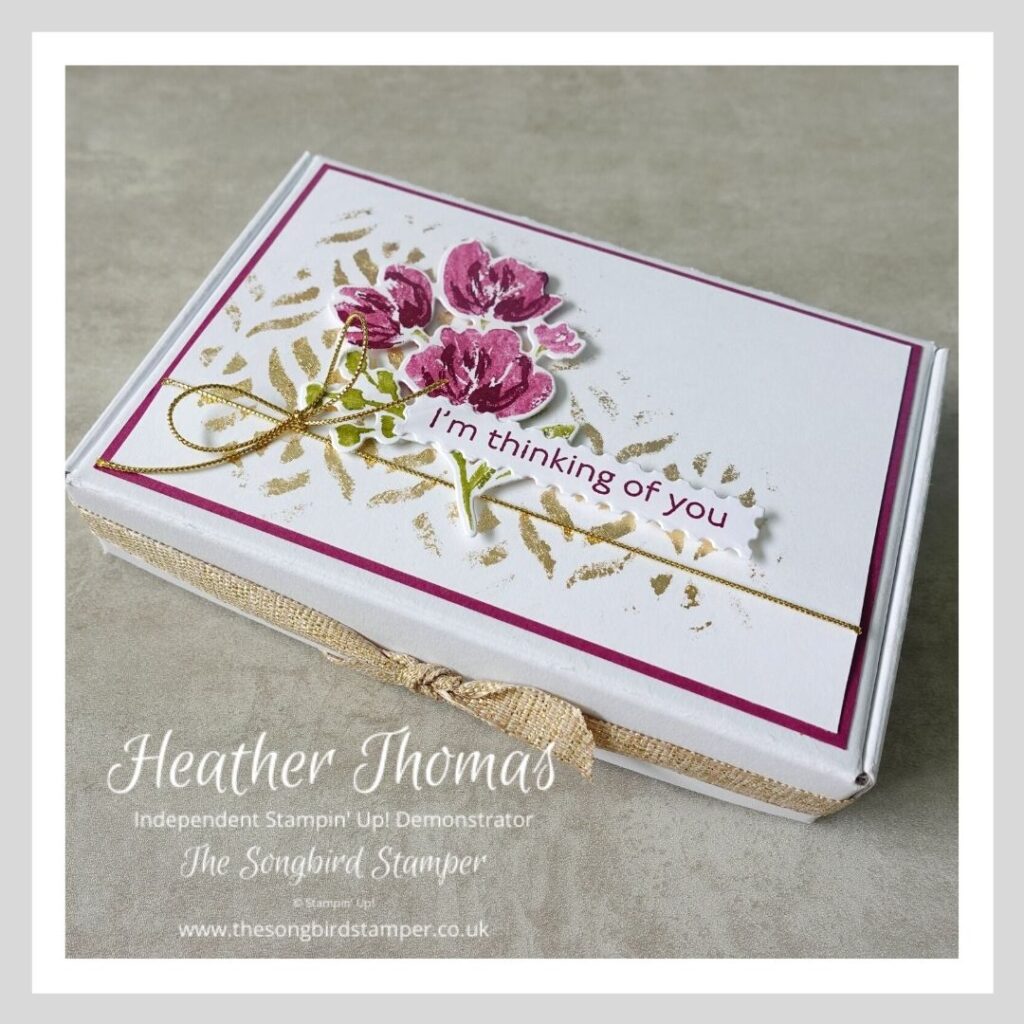
The box has been assembled (they come flat) and then decorated in pretty much the same way as the cards, though this time the Basic White layer is 8.5cm x 13.5cm and there is a mat of Rich Razzleberry card measuring 9cm x 14cm. I also added a little gold twine for a bit of bling.
The edges of the box were looking a bit bare, so I tied some of the Fine Art Ribbon around it and secured in a knot. This will need to be taken off to open the box, so isn’t all that practicle, but it looks really pretty!
If you would like to have a go at making a quick and easy notecard set for yourself, you can purchase any of the supplies that I have used through my online store, simply click the button below or check out the products individually below.
Thank you so much for stopping by today, until next time, Happy Stamping xx
Free PDF and Video Tutorial
Would you like a free PDF and video tutorial for this amazing birthday calendar? Simply sign up to my newsletter to get your copy today!


- Shop with me online – spend over £20 and receive 10% in Stampin’ Rewards – that’s 10% of your order price back to spend on a future order!
- Click Here to come and join our amazing team of Songbird Stampers, a whole new world of fun and friendship (and discounts!!) await you. Want more information? Why not check out all the FAQs over on the Join My Team page
- Why not follow me on Facebook, for live videos, projects and updates – The Songbird Stamper
- Or Subscribe to me on YouTube – The Songbird Stamper


 Fine Art Ribbon")


Lovely project Heather xx