I don’t know about you but I love making pretty cards with flowers and gems and bows, so how to make cards for men has always been a little bit of a conundrum to me, but over the last few years I have learn that colour, quality and simplicity are the three pillars for really good cards for men.
The Stamptastic friends are a lovely bunch of Stampin’ Up! Demonstrators who want to share their passion for all things crafty with you, and we are here today with a theme of ‘Masculine Makes’, so hopefully you will find plenty of inspiration for creating handmade cards/gifts for the men in your life.
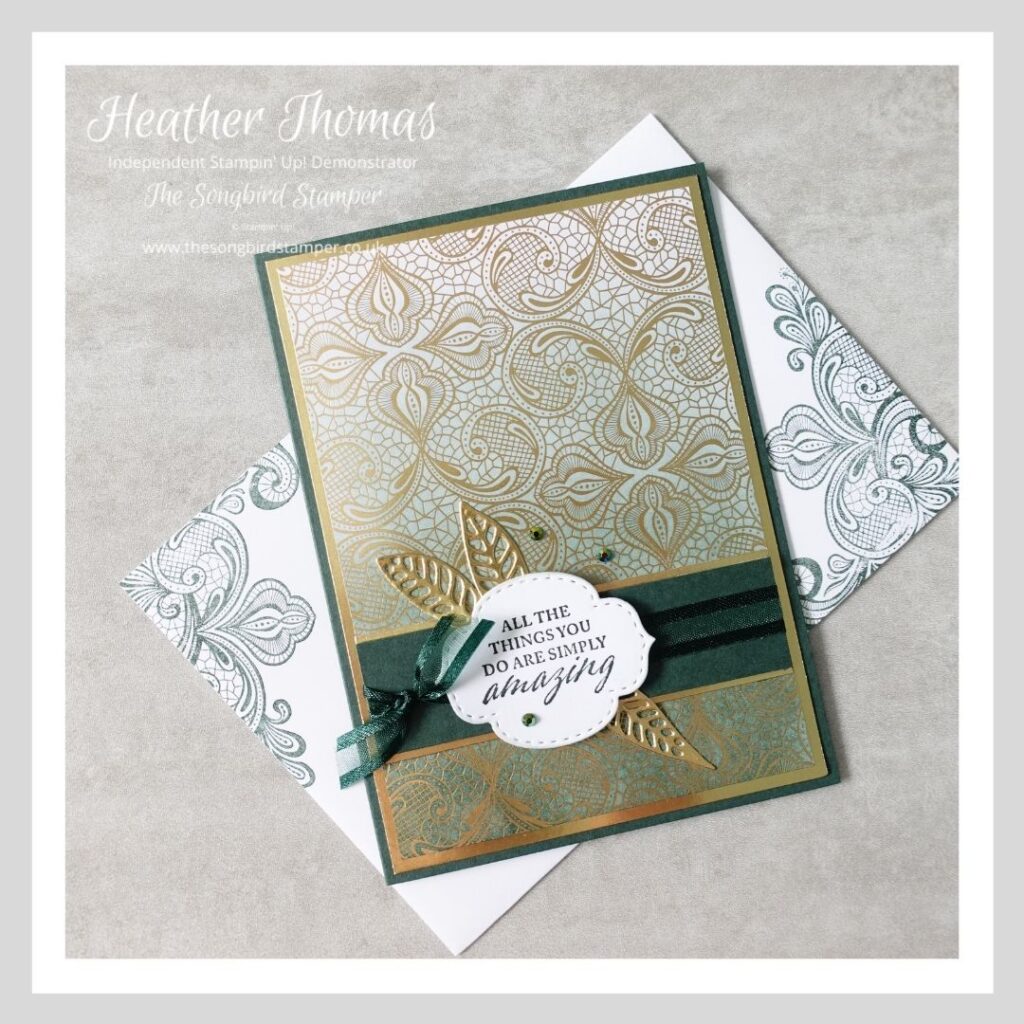
As soon as I saw the new Evening Evergreen in colour this year I knew that it would be perfect for masculine makes, especially if paired with a hint of metallic, like the gold I have used here. That always seems to go down well. It’s a darker, richer colour than the Shaded Spruce so pairs really nicely I think.
The paper that I have used is from the Simply Elegant Designer Series Paper, a white a gold design that I have sponged some Evening Evergreen ink onto to give an ombre effect, with it being darker at the bottom and lighter at the top.
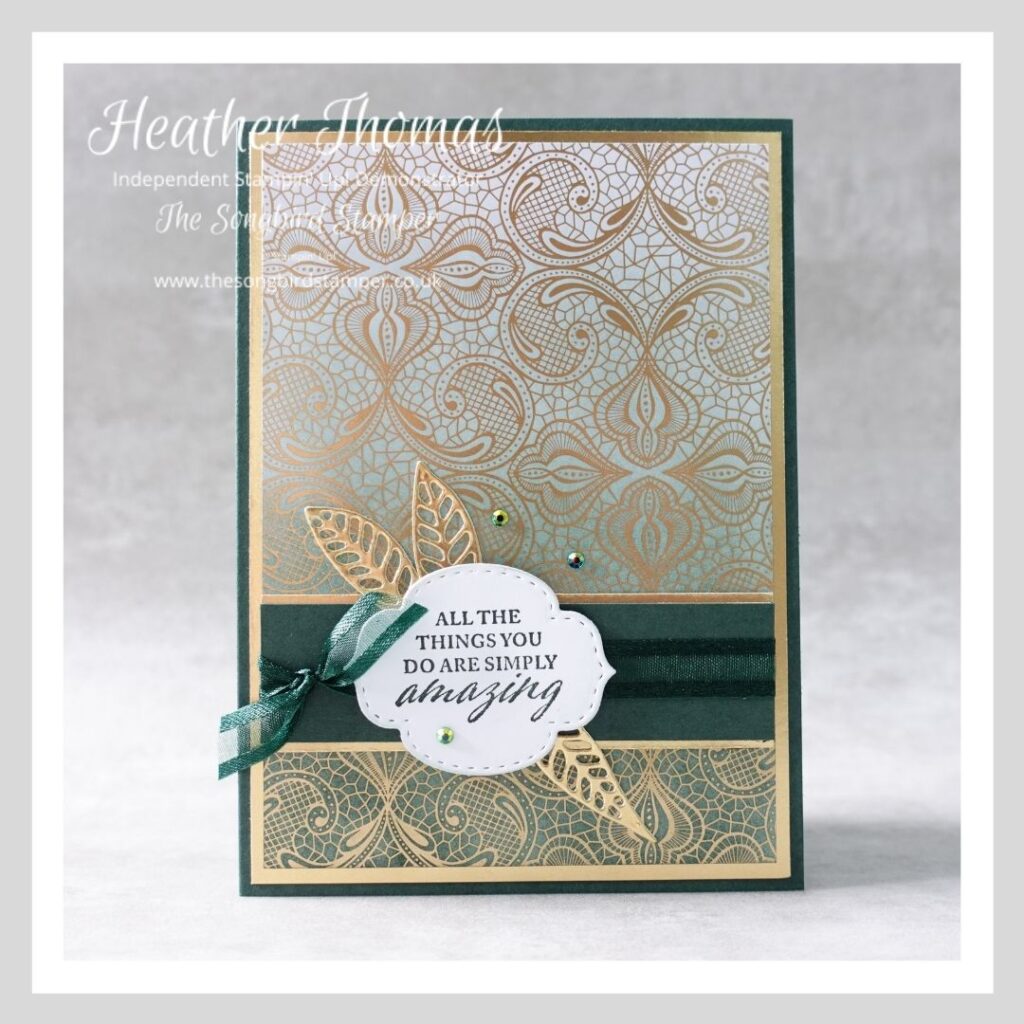
This is cut to 13.5cm x 9.5cm and is layered onto a mat of Gold Foil 14cm x 10cm and onto an Evening Evergreen card base 14.5cm x 21cm scored at 10.5cm.
The gold and green band across the front is 9.5cm across, to line up with the paper, and the Evening Evergreen card is 2.5cm in width and the gold foil 3cm. I tied some of the Evening Evergreen ribbon around this and finished it with a knot – a staple way of using ribbon in my masculine projects.
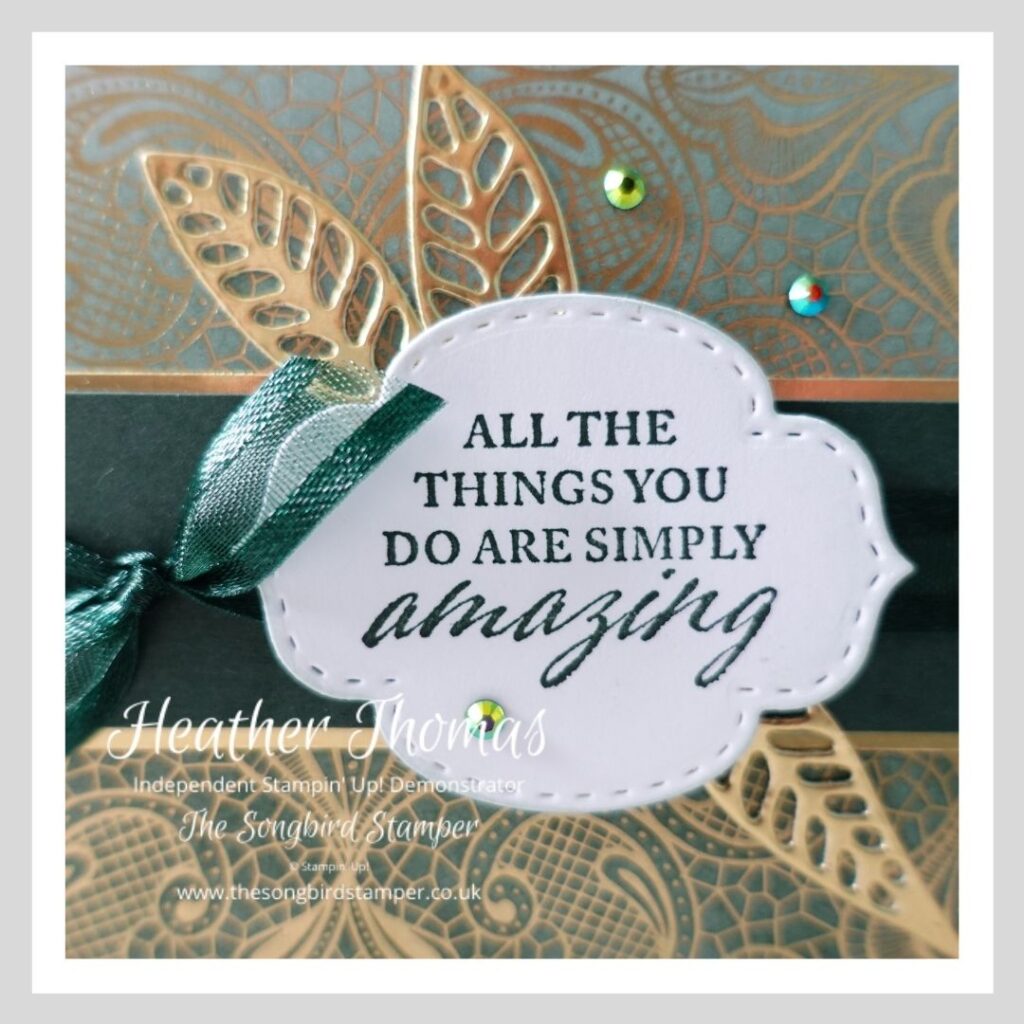
The sentiment is from the Elegantly Said stamp set, isn’t the font lovely, and is cut out using the Stitched so Sweetly dies. My other half LOVES stitched panels, so I always have to try and get one on there somewhere! It adds a touch of class and quality too, I think, one of my three pillars of how to make cards for men, remember.
The leaves are die cut from the new Artistic Dies, I simply used a pair of snips to cut the leaves apart and added them all separately. A few In Colour Jewels and my focal point was finished. Simplicity is the last pillar in my masculine cardmaking so I left it there. Hard to do sometimes but I then went on to decorate the inside of the card and the envelope to match.
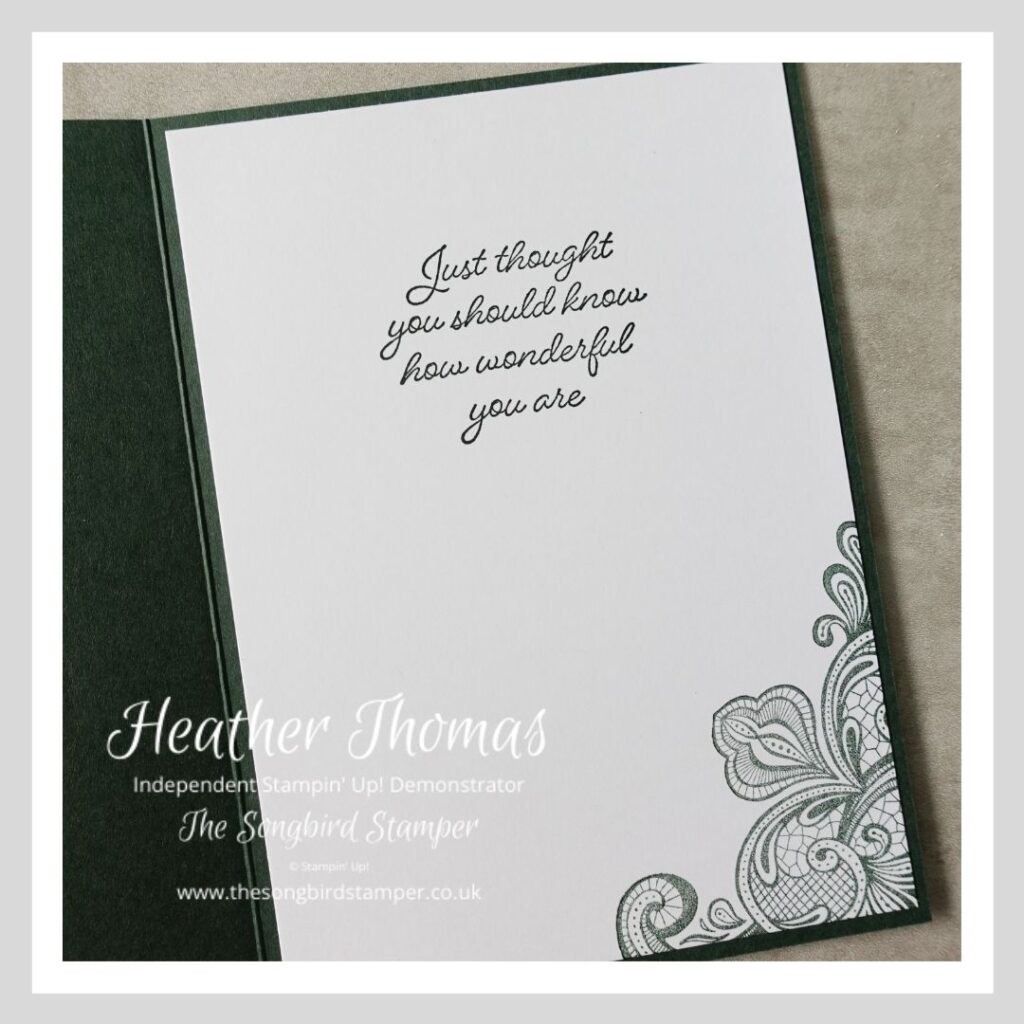
I have really taken recently to decorating the inside of the cards and the envelopes, because it adds to much to a handmade card. We have the stamps, so why not use them, and as a fairly recent convert to Stampin’ Up! envelopes I can attest to the AMAZING quality of them. So silky smooth and sumptuous. If you haven’t tried them, grab a pack, you won’t be disappointed. We make such lovely cards, treat them to a lovely home!

I hope I have helped you to understand the three pillars that I use to demonstrate how to make cards for men – once you start thinking along these lines you might just find it a little easier to do. I am sure that you will find plenty of inspiration in the hop this month too, so grab a cuppa and enjoy.
Don’t forget to come back after you have read all of the posts though, to purchase any supplies that you might need to make some masculine themed cards for yourself.
Until next time, Happy Stamping xx
Free PDF and Video Tutorial
Would you like a free PDF and video tutorial for this amazing birthday calendar? Simply sign up to my newsletter to get your copy today!


- Shop with me online – use Host Code ZMXSCTU9 if spending between £25 and £150 to receive a FREE surprise from me in August.
- Click Here to come and join our amazing team of Songbird Stampers, a whole new world of fun and friendship (and discounts!!) await you. Want more information? Why not check out all the FAQs over on the Join My Team page
- Why not follow me on Facebook, for live videos, projects and updates – The Songbird Stamper
- Or Subscribe to me on YouTube – The Songbird Stamper


