Hello and welcome to another Casually Crafting Blog Hop, where today I want to share how to create a field of Pink Pansies using the new Pansy Patch stamp set from Stampin’ Up!

The Casually Crafting Design Team have been busy this month creating loads of project ideas for you to hop through – how exciting! We are a group of Independent Stampin’ Up Demonstrators who want to share our take on Casual Crafting with you, keeping things fun and achievable for all.
To make this card I used one of my favourite techniques – masking. To create my ‘masks’ I stamped onto a post it note, a couple of the pansies and a couple of the leaves, and then cut these out individually. When you do this, make sure that you stamp onto a sticky bit so that it sticks down onto your project nicely.
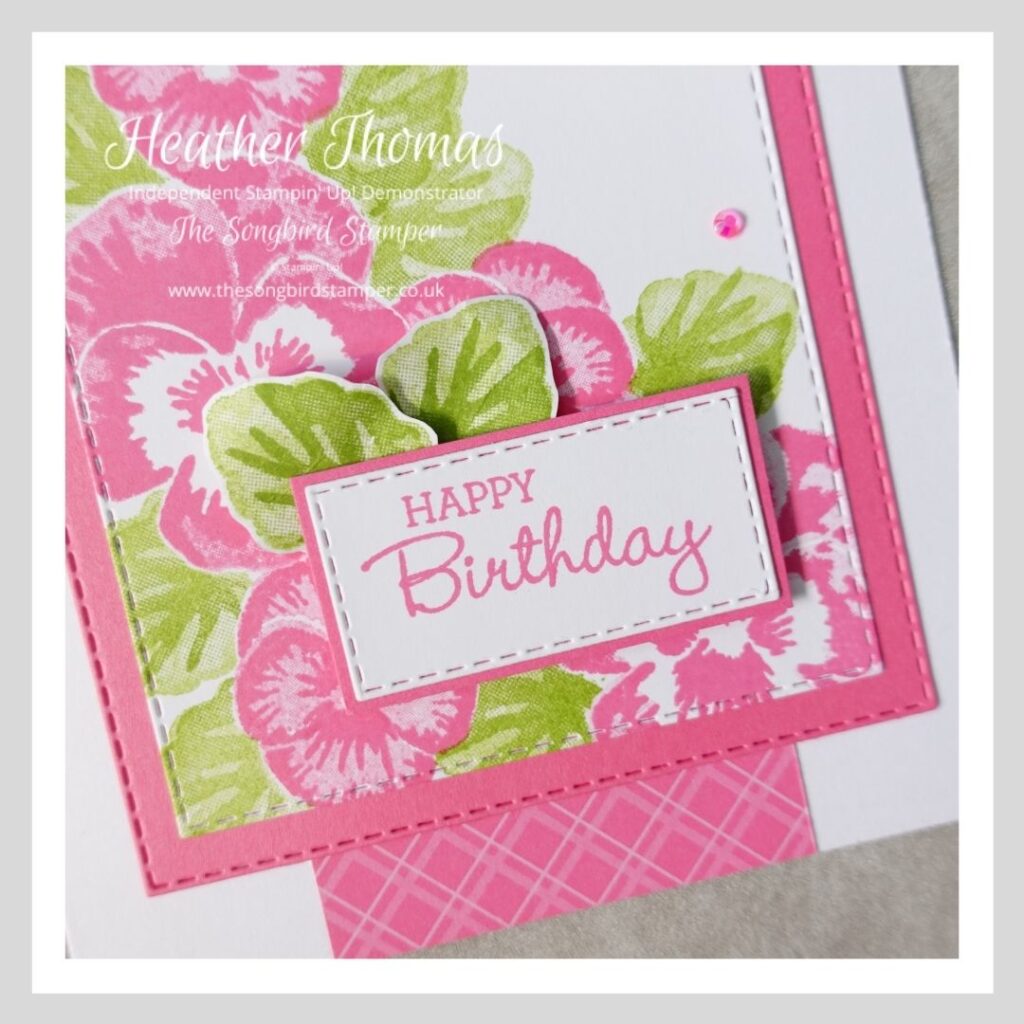
The main card is Thick Whisper white 14.5cm x 21cm scored in half at 10.5cm. The patterned paper is from the 2021 – 2023 In Colour DSP. I love the patterns in this paper so much. I cut a piece to 14.5cm x 5cm and stuck it vertically on the card.

The Polished Pink panel is xxxxxxxxxxxxx and the Basic White panel is xxxxxxxxxxxxxx. I used a ruler and a grey marker to create some faux stitching around the edges of each of these panels, though Stampin’ Up! also sell stitched rectangle dies if you don’t fancy drawing all those little lines.
Then I set about stamping on my Basic White panel. I stamped a pansy straight onto the card and then popped my my mask over this. Then I stamped a leaf, half on and half off the mask. Then I popped the leaf mask over this and stamped another leaf. I kept going like this until I had filled up the bottom left hand portion of my panel. The magic happens when you remove the masks and see you wonderful creation!
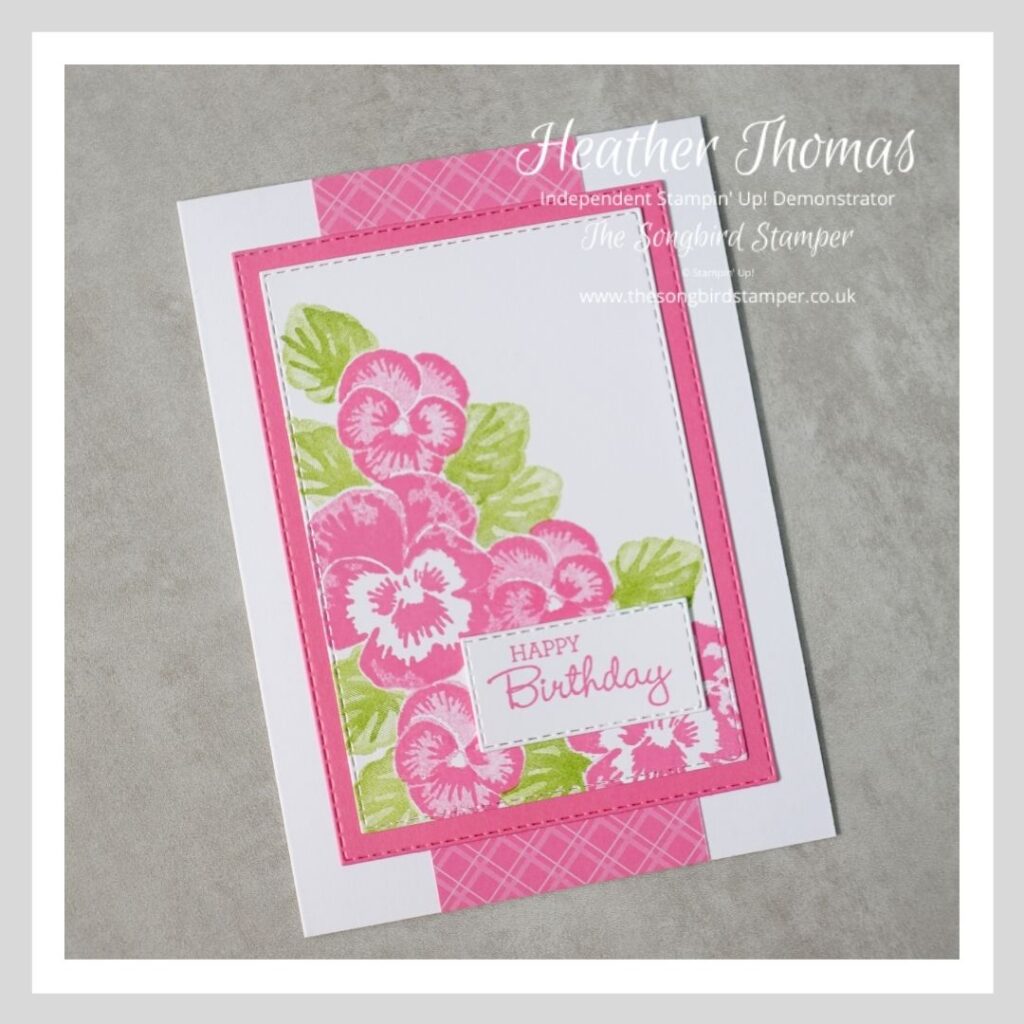
I actually started this project very simply, all I added next was another white panel with the words Happy Birthday stamped onto it (and more stitching!). I wanted to see how I could step this up, though I actually really love this card a lot!
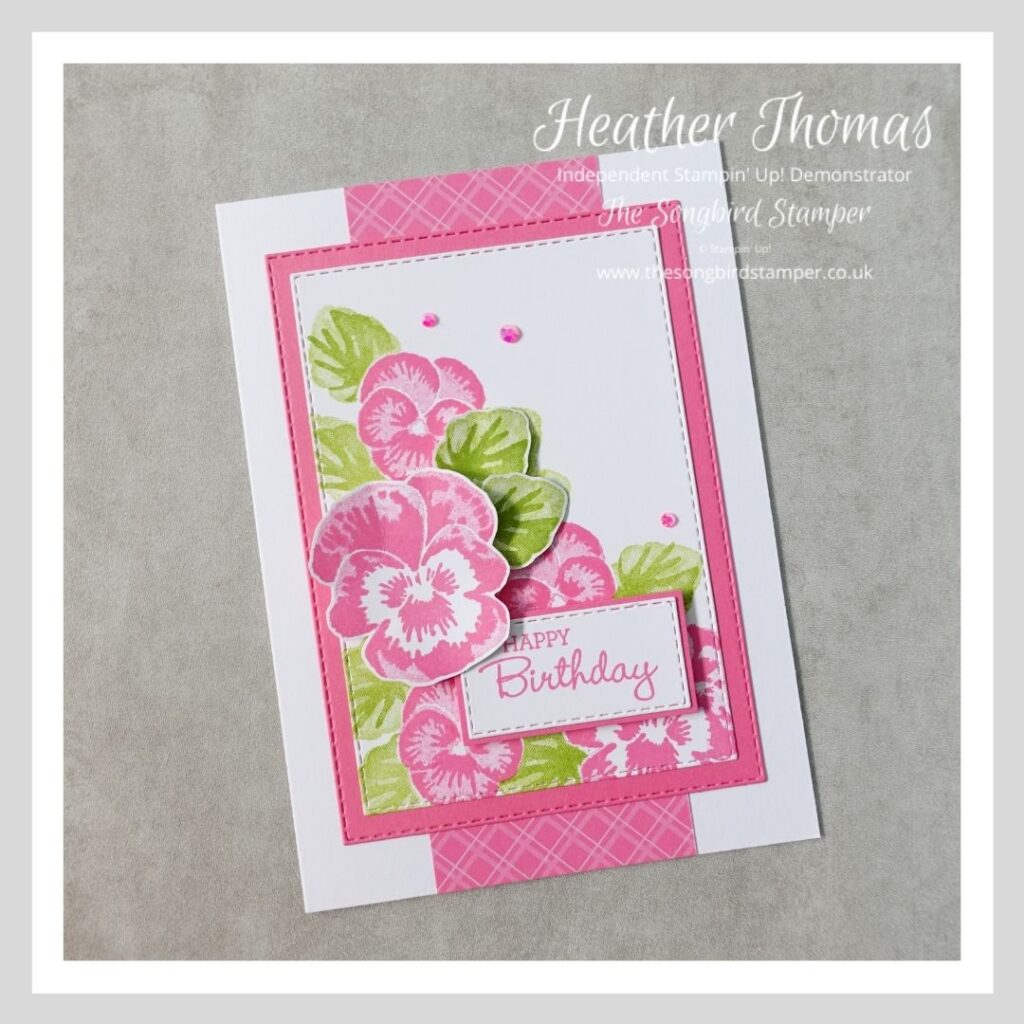
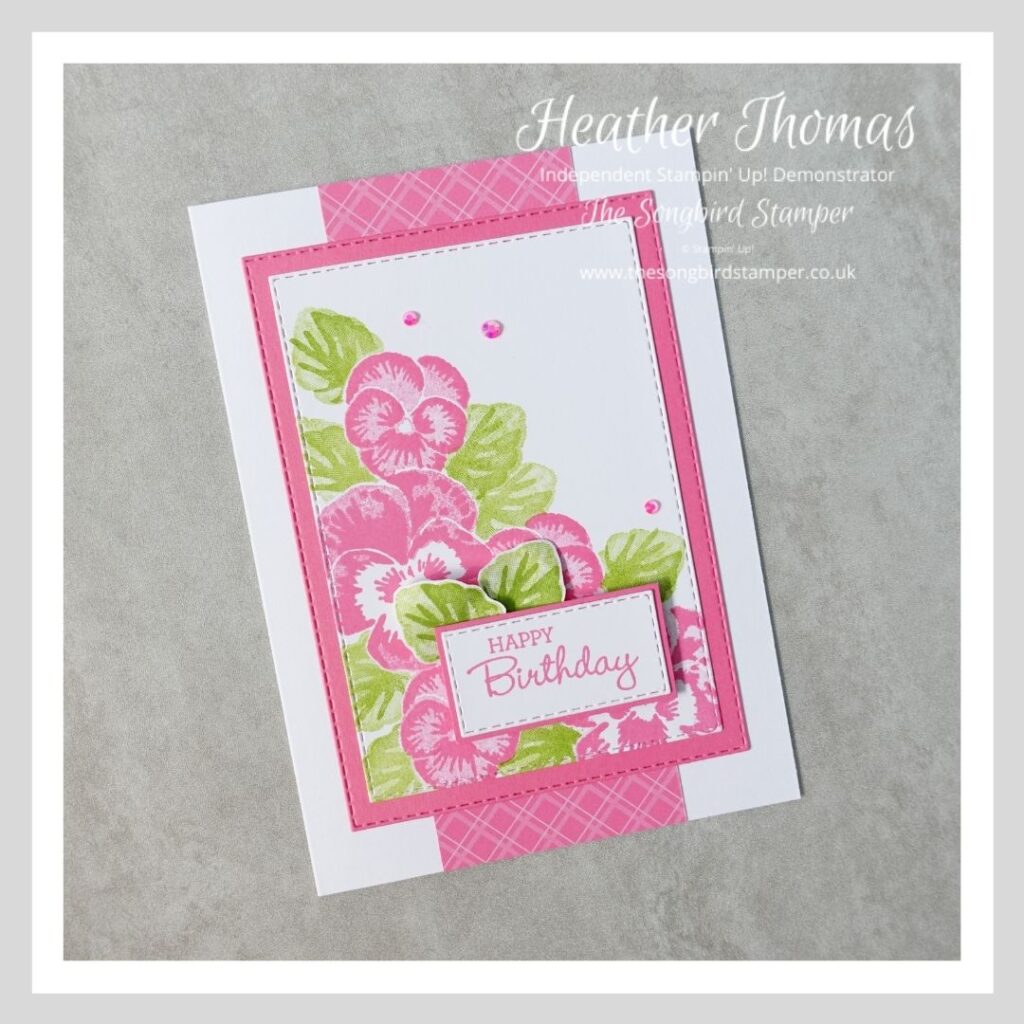
To step it up once, I simply added a Polished Pink mat underneath the sentiment, and a couple of stamped and fussy cut leaves. I popped the sentiment onto dimensionals to give it some depth and added a little bit of bling – the new In Colour gems, aren’t they gorgeous…
The final card is a very simple step up, I just added a stamped and fussy cut pansy, with the two leaves moved slightly so that they poke out from underneath. Stepping up cards can be a great way to start developing your cardmaking, just a little at a time.

I hope that you enjoyed my little tutorial on how to create a field of Pink Pansies, and are inspired to give this a go for yourself. If you would like to purchase any of the products that I have used today, please do pop back and click on the photo links at the bottom of the page, but for now, hop along and see what is in store for you next.
Until next time, Happy Stamping,
Heather xx
Free PDF and Video Tutorial
Would you like a free PDF and video tutorial for this amazing birthday calendar? Simply sign up to my newsletter to get your copy today!


- Shop with me online – spend over £20 and receive 10% in Stampin’ Rewards – that’s 10% of your order price back to spend on a future order!
- Click Here to come and join our amazing team of Songbird Stampers, a whole new world of fun and friendship (and discounts!!) await you. Want more information? Why not check out all the FAQs over on the Join My Team page
- Why not follow me on Facebook, for live videos, projects and updates – The Songbird Stamper
- Or Subscribe to me on YouTube – The Songbird Stamper
")


 Designer Series Paper")


Beautiful Card Heather – I love your stitching, so neat and realistic xx
Stunning Heather! The colours just pop!
I love this ! Thanks for sharing
Hi Heather, your card is beautiful! The multiple layers and use of the strip of In Color DSP really sets off the focal point of the pansy.
Very pretty card Heather x
Your card is beautiful Heather! The Polished Pink flowers are so HAPPY! 🙂
Gorgeous Card Heather! Love it! Thanks for sharing.
Lovely!Such a bright and pretty card!
So pretty!