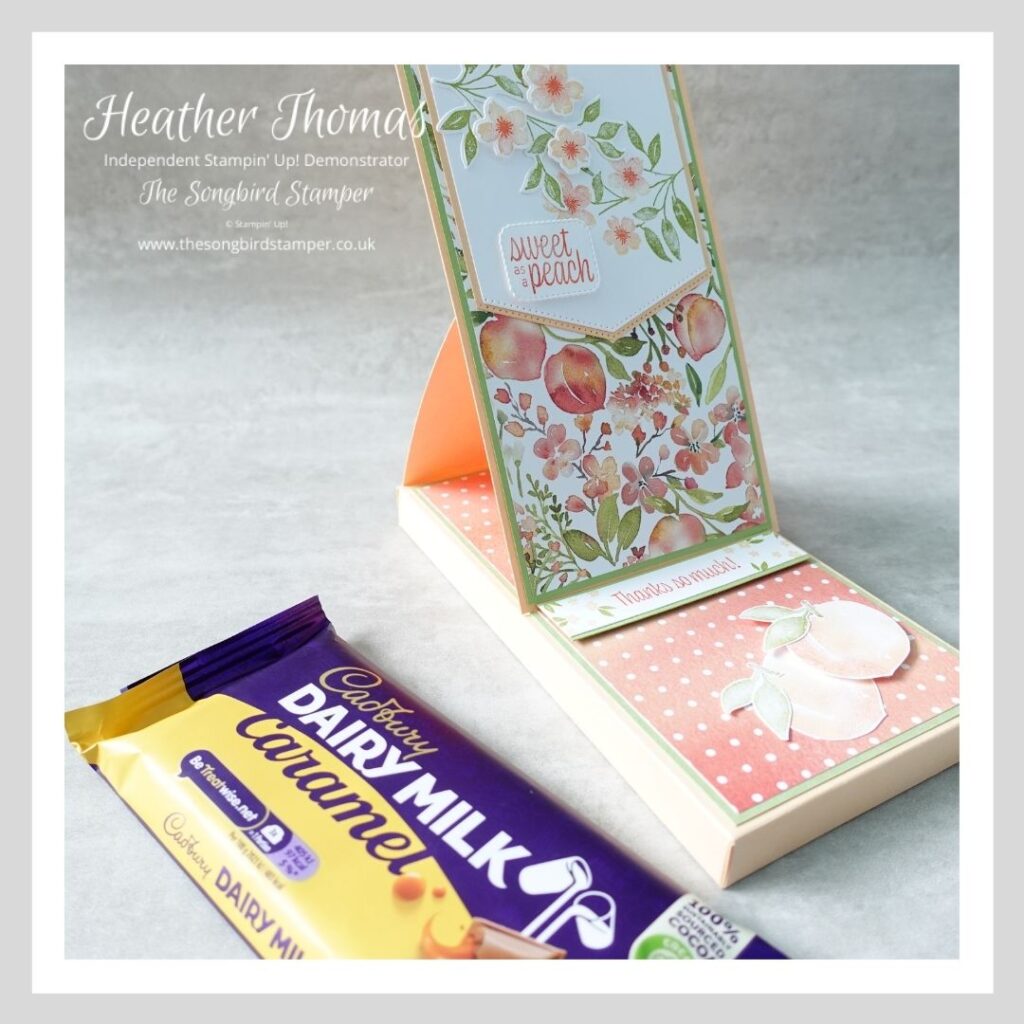
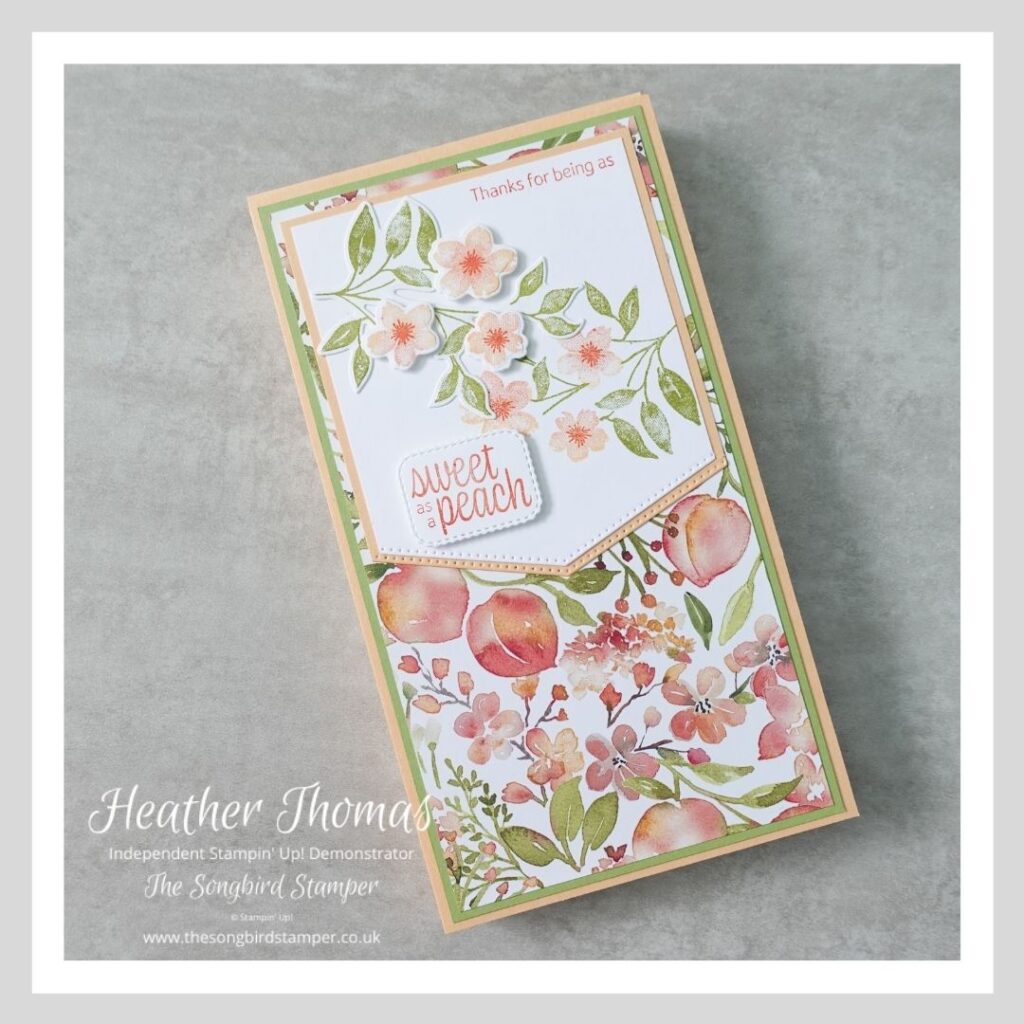
I have got a gorgeous project for you today, showing you how to make an easel box card, one that will fit a bar of chocolate making it a perfect thank you or birthday gift. I have used the new Sweet as a Peach suite of products, with amazing co-ordinating stamps, papers and dies. I love how all our products work so well together. You can shop this suite now over at my online store.
To make the easel box card you will need a sheet of 12″ x 12″ cardstock and a sheet of A4 cardstock in the same colour (or two 12″ x 12″ sheets). You will also need a sheet of A4 in a complimentary colour and some Designer Series Paper.
To make the main box, take the 12″ x 12″ piece and cut it down to 9 3/4″ x 9 1/8″. Score it on the long side at 4 1/8″, 4 3/4″, 8 7/8″ and 9 1/2″. Score it on the short side at 1/2″, 1 1/8″ and 8 1/2″.
To make the easel card section, cut two pieces of card measuring 8″ x 4″ and 7 3/8″ x 4 1/8″. Take the 8″ x 4″ piece and score it on the long side at 3 5/8″ and 7 3/8″.
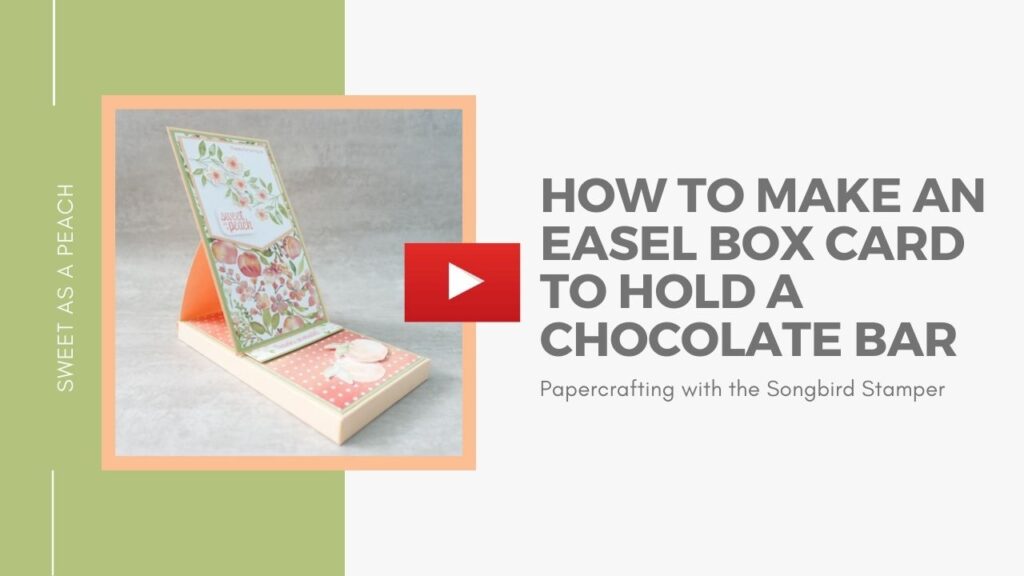
To see how to cut, fold and assemble all of these pieces, please watch the YouTube video above. So much easier to show you than to try and explain it in words!!
To decorate the front of the box I cut a mat of Pear Pizzazz cardstock to 3 15/16″ x 7 3/16″. You will need another one of these for the inside of the ‘card’ too. I also cut a layer of Designer Series Paper measuring 3 3/4″ x 7″ (again, you will need two of these, maybe in different designs if you like).
Stick both the paper and the card onto the top edge of the card and then add a topper as desired. I created a topper using some Basic White and Pale Papaya Card, the Basic Borders dies and the Sweet as a Peach stamps and dies. LOVE LOVE LOVE them!
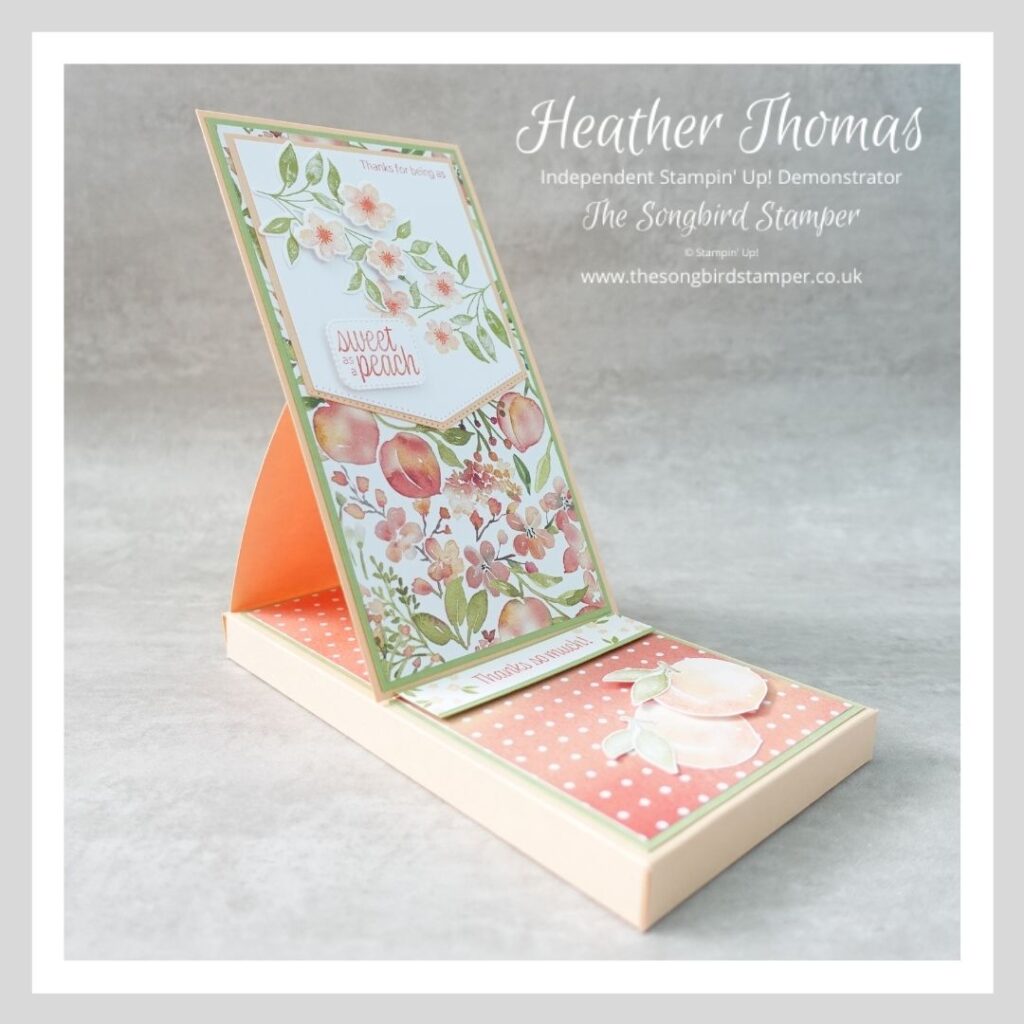
I kept the inside really simple, just a sliver of Basic White card layered onto some Pear Pizzazz Card and used as the ‘stopper’ for my easel by raising it onto dimensionals. I stamped the Thanks So Much greeting onto it first, and then stamped and die cut two peaches to decorate the bottom right hand corner. It really is as easy as that!
I hope that this post has shown you how to make an easel box card, and that you have a go at making one yourself. I can’t say that the chocolate inside is going to last long enough for me to give it as a gift, but I can always buy another one!
Until next time, Happy Stamping xx
Free PDF and Video Tutorial
Would you like a free PDF and video tutorial for this amazing birthday calendar? Simply sign up to my newsletter to get your copy today!


Products Used
Product List")
 Designer Series Paper")


 Cardstock")


- Shop with me online – spend over £20 and receive 10% in Stampin’ Rewards – that’s 10% of your order price back to spend on a future order!
- Click Here to come and join our amazing team of Songbird Stampers, a whole new world of fun and friendship (and discounts!!) await you. Want more information? Why not check out all the FAQs over on the Join My Team page
- Why not follow me on Facebook, for live videos, projects and updates – The Songbird Stamper
- Or Subscribe to me on YouTube – The Songbird Stamper