I remember buying a set of orchid builder dies in my first year as a demonstrator, and never using them because I couldn’t figure out how to put them together easily, so I really want to share with you today how to assemble the Pansy Dies from the new Annual Catalogue, which goes live tomorrow – 4th May.
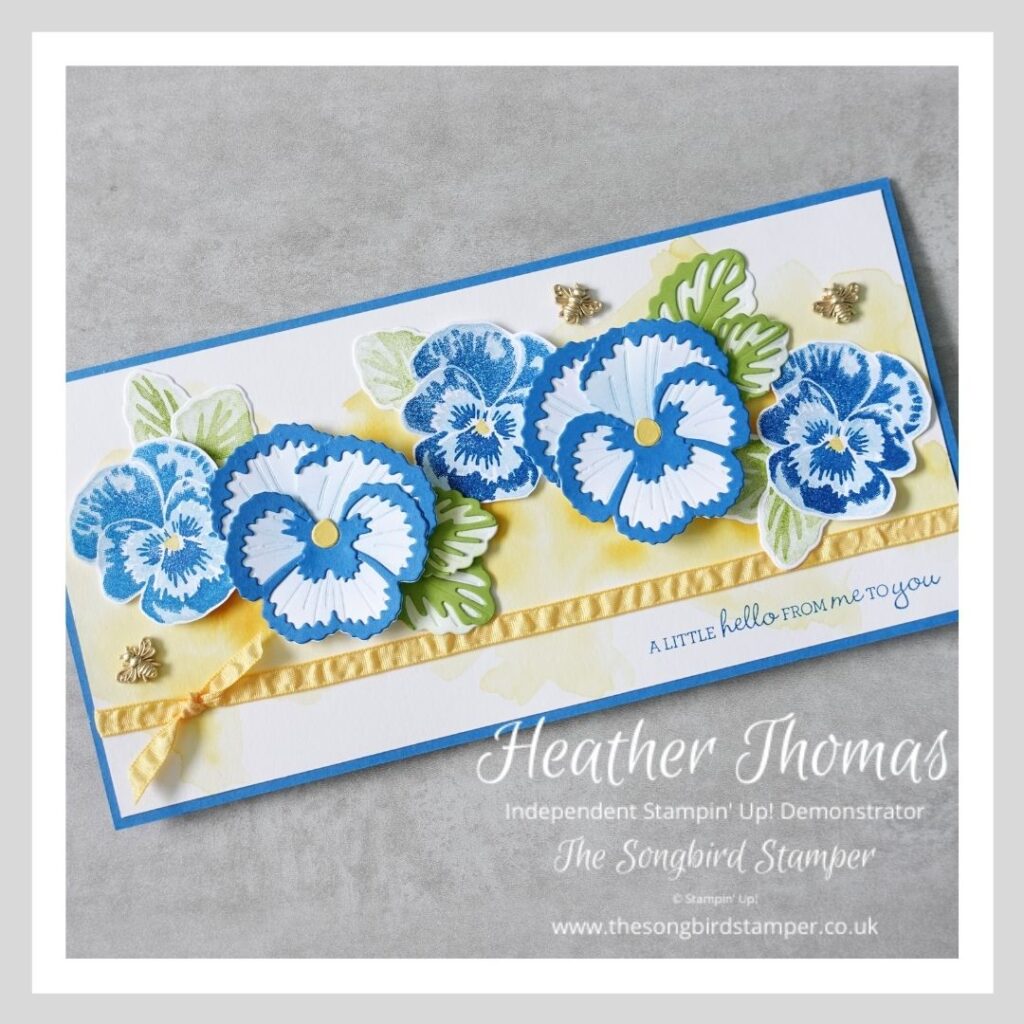
I made this slimline card to show off both the stamps and the dies, they work really well together I think and I love the blue colours, though I think I am also going to make this card in purple, pink and maybe orange too! Or you could go multi-coloured, maybe even a rainbow of pansies. Oh the options!!
The background is made using Shimmery White card, watercoloured with Daffodil Delight ink to give a lovely misty base for my flowers. The colours I used for my Pansies are Whisper White, Balmy Blue and Pacific Point – a very underused colour in my opinion.
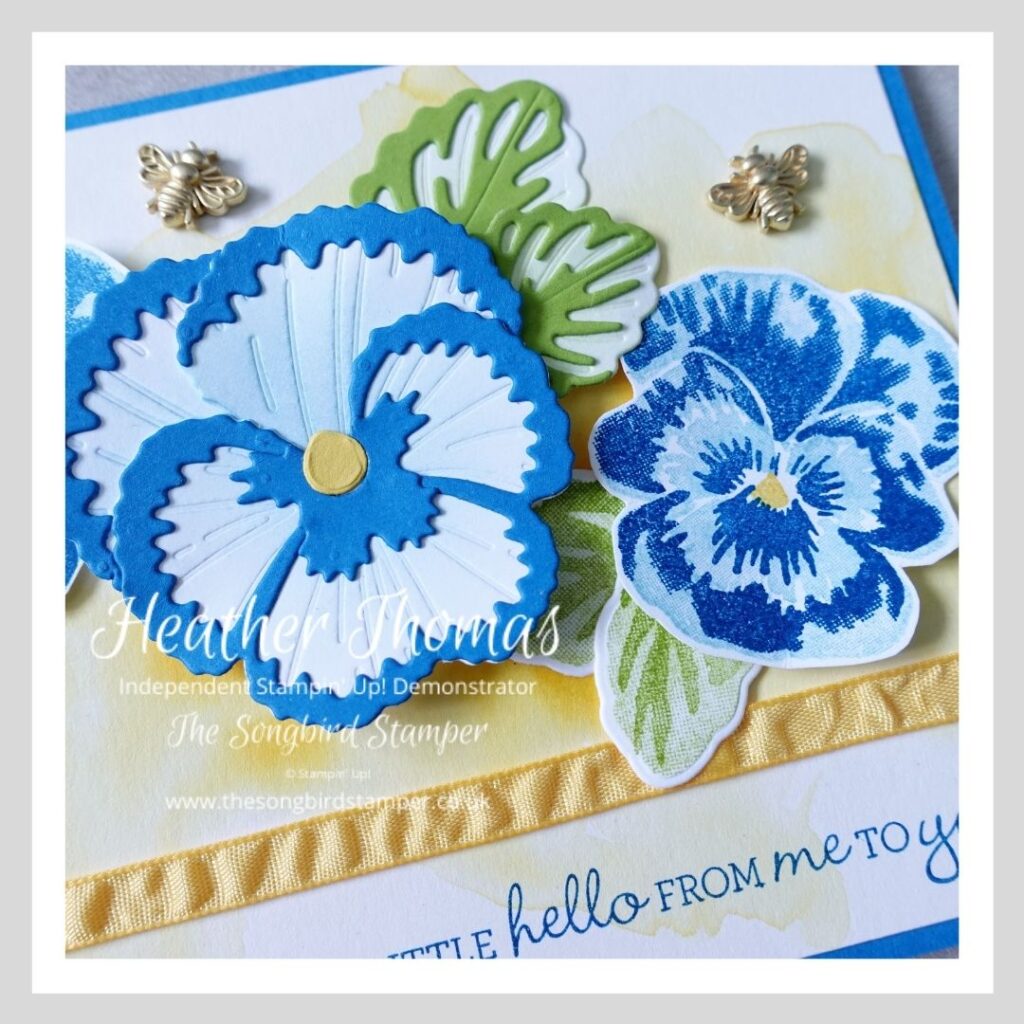
The green I used for the leaves is Granny Apple Green, such a bright and vibrant green, and goes with so many other colours too. So, how to assemble the Pansy Dies. I am hoping that the little guide below might help you to see how all the components come together.
The die cut pansies are actually made with Whisper White card, sponged with Balmy Blue ink and with the accents in Pacific Point Card. The leaves are also Whisper White card, sponged with Granny Apple Green ink with accents in Granny Apple Green Card.
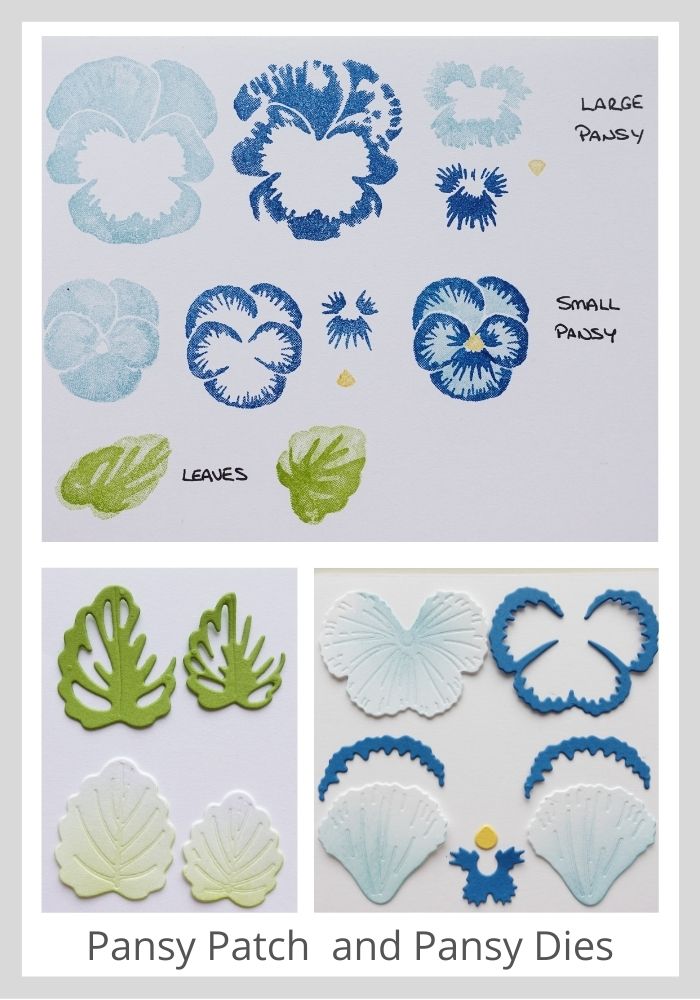
Don’t forget (as I often do!!) that when you die cut you can run all of the different elements through in one go, you don’t need to cut all the pieces separately, so whilst these may look difficult or time consuming to make I promise that they aren’t. In fact, the only bits that need to be cut twice are the two petals and accents that you can see in the bottom right of the image above.
I finished my card by tying a length of Daffodil Delight ribbon in a know around the Shimmery White card, then placing the whole card front onto a card base of Pacific Point. This is a 21cm x 21cm piece of card scored in half at 10.5cm.

The sentiment is from the Pansy Patch stamp set, I absolutely love the font in this set and the greetings are fabulous, in fact I will be honest and say I mainly bought this set for the sentiments! Some of the new super cute bees add a lovely finishing touch to this cool summery project.
If you would like to purchase any of the new products from the upcoming catalogue please do visit my online store from 4th May onwards by clicking on the button below. There are some beautiful craft products to be had!
If you would like to get your hands on a brand new catalogue, all you have to do is fill out the form below and I will pop one in the post for you as soon as I can.
Until next time, Happy Stamping xx