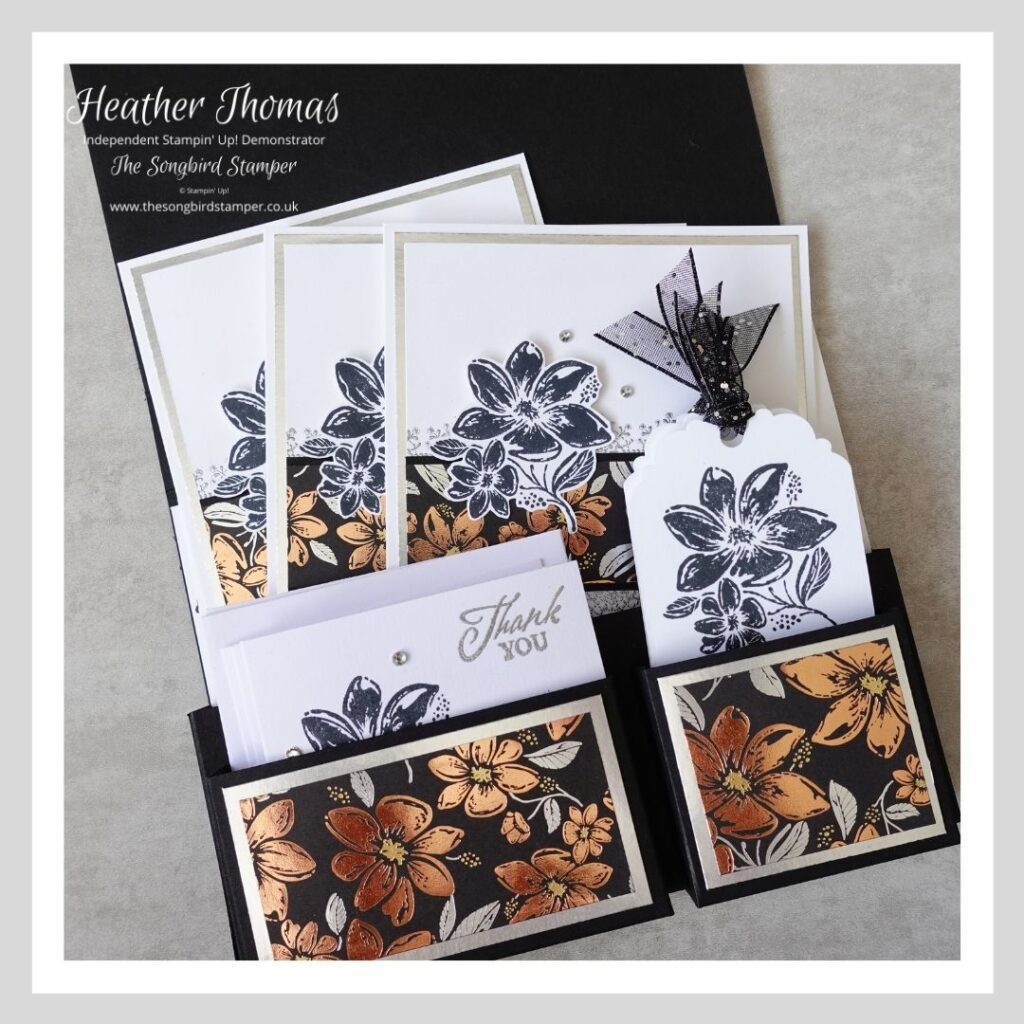
I just wanted to hope on fairly quickly today to share with you how to make a handmade card and gift tag set. This project looks so elegant and stylish I think, which seems perfectly fitting because I have used the new (available May 4th) suite of products called Simply Elegant. With its neutral tones and metallic highlights the Designer Series Paper lends itself really well to 3D projects just like this one.
I have actually recorded an accompanying video to show you how to make this project, because it is much easier to see how things are done sometimes! Please do sit back, relax and enjoy this tutorial. OR, grab your supplies and get creative with me, I would love to see any pictures if you do give it a go!
To make the main box which will hold the handmade card and gift tag set, take one piece of card measuring 6 1/2″ x 10 1/4″ and score it on the long side at 4 5/8″ and 5 5/8″. This will make the outer cover.
To make the inner pockets, you will need three pieces of card in total, one piece measuring 7 1/2″ x 5 1/2″, one piece measuring 4 1/2″ x 4 1/2″ and one piece measuring 4 1/2″ x 3 1/4″. You can cut all of these from just two pieces of A4 cardstock and I chose Basic Black.
Take the 7 1/2″ x 5 1/2″ piece and score it on the long side at 1/2″ and 7″ and on the short side at 2 1/2″ and 3″.
Score the 4 1/2″ x 4 1/2″ piece on one side at 1/2″ and 4″ and on the other side at 2″ and 2 1/2″.
Take the 4 1/2″ x 3 1/4″ piece and score it on the long side at 2″ and 2 1/2″ and on the short side at 1/2″ and 2 3/4″.
The three mats measure:
- 4 3/8″ x 6 1/4″
- 1 3/4″ x 3 1/4″
- 1 3/4″ x 2″
The three layers measure:
- 4 1/8″ x 6″
- 1 1/2″ x 3″
- 1 1/2″ x 1 3/4″
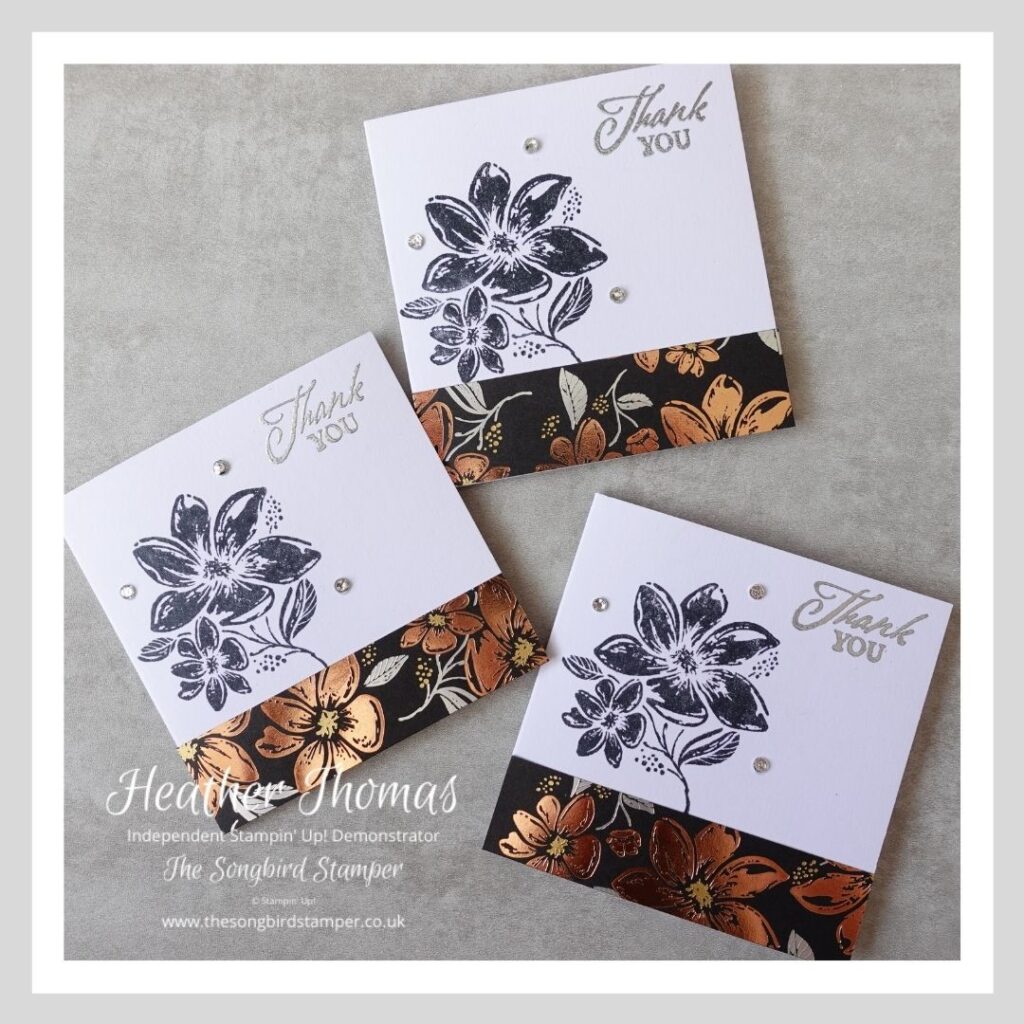
The Mini cards are 3″ x 3″ cards (so card starts at 3″ x 6″) and envelopes. The small DSP strip is 3″ x 2cm and the image is stamped in Memento Black Ink, while the sentiment is heat embossed in Silver. Some basic rhinestones complete what is a cute but very simple card!
To shop with me and find all the supplies that I have used here today (after 4th May for the stamps and papers) please visit my SHOP WITH ME page.
The tags are made from Thick Basic White card measuring 2″ x around 9.5cm. The tops are punched with the Delightful Tag Topper punch and a strip of Black Glittered Organdy Ribbon is looped through the top. The DSP strip is 2cm x 2″ and the image is once again stamped in Memento Black and the sentiment in Silver. So quick and easy to make a batch of these.
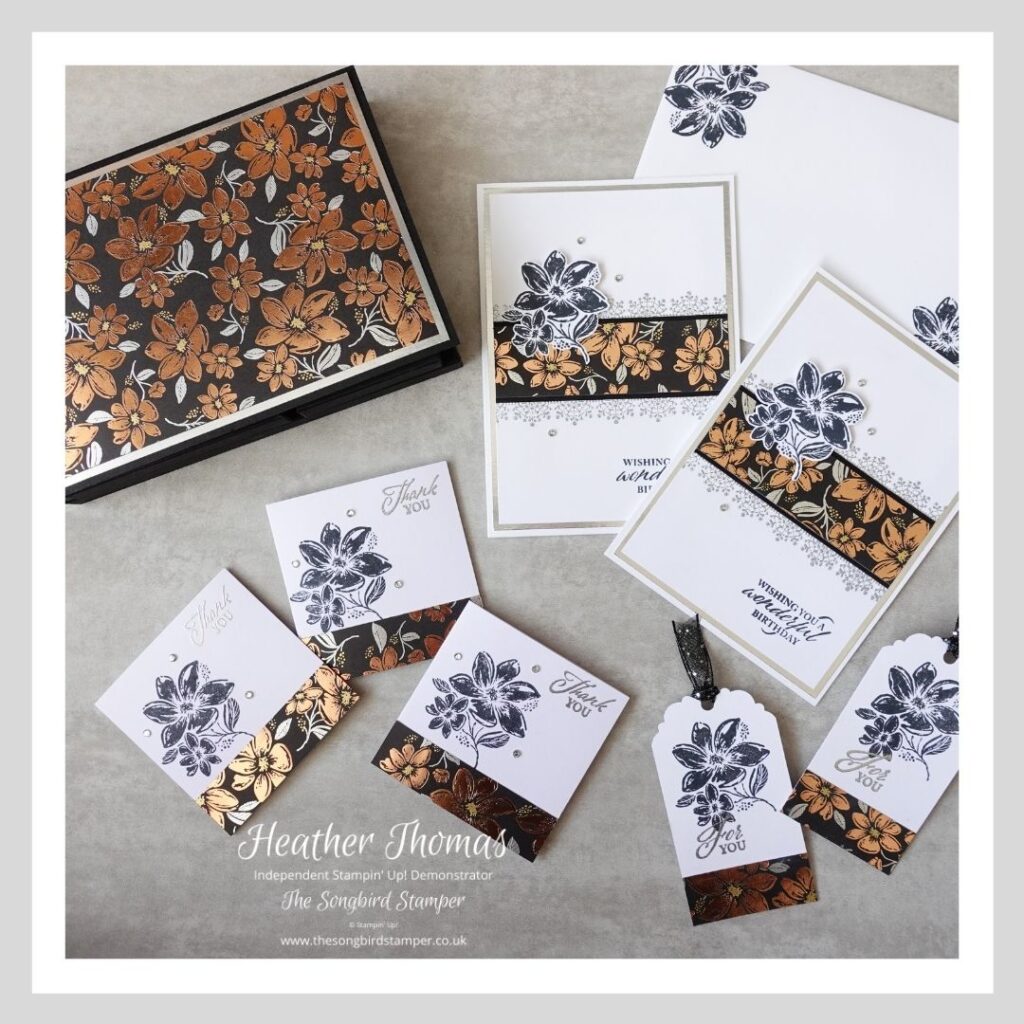
The birthday cards are a little more in depth, as they should be for such a special occasion I think, but these are still classic and stylish with the black ink and the hint of metallics. The card base is 14.5cm x 21cm scored in half at 10.5cm. Always use Thick Basic White for these card bases as they are sturdy enough to hold up, unlike the standard whisper white.
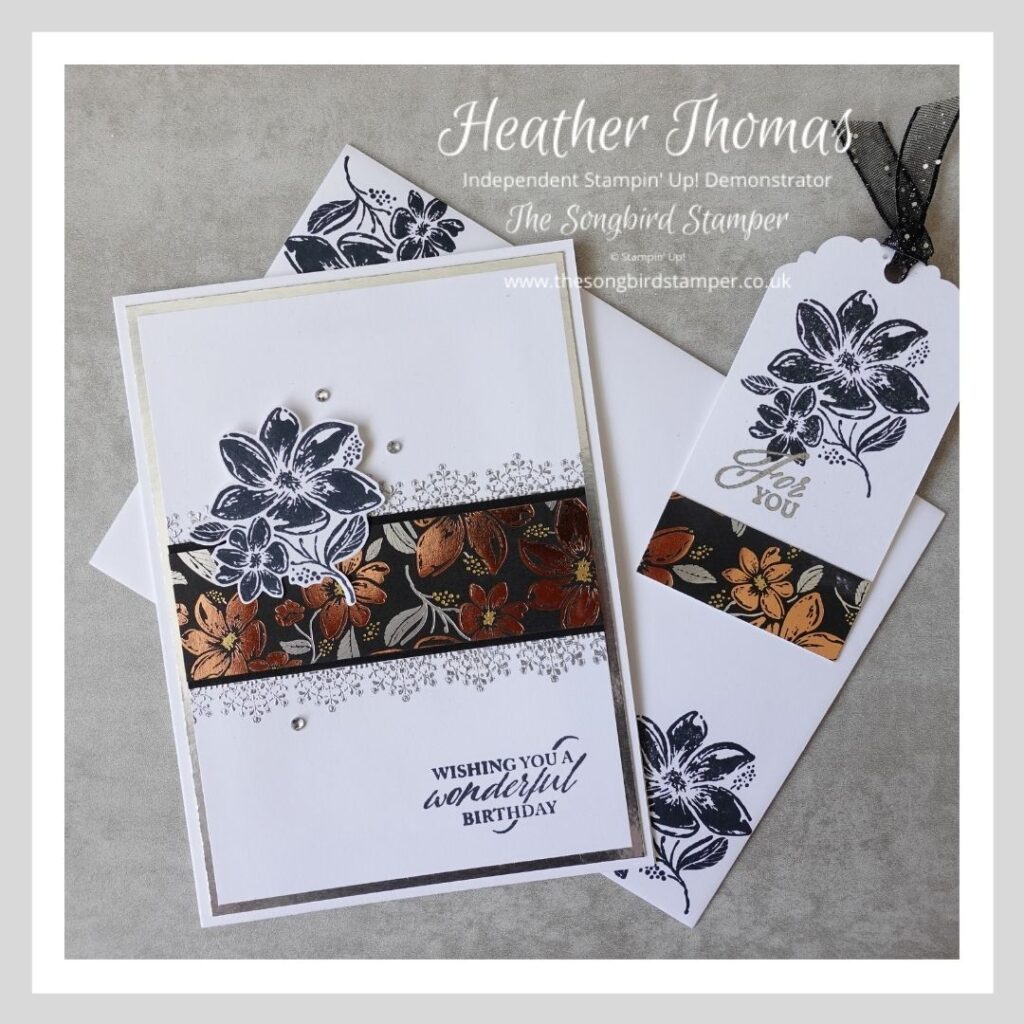
Cut a silver mat to 14cm x 10cm (gut out the middle if you want to save a bit) and a white layer to 13.5cm x 9.5cm. Decorate your white layer as shown in the photo and the video, using heat embossing in Silver to add in the strips and then add a layer of Basic Black card measuring 3.3cm x 9.5cm. Top this with a strip of DSP measuring 2.9cm x 9.5cm.
Stamp and fussy cut the flower, add some bling and don’t forget to decorate the envelopes, it really does add a certain something having matching envelopes!
I hope I have inspired you to have a go at making your own handmade card and gift tag set, and until next time, Happy Stamping xx
- Shop with me online – spend over £20 and receive 10% in Stampin’ Rewards – that’s 10% of your order price back to spend on a future order!
- Click Here to come and join our amazing team of Songbird Stampers, a whole new world of fun and friendship (and discounts!!) await you. Want more information? Why not check out all the FAQs over on the Join My Team page
- Why not follow me on Facebook, for live videos, projects and updates – The Songbird Stamper
- Or Subscribe to me on YouTube – The Songbird Stamper
Interested in learning more about using Alcohol Markers?

I will be running another Stampin’ Blends Course, starting in September 2021, where, amongst many other things, I will teach the no-line colouring technique, how to add lowlights with greys, using pencils and markers together, creating skin tones and many other techniques too.
The course is still available for £60 as an online version only, with four zoom lessons, a dedicated Facebook group, a comprehensive course guide and several bonus lessons too.
To find out more, or to book your place, just click the button below!