This is the first blog post in a series of blog posts all about watercolour techniques, where today I will show you how to make watercolour backgrounds for cardmaking. To learn more about watercolouring, and all the techniques and tips that I have, why not think about joining my watercolour cardmaking course. You can find all of the details and the link to book over on my website – https://thesongbirdstamper.co.uk/watercolour-cardmaking-course
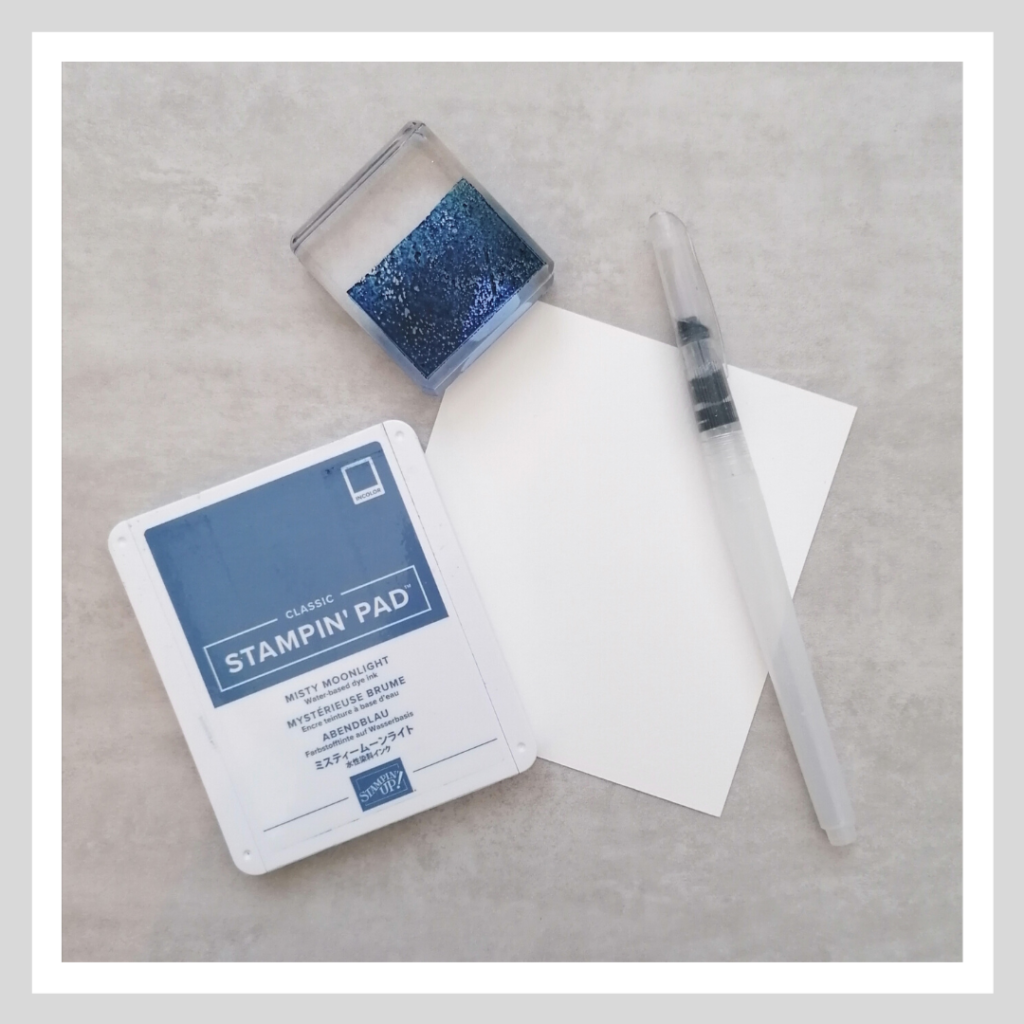
I have chosen the new stamp set Forever and Always by Stampin’ Up! as my main stamp set, as the plain line images work really well for watercolouring. The card that I am using is the Fluid 100 Watercolour Paper, it has a really lovely finish and is thick enough and strong enough to take plenty of water.

I wanted a nice bluey toned watercolour background here so I took my Misty Moonlight stamp pad and pressed an acrylic block into it to pick up some colour. You don’t need a lot with this one though, so do go sparingly!
The first thing that I did was to wet the card fully with just plain water. I always find that this helps me to lay the ink down nicely, you get more of a washed effect and it is a lot more forgiving than working with the inks directly onto the dry paper. This technique is actually called the ‘wet on wet’ technique.
Just add a little ink at a time, you can always add more but you can’t easily take it away. Keep adding ink and water until you are getting the results that you want, it does take a bit of practice but I really think that the results are worth the effort.
To get the almost splodgy look, I dried the watercolour paper with my heat tool. If I wanted a more washed out effect I could have let it dry naturally, but I am not that patient! LEave it to one side for the time being though, just to dry fully.
To create the flowers, I stamped in StazOn, a permanent black ink which is perfect for watercolouring. I stamped the flowers onto the Watercolour paper and then used my Daffodil Delight and Mango Melody stamp pads to colour them in using my water painters.
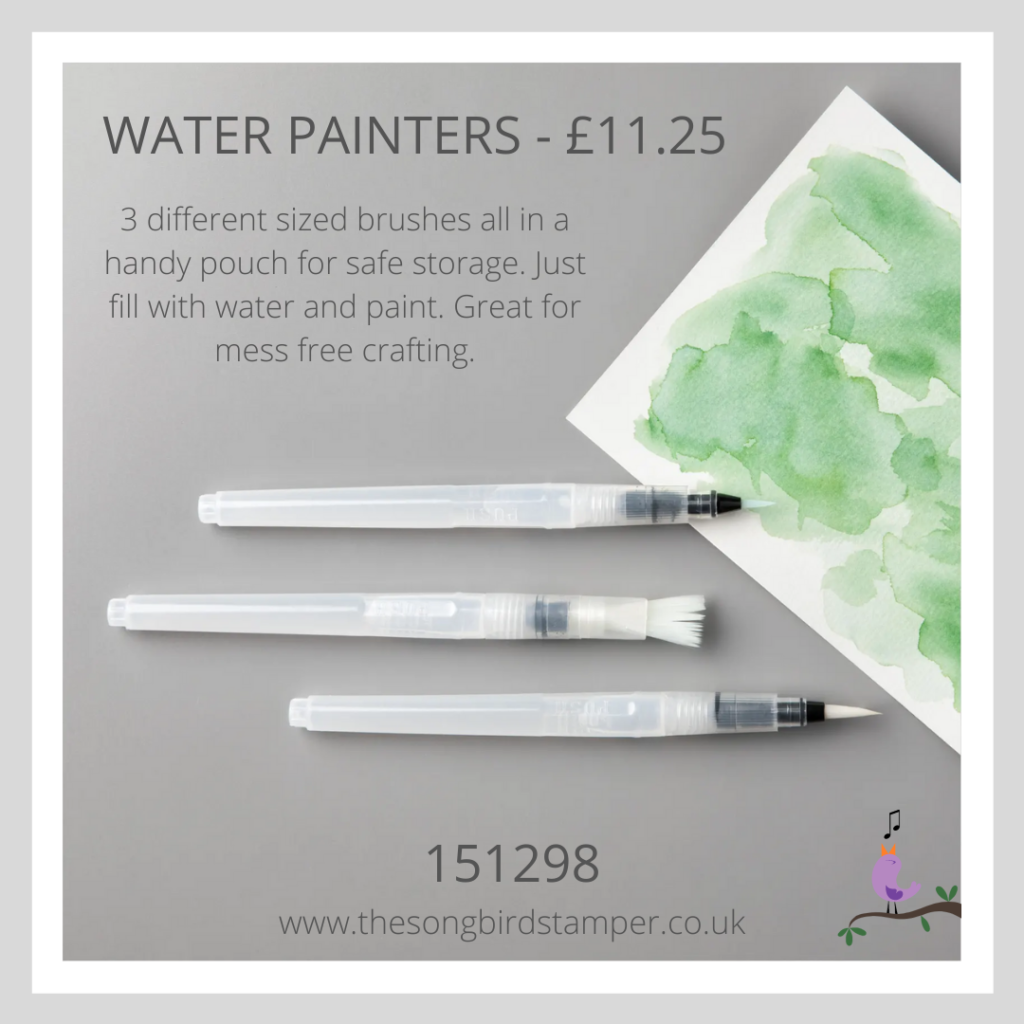
These are fabulous paintbrushes which have a removeable barrel that you can fill with water, so you don’t need to have a pot of water beside you. To rinse out the brush, simply squeeze it to allow the water to come out and wipe it on a piece of kitchen towel or similar, simple! Don’t stick your flowers to the card yet though, we aren’t quite ready for that yet.
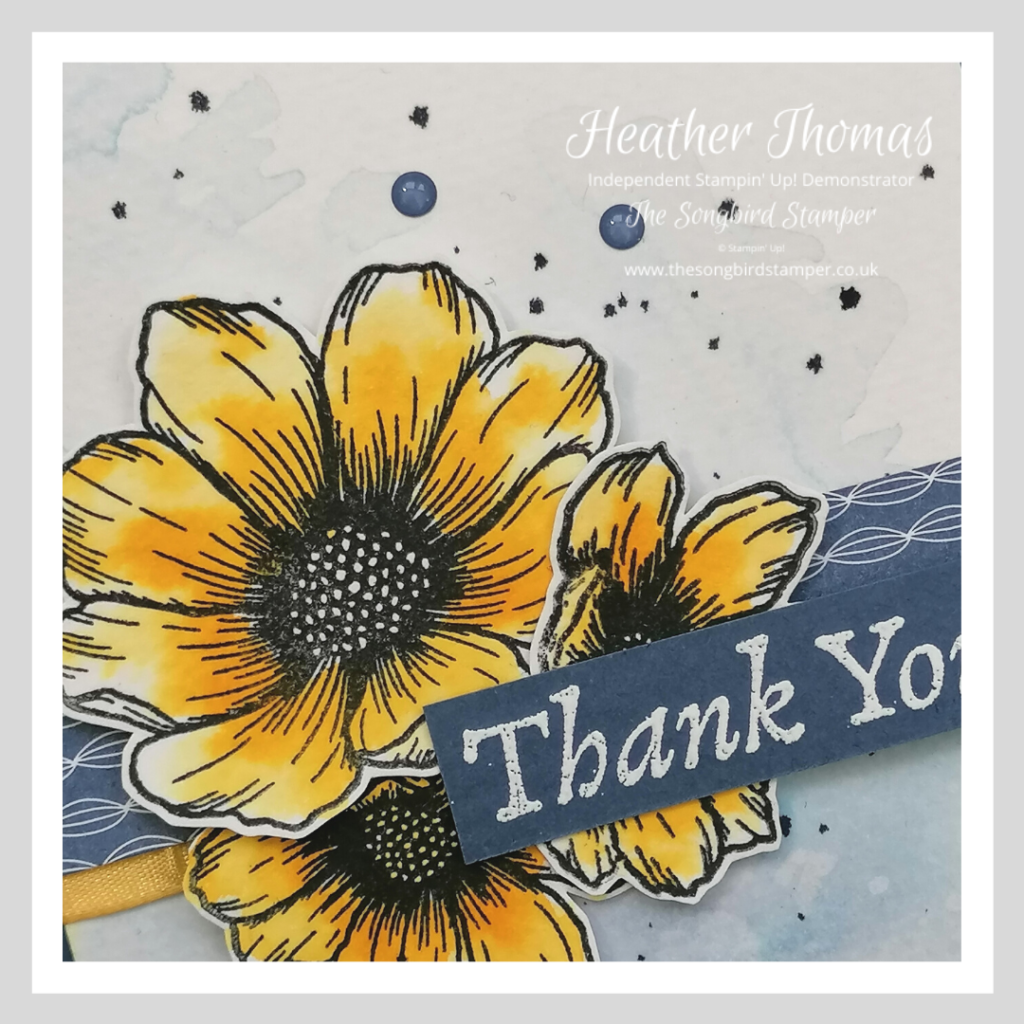
Right, back to how to create watercolour backgrounds, as that’s what we are here for, right? Can you see the ‘splatters’ in the background? Let me tell you how I created those because I think they look really effective and can really add a lot to our finished projects.
What you need to do is take the medium sized water painter and make it quite wet, then load it up with misty moonlight ink. Once it is full, but not ‘dripping’ hold it above your paper (make sure you have some scrap paper down to protect your work surface and move your flowers out of the way!!) and gently tap it against something solid, or your hand. This will cause splashes of the ink to flick onto your card.
We left the card to dry thoroughly first, but if you didn’t you might find that these splashes don’t come out quite as defined as you might like.
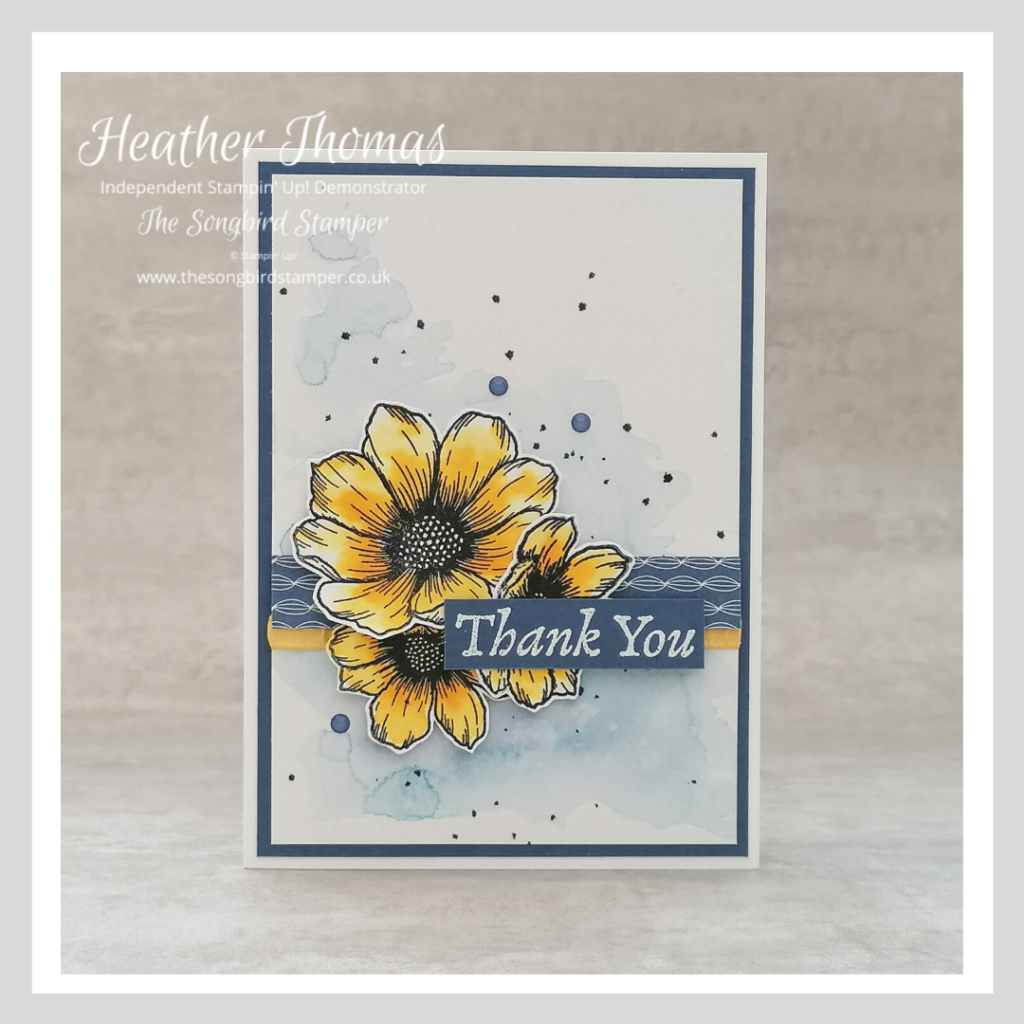
To finish, stick some ribbon and some Designer Series Paper onto your watercolour card, add the flowers, some gems and a greeting and mount first onto a panel of Misty Moonlight card and finally onto a Basic White card base.
Well, I do hope that you enjoyed my mini tutorial on how to create watercolour backgrounds, please do keep your eyes peeled for the rest in the series, or why not see if they are already live by clicking here – Watercolour Techniques for Cardmaking
Until next time, Happy Stamping xx
Combined Colouring Course

Bookings are now open for my new Combined Colouring Course, on Saturday 23rd November 2024 and Saturday 30th December 2024, with two full day zoom classes running from 10.30am until 4.30pm. All of the classes are recorded into a Private Facebook Group too, so you can watch and rewatch as many times as you like. The course also includes a comprehensive written course guide, with accompanying worksheets.
There are two options for this course, a product based option (available UK only) and an online only option (available WORLDWIDE). The online only version is £80 and the product based version is £180 – for which you get access to the whole course, the course guide, £176 worth of product and free postage too.
If you would like to learn all my tips, tricks and techniques, please do visit this page to sign up or register your interest today!
- Shop with me online – spend over £20 and receive 10% in Stampin’ Rewards – that’s 10% of your order price back to spend on a future order!
- Click Here to come and join our amazing team of Songbird Stampers, a whole new world of fun and friendship (and discounts!!) await you. Want more information? Why not check out all the FAQs over on the Join My Team page
- Why not follow me on Facebook, for live videos, projects and updates – The Songbird Stamper
- Or Subscribe to me on YouTube – The Songbird Stamper


These were great tutorials! I love to stamp and used to do a lot of water coloring. I’m anxious to try your techniques. Thanks!
PS: you’re right, when I did a lot of water coloring I would almost always add some spatter. It really adds to most pieces!
Thank you so much Debbie. I hope that you have fun creating and trying out the techniques. Splatter is always good, and a lot of fun too!!