I wanted to make a gift for my Sister-in-Law recently, and decided to give her a piece of home-decor, so I set about thinking of how to scrapbook a single photo. When I scrapbook, I normally try to fit about three photos on a page, but here I wanted to showcase a beautiful photograph of her three girls, taken while they were out for a walk last year. It is so lovely to see them all smiling and laughing together.
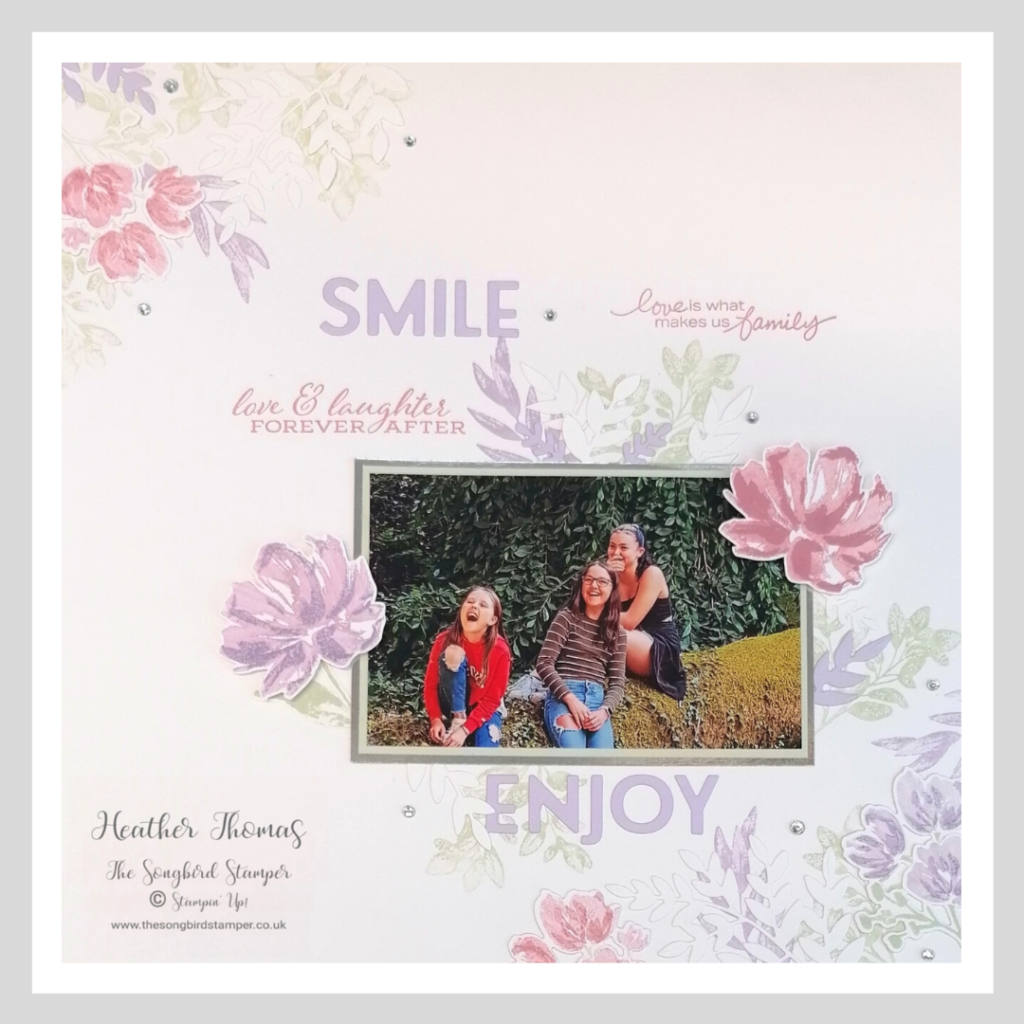
I started by choosing a colour scheme, and I knew I wanted greens to tie in the photograph and a pale pink to tie in with the colour scheme of my Sister-in-Law’s living room. I chose Soft Sea Foam and Blushing Bride, the third colour being Purple Posy, so soft and subtle.
The base card is a piece of 12″ x 12″ Whisper White. I love working on a Whisper White base but it can be a bit nerve wracking. I must admit that this was my second attempt – I almost knew from the word go that I would need to do a draft version first. If you have A3 paper, you could cut some down to size as a trial, just to get the layout sorted before you make a start on the real version, if you are at all concerned.
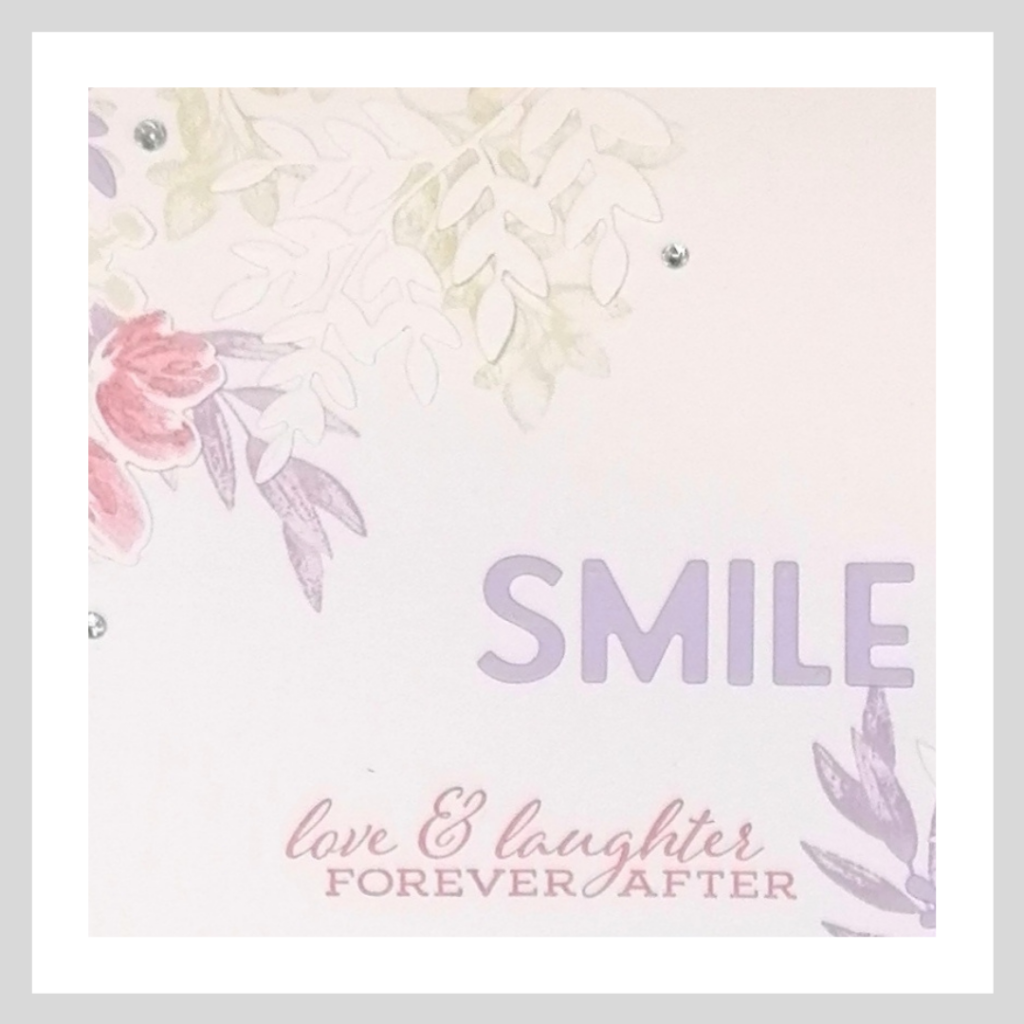
Next up, I stamped some of the flowers from the new Art Gallery stamp set, such beatuiful images and just perfect for my layout here. I decided to pair this set with the outstandingly beautiful Forever Fern bundle, with it’s intricate die-cut leaves, co-ordinating stamps and perfect sentiments.
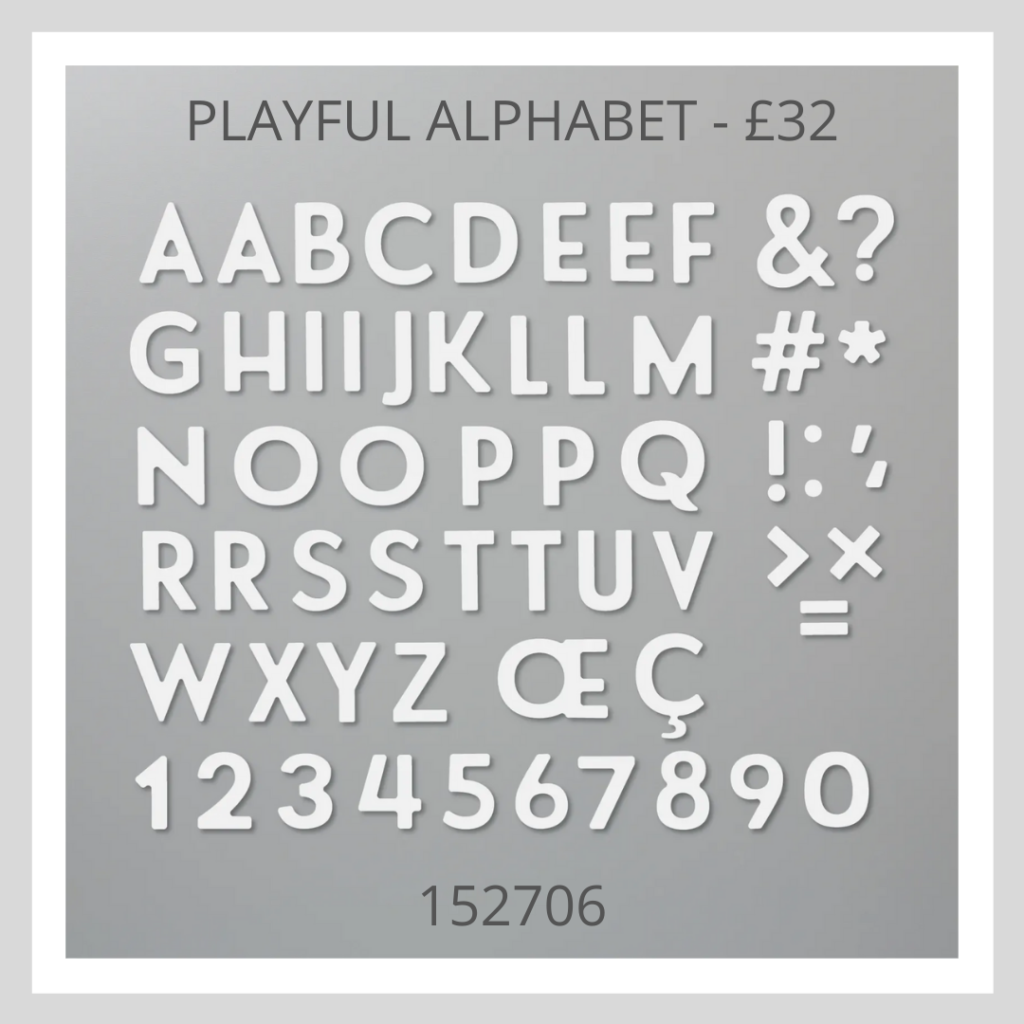
The word SMILE is cut from Purple Posy cardstock using the Playful Alphabet Dies. This is a MUST in your scrapbooking stash – the set even comes with all the numbers and duplicates too, so you can cut plenty of words in a single pass. Who knew having two Es in an alphabet set would make me so happy!
The Design Process
This blog post is titled “how to scrapbook a single photo”, so let me talk you through the process quickly. All I do is take my phtotograph, mat it onto a piece of card and then lay it roughly where I want it on my 12″ x 12″ piece of Whisper White. There is no rhyme or reason to this, just a gut feeling on the day! Because I chose the bottom right quadrant this time, I decided to have my stamped and die-cut elements sweeping from top left to bottom right, to blend the photograph into the background.
I die cut a lot of leaves and flowers, in Soft Sea Foam, Purple Posy, Blushing Bride and White, and just set to work laying them all down, no glue at this point, just playing around with layouts, and trying to imagine some stamped leaves underneath. I knew I wanted some sentiments and die cut words too, and for the stamps I actually take the stamp and lay it onto the card, as I am trialling my layout.

At some point in the process though, you just have to go for it, and start stamping and sticking, and keeping your fingers crossed that you like the end result! I hope I have shown you a little of how to scrapbook a single photo, and don’t forget that these layouts can either be put into a scrapbook for memory keeping, or displayed proudly on a wall, either is a lovely way of remembering special times. I hope that I have inspired you to have a go yourself.
Until next time, Happy stamping xx
- Shop with me online – spend over £20 and receive 10% in Stampin’ Rewards – that’s 10% of your order price back to spend on a future order!
- Click Here to come and join our amazing team of Songbird Stampers, a whole new world of fun and friendship (and discounts!!) await you. Want more information? Why not check out all the FAQs over on the Join My Team page
- Why not follow me on Facebook, for live videos, projects and updates – The Songbird Stamper
- Or Subscribe to me on YouTube – The Songbird Stamper

")


 Cardstock")
