I love making covered notebooks! So often I hear people say that they are sometimes reluctant to give their cards away because they are proud of what they have made. I am totally in this camp and am slowly but surely getting better at giving them away but often just want to keep them and look at them. If this is you, how about making a covered notebook, that way you get to continually look at what you have made, every time you need to write something down.
The measurements will depend entirely on the size of your notebook, but I will give them to you for the notebook that I got from The Range. This is an A5 notebook that come in a pack of three for just £1. They have no cover on and are just a small block of paper with a cardboard back. Perfect for us for this project.
Firstly, I cut a piece of Rich Razzleberry card to 14.7cm x 24.2cm. With the long side at the top I scored it at 2.5cm and 3cm. This will allow about an inch on the back side which will look neat and tidy. I always use a really strong glue like red tape or multipurpose liquid glue from Stampin’ Up! as I don’t want any risk of my cover coming off. Only glue on the inch strip, stick to the back and then fold the cover neatly over the notebook.
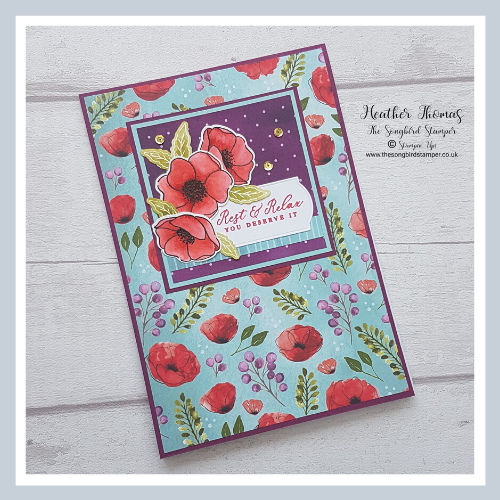
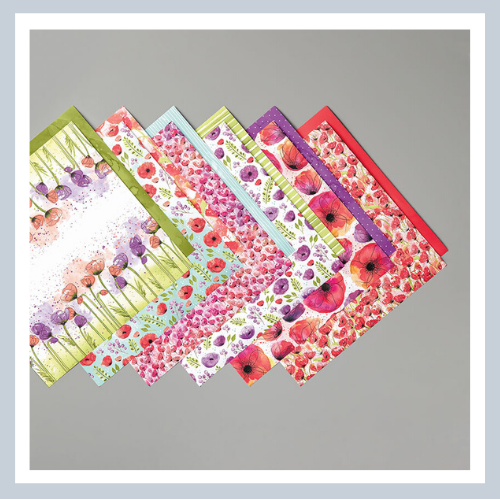
I have used the Peaceful Poppies Designer Series Paper for my project as I just love the colours and the designs. I cut a piece measuring 14cm x 20.5cm and stuck it to the front of my notebook.
For my central panel I used a piece of Rich Razzleberry card measuring 10cm x 10cm, a piece of Pool Party 9.5cm x 9.5cm and a piece of DSP 9cm x 9cm. I really wanted a nice bold focal point here so used multiple layers.
I cut a small strip of co-ordinating DSP 9cm x 1cm and die cut a piece of Whisper White card using the stunning label die from the Painted Labels die set. It is hard to see from the picture but the dies leave a really nice embossed edge around the outside too. I stamped it with a sentiment from the Timeless Tropical Set to help remind myself that it is ok to take a break sometimes!!
I used some of the leaves from the Peaceful Poppies Elements here, they are so quick and easy to use and incredible value at just £6!!
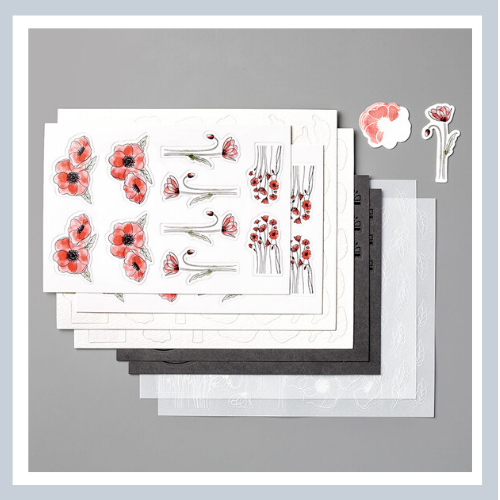
You get 8 sheets total
* 2 sheets black die-cut elements with black foil prints: labels, banners, borders
* 2 sheets white thick cardstock die cuts with coloured prints: poppies
* 2 sheets vellum die cuts with white prints: poppies and leaves
* 2 sheets watercolour paper die cuts with clear UV prints for watercolouring: poppies and leaves
I used the the watercolour paper die cuts and used my Old Olive stamp pad to watercolour in the images. I was hoping to use the poppies here too but I had already used them all up on other projects to I had to make my own! I opted to use Black Heat Embossing Powder to match the poppies in the DSP below, and I used Real Red to colour them in because I think this colour matched the best here.
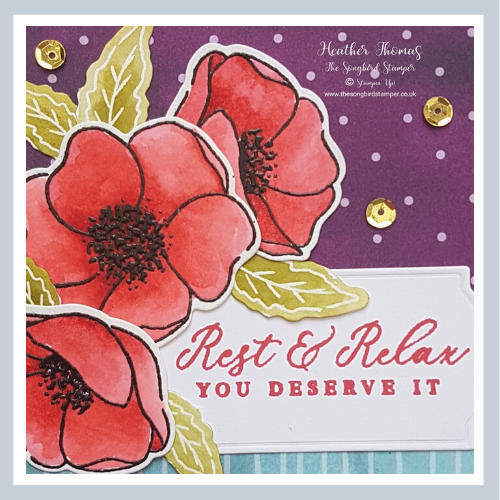
I layered all of my leaves and poppies onto my front panel and used some of the Peaceful Poppies Sequins (£6.50) to finish it off. I really love the gold sequins but you also get red and black round sequins and little flower shaped ones too, super cute!
I hope you have a lot of fun creating notebooks to use in and around the home, in the car or in your handbag… you can never have too many notebooks in my opinion!
Until next time, Happy Crafting xx
- Shop with me online – spend over £20 and receive 10% in Stampin’ Rewards – that’s 10% of your order price back to spend on a future order!
- Click Here to come and join our amazing team of Songbird Stampers, a whole new world of fun and friendship (and discounts!!) await you. Want more information? Why not check out all the FAQs over on the Join My Team page
- Why not follow me on Facebook, for live videos, projects and updates – The Songbird Stamper
- Or Subscribe to me on YouTube – The Songbird Stamper


