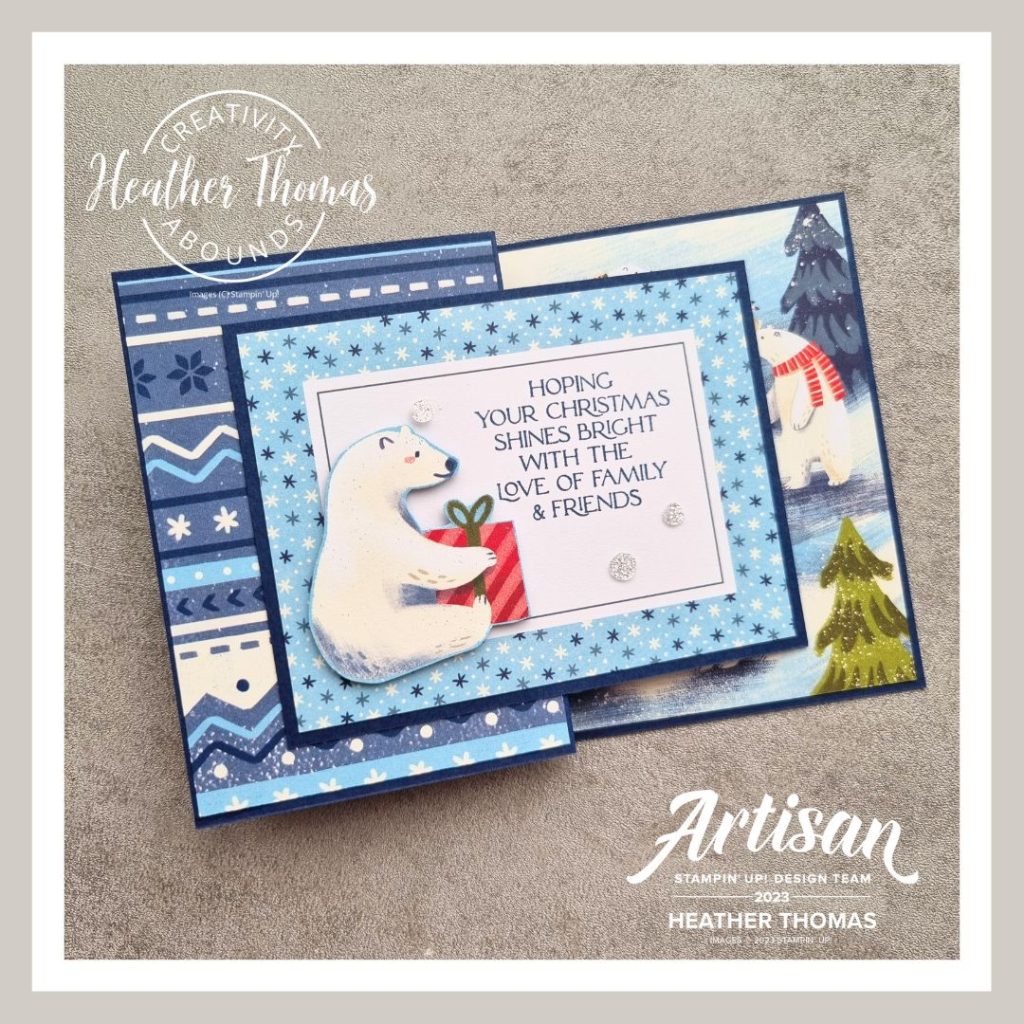
Welcome to the Creativity Abounds blog hop, where this month we are focussing on all things Holiday season, and I have got a fabulous Beary Christmas fun fold card for you, using the Beary Christmas Memories and more cards.

The Creativity Abounds blog hop team are a group of Stampin’ Up! Demonstrators from all over the world who love to share their love of papercrafting with you.
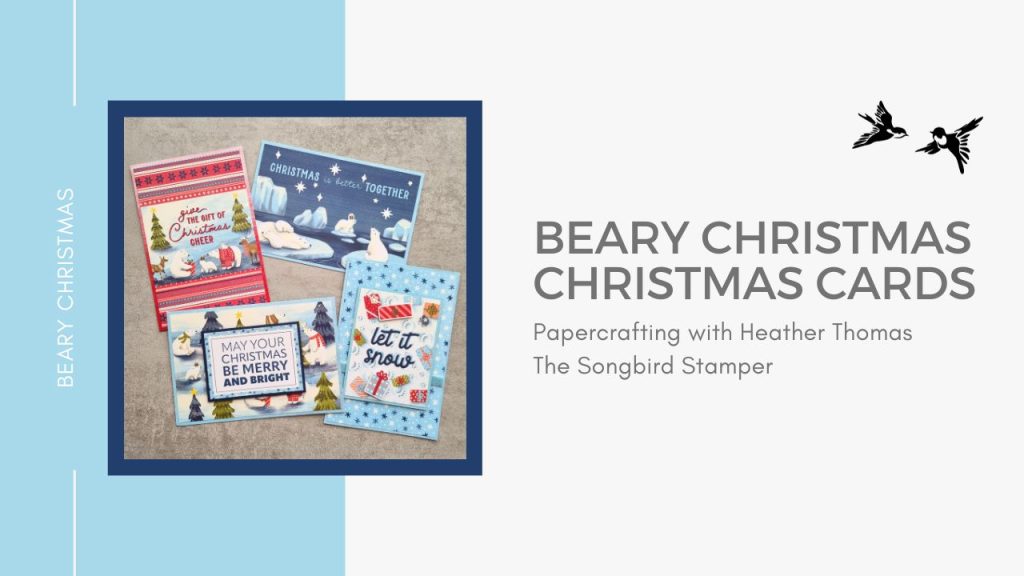
I go live on YouTube once a week, when I am not working, on a Thursday evening at 8pm UK time, and this card was one of many I made during a recent live crafting session. I wanted to see how many cards I could make in an hour using the Beary Christmas Memories and More cards and Designer Series Paper – I don’t own the stamp and punch bundle, but still got some amazing cards made!

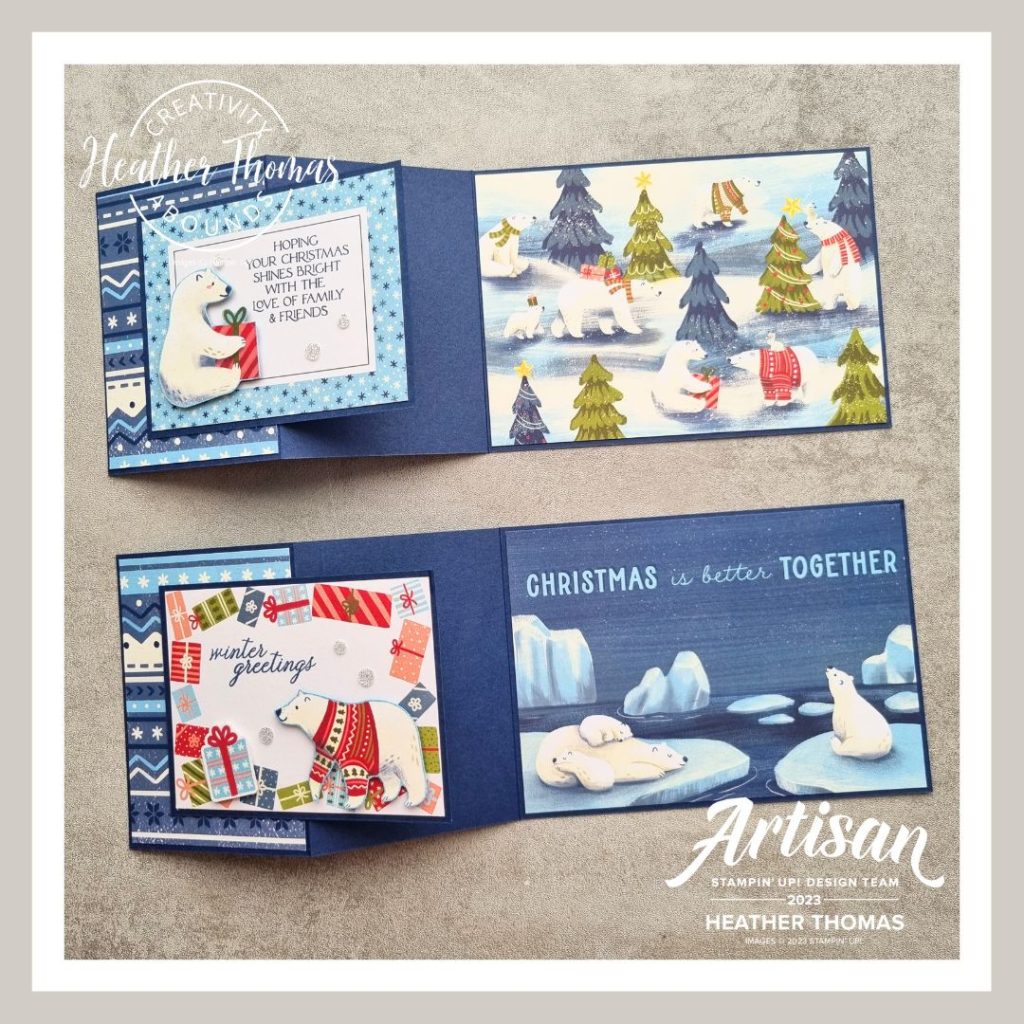
To make this Beary Christmas fun fold card, you will need a piece of Night of Navy card measuring 10.5cm x 29.7cm (a whole length of A4 card). Score it on the long side at 7.4cm and 14.8cm, then fold into a Z fold. You will also need another piece of Night of Navy measuring 10.7cm x 8.1cm.
Cut one of the larger Memories and More cards down to 14.5cm x 10.1cm and stick it on the larger panel of the Z fold card, then cut one of the smaller ones down to 7.1cm x 10.1cm and stick it on the left hand smaller panel.

To finish the card, cut another smaller Memories and More card, or DSP, down to 7.6cm x 10.1cm (they may already be this size!!) and stick it onto the separate smaller piece of cardstock that you cut earlier. Put some liquid glue onto just the left hand side of the panel and stick it half on and half off the left hand panel of the Z fold card. This will mean it sticks out and prominent when the card is opened, but lies centrally when then card is closed.
Now it is just time for you to decorate the panel as you wish, using stamps or stickers or fussy cut images from the DSP.

If you would like to see how I made this Beary Christmas Fun Fold card, and many others using these cards, why not check out my YouTube video below. Sadly my other half cut the internet off towards the end, hence why the video is in two parts – I will pop a link to the second half below the video for you!
Link to Part 2 – https://youtube.com/live/gWySFFf_Bh8
Thank you so much for hopping over to my blog today, I hope you like my project and have found loads of inspiration within all of our posts. If you want to keep hopping, just check out the links below. Until next time, Happy Stamping! xx
Product List- Shop with me online – use Host Code ZMXSCTU9 if spending between £25 and £150 to receive a FREE surprise from me in August.
- Click Here to come and join our amazing team of Songbird Stampers, a whole new world of fun and friendship (and discounts!!) await you. Want more information? Why not check out all the FAQs over on the Join My Team page
- Why not follow me on Facebook, for live videos, projects and updates – The Songbird Stamper
- Or Subscribe to me on YouTube – The Songbird Stamper


Great way to use the Memories & More cards.
Great set of cards. Love it!
Heather, I love both of your cards! I always forget to use the Memories and More cards. Thank you for sharing.
Adorable cards Heather!
Love the ways you used the Memories & More cards and made some beautiful cards!
What a lovely fold! And such a great use of the M&M cards. 🙂
Supercute card and so easy to make with the Memories & More Cards. Thanks for sharing!