This month’s blog hop is all about our favourite techniques, and there’s nothing better than getting messy, so I thought I would show you how to create an ink smooshing background with your favourite Stampin’ Up! colours. It’s a really fun way of making quick and easy backgrounds for your crafting!

The Tech 4 Stampers are a group of Independent Stampin’ Up! Demonstrators from all over the world, all learning and developing in the world of technology. But our first love is papercrafting, so we have joined forces to bring you some incredible projects to help inspire you on your own crafting journey.
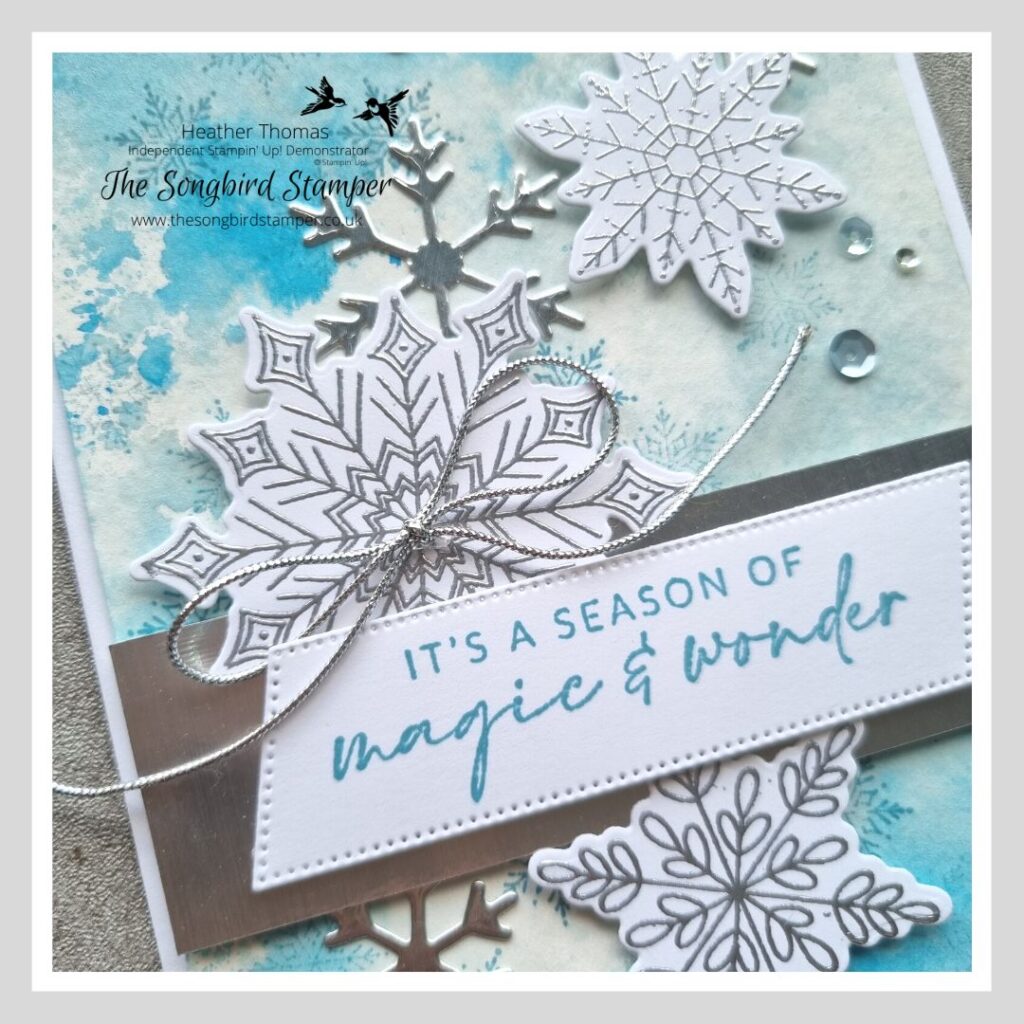
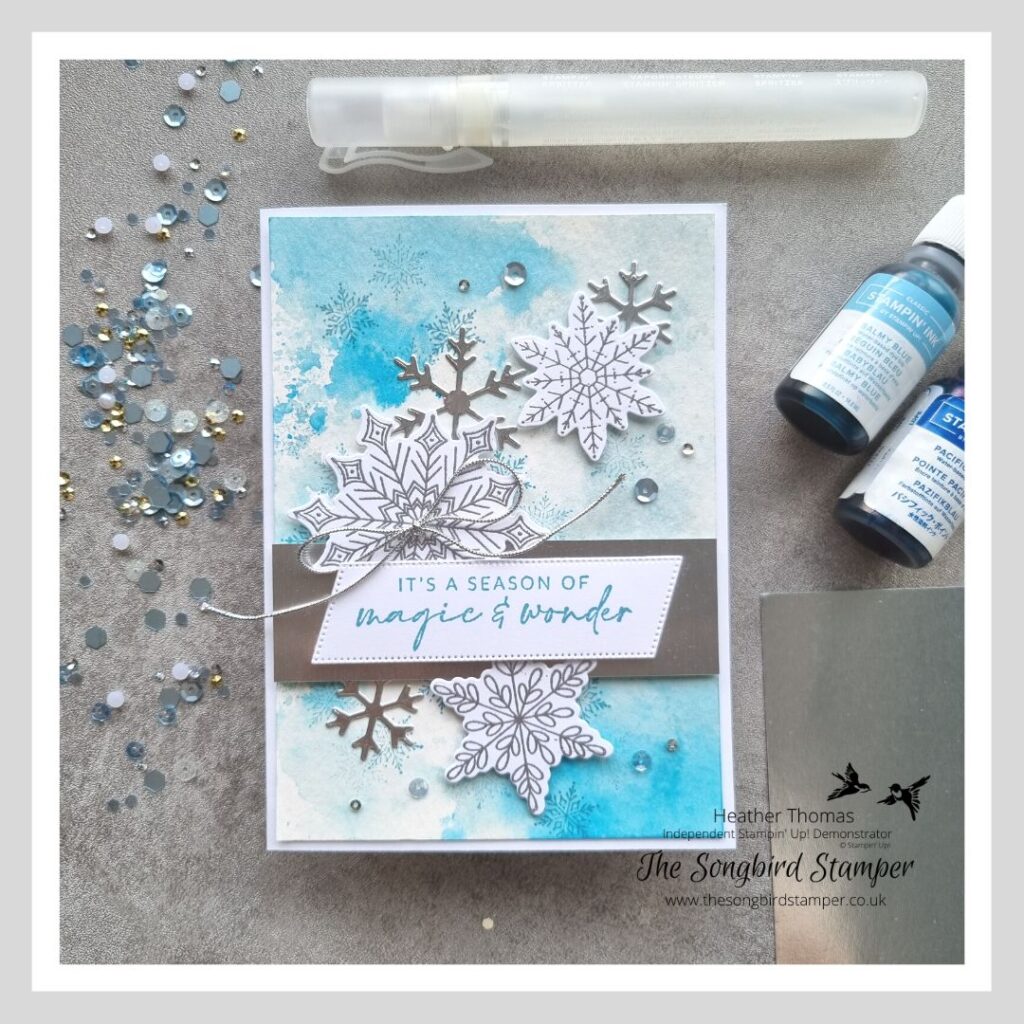
I have used the background I made to create a wintry themed Christmas card, with the amazing Joyful Flurry Bundle, but as you will see below you can use the ink smooshing technique with other colours for a more autumn or a more vibrant look too!
To learn more about watercolouring, and all the techniques and tips that I have, why not think about joining my watercolour cardmaking course. You can find all of the details and the link to book over on my website – https://thesongbirdstamper.co.uk/watercolour-cardmaking-course
So, how to create an ink smooshing background. First thing, you just need to choose your colours (I used ink pads even though the refills are pictured!) Here I went for Balmy Blue and Pacific Point. Balmy Blue is a light soft blue from the Subtles family and Pacific Point from the Brights family is much more vibrant, giving a real punch. The other supplies you will need are some Fluid 100 Watercolour cardstock, a non-porous surface like a large acrylic block (or silicon mat) and a water spritzer.
Onto your non-porous surface, dab the ink pad in random places. I always start with the lighter colour first. Then add a little of the Pacific Point too. Spritz the ink with the water spritzer, four or five squirts should be enough, and lightly spritz the watercolour cardstock too.
Then all you need to do is take the card to the ink on your block or mat and smoosh it into the ink. When you lift it up you will notice the ink has made some beautiful patterns onto your cardstock, and the joy is that you can just keep playing until you get the result that you want!
The biggest tip is that more water will give you a nice blended background and less water will give you more interesting textures and patters, so personally I tend to mix it up a bit. I do a bit of ink smooshing with plenty of water and then add some more ink to the block, just lightly spritz and pick up some of that drier ink.
Just play around with it and have some fun! Here I have used other colours for a completely different look!
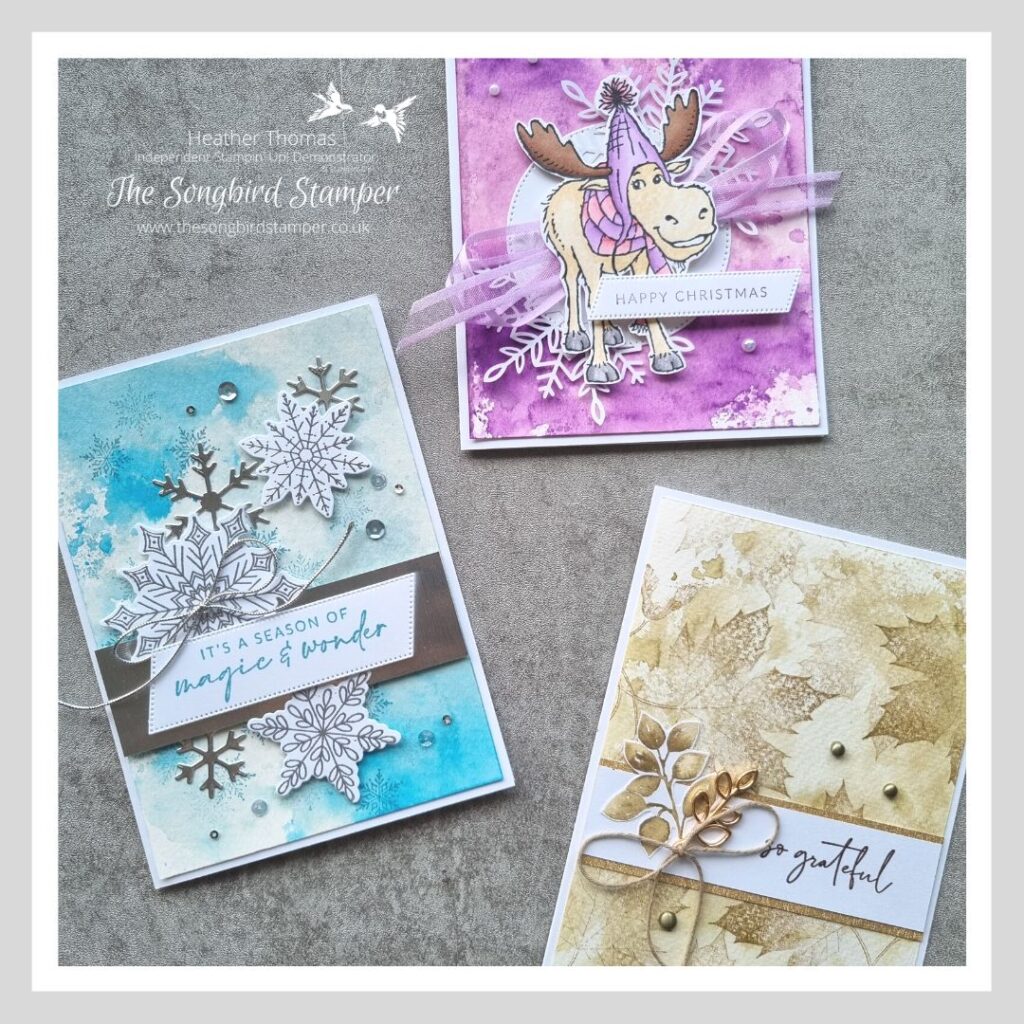
Once your background is completely dry you can even add a little stamping if you wish, just like I have with the snowflakes on the blue card and the leaves on the brown card. Just make sure it is really dry otherwise you won’t get the clean crisp lines that you might want.
I hope that you give it a go and that you have fun if you create an ink smooshing background of your own! For now though, why not hop around the rest of the team’s posts for even more technique ideas and inspiration.
Until next time, Happy Stamping!
Combined Colouring Course

Bookings are now open for my new Combined Colouring Course, on Saturday 23rd November 2024 and Saturday 30th December 2024, with two full day zoom classes running from 10.30am until 4.30pm. All of the classes are recorded into a Private Facebook Group too, so you can watch and rewatch as many times as you like. The course also includes a comprehensive written course guide, with accompanying worksheets.
There are two options for this course, a product based option (available UK only) and an online only option (available WORLDWIDE). The online only version is £80 and the product based version is £180 – for which you get access to the whole course, the course guide, £176 worth of product and free postage too.
If you would like to learn all my tips, tricks and techniques, please do visit this page to sign up or register your interest today!
- Shop with me online – spend over £20 and receive 10% in Stampin’ Rewards – that’s 10% of your order price back to spend on a future order!
- Click Here to come and join our amazing team of Songbird Stampers, a whole new world of fun and friendship (and discounts!!) await you. Want more information? Why not check out all the FAQs over on the Join My Team page
- Why not follow me on Facebook, for live videos, projects and updates – The Songbird Stamper
- Or Subscribe to me on YouTube – The Songbird Stamper


")

Love a smoosh! Gorgeous cards Heather as always x
Beautiful cards, great technique – one of my faves too. tfs
Thank you for sharing this technique & I can’t wait to have fun with it. I love your icicle blue card. Very pretty, simple yet effective modern card.
Gorgeous cards. The smoosh is beautiful, I always forget this one x
Fabulous smooshing – I love playing with inks. Lovely cards.