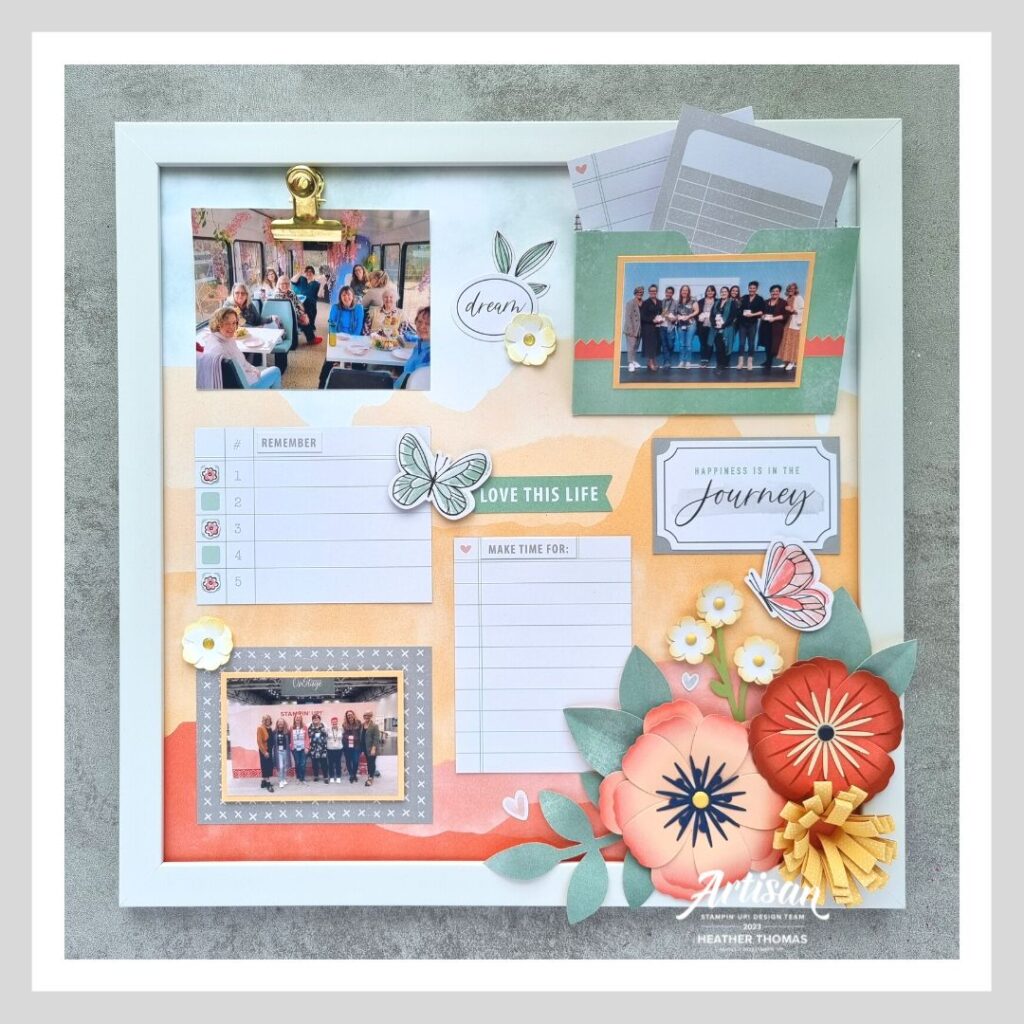
The theme for this month’s Stamptastic Friends Blog Hop is home decor, and I wanted to share with you how I created this home decor piece with Stampin’ Up! kit collections, combining two kits together to create one really special piece, that can be kept and treasured or given away as a gift.

Every month the Stamptastic Friendse come together to share with you the very best of Stampin’ Up! with cards and projects on a specific theme. Thank you so much for stopping by today and please do hop around the rest of the blogs using the links at the bottom of my post to see what else the team have in store for you.
As I was searching for inspiration for this project, I happened across my little stash of kits from Stampin’ Up! These boxes are generally filled with all of the materials and tools that you need to create the beautiful projects that the designers have made, and it just so happened that two of the ones I had in pile worked brilliantly together! Here I have combined the Wreaths of Blooms kit and the Celebrate Today Magnet Board Kit.

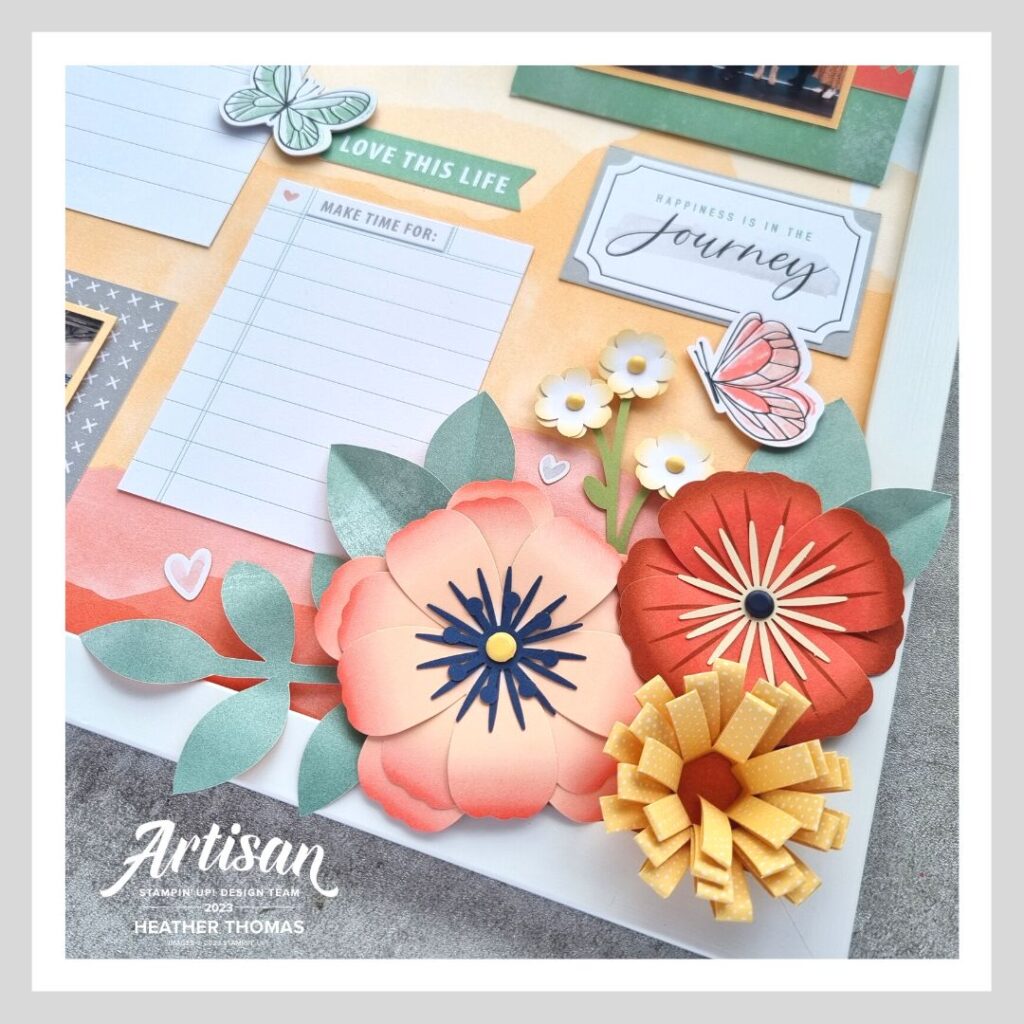
The only additional products that I have used here are a couple of sheets of Designer Series Paper from the Delicate Desert pack, one for the background and one for the leaves on the wreath kit, as the ones in the kit were a slightly different shade of green which I didn’t think co-ordinated as well.
The Celebrate Today Magnet Board Kit comes with lots of different journal based cards, which I have used both as backgrounds for my photos and as little reminder cards, stuck onto the backing sheet. There are magnet clips in the kit though, in case you didn’t want them to be as permanent as mine are.
It also comes with two of the cute envelope type pockets, a handy place to store little notes or messages of inspiration and lots of lovely little stickers which I have used to embellish my piece.

I really love the flowers and leaves in the Wreath of Blooms kit, but didn’t have much room or need for the hanging wreath myself. I could have given it as a gift but I must say I LOVE how well it works with the frame here to add a really decorative corner. The kit is so easy to put together, just follow the instructions really, though I did create some new leaves using some different DSP.
This was really easy to do, just take your chosen sheet of DSP and turn it over, then overlay the sheet of leaves that comes with the kit (minus the leaves, of course). Simply take a pencil and draw through the stencil, then cut your new leaves out with a pair of paper snips and they are ready to go!

I hope that I have inspired you to have a go at creating home decor with Stampin’ Up! kits, I do love how this turned out and now have it proudly hanging by my desk as a reminder of good memories and what is important to me.
To hop around the rest of the team’s posts, simply click on the links below, and if you would like to purchase these kits so that you can make some home decor of your own, why not click the product links below those, to head straight to my online store.
Thank you for stopping by, until next time, Happy Stamping xx
Product List- Shop with me online – use Host Code ZMXSCTU9 if spending between £25 and £150 to receive a FREE surprise from me in August.
- Click Here to come and join our amazing team of Songbird Stampers, a whole new world of fun and friendship (and discounts!!) await you. Want more information? Why not check out all the FAQs over on the Join My Team page
- Why not follow me on Facebook, for live videos, projects and updates – The Songbird Stamper
- Or Subscribe to me on YouTube – The Songbird Stamper


What a great idea to blend two of the project kits together – gorgeous design !
I knew there was a reason I had not used either of these kits! I can combine them and have a fabulous decor item! Thanks for sharing.