I have been a bit quiet on the blog the last couple of weeks, I was getting a bit burnt out, so decided to join a health club and I have been 8 times in the last two weeks, I am loving it, but I almost forgot to make anything! Whoops, lol. I spent some time in the Sauna and Jacuzzi the other day and think this must have inspired my card, my Seaside Notions Shaker Card.

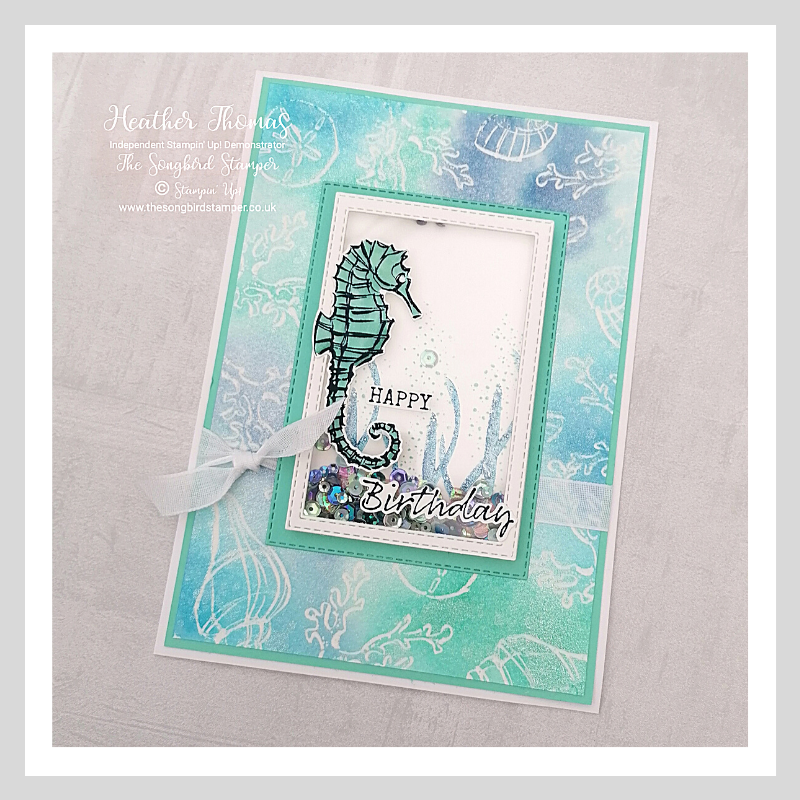
The background is made using Watercolour card… I heat embossed a random pattern using lots of different stamps from the set Seaside Notions, in Clear Embossing Powder. Once I had heat set it I used my water painter to paint the background in Bemuda Bay, Balmy Blue, Pacific Point and Night of Navy, though just a touch of this one! The card is 5″ x 7″, so my mat is 4 7/8″ x 6 7/8″ and my Watercolour card is 4 3/4″ x 6 3/4″.
I used some Frost White Shimmer Paint in a spritzer and sprayed that onto the front of my card when it was all dry, it gives a really pretty finish with a pearlescent shine.
The Shaker Element
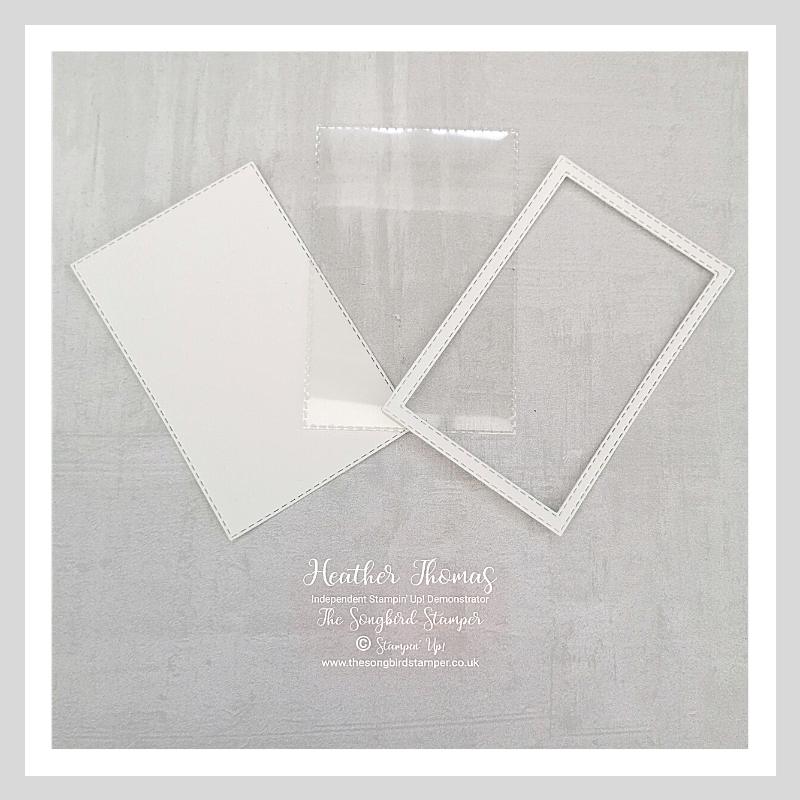
To make the shaker element, I used the Stitched Rectangles dies. What a fabulous set of dies these are, and perfect for shaker cards. I cut a frame from Whisper White card, by using two consecutive rectangles, running them both through the Cut and Emboss Machine at the same time. I also cut a piece of Window Sheet (Acetate) and another piece of Whisper White using the bigger of my two rectangle dies, so they are exactly the same size as the outside of my frame.
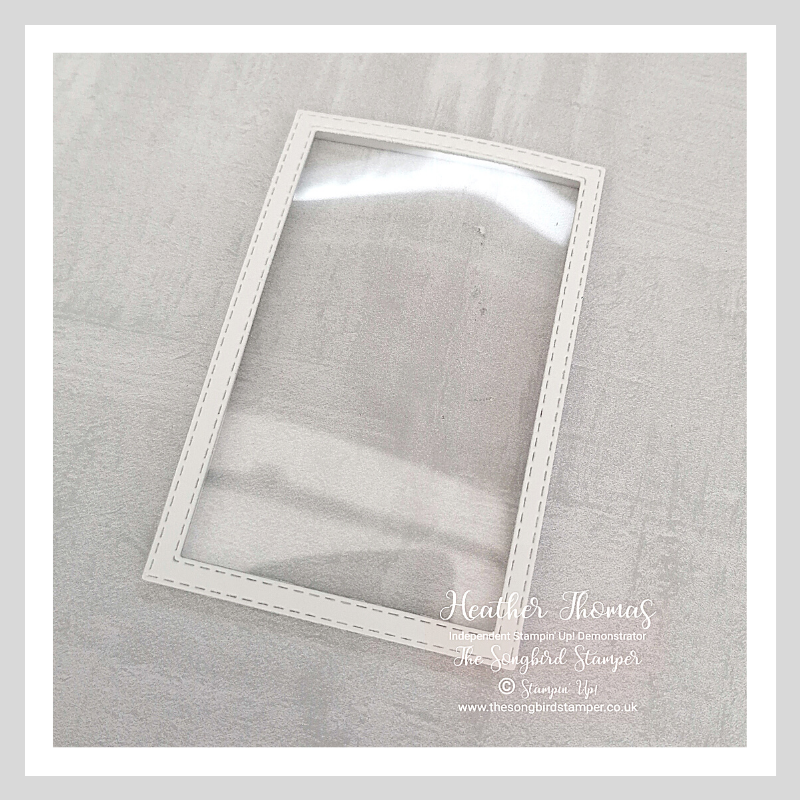
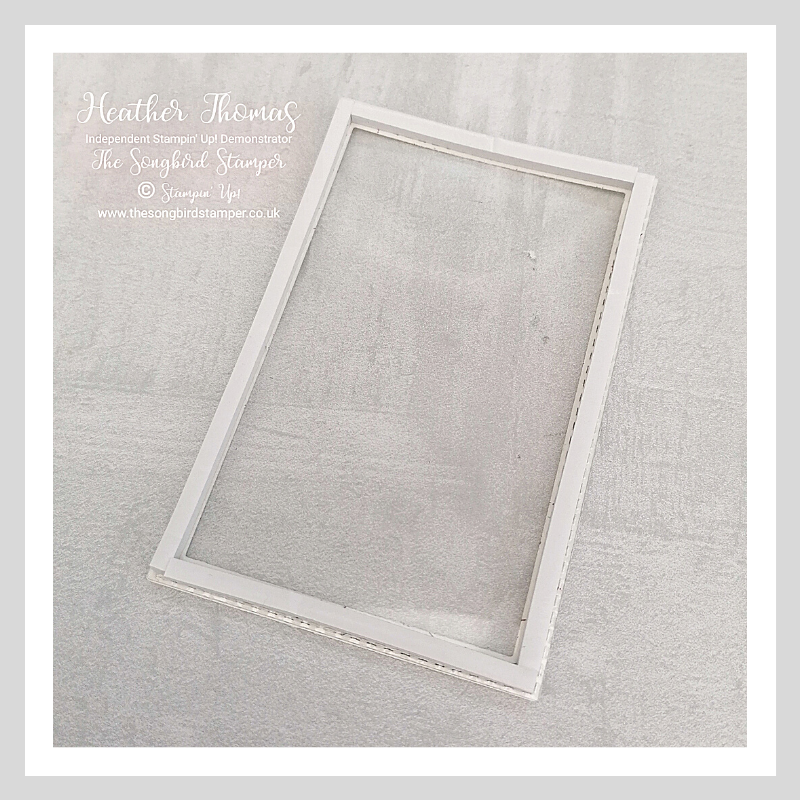
To assemble these, run a thing strip of glue on the reverse of the frame, and then stick this to the top of the acetate. When it is dry, run some 3D foam strips on the reverse of the acetate, but don’t peel away the backing just yet. The foam strips from Stampin’ Up! are AMAZING and just he perfect size for shaker cards… I really recommend using them, you won’t look back! Running some powder along the edge of foam stripping, use an embossing buddy or similar, it stops the sequins from sticking to the edges when it is all put together!
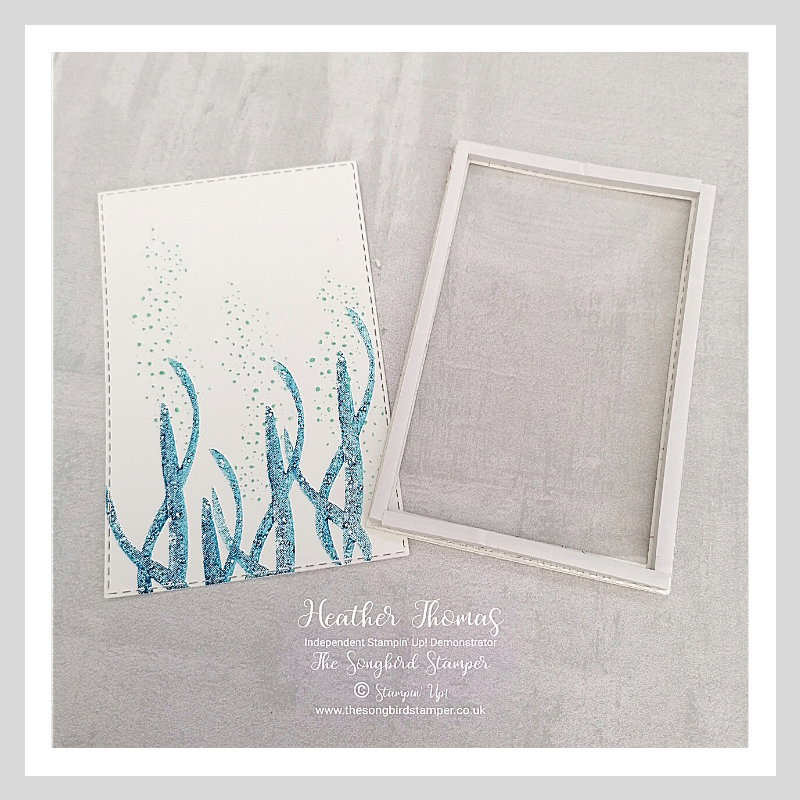
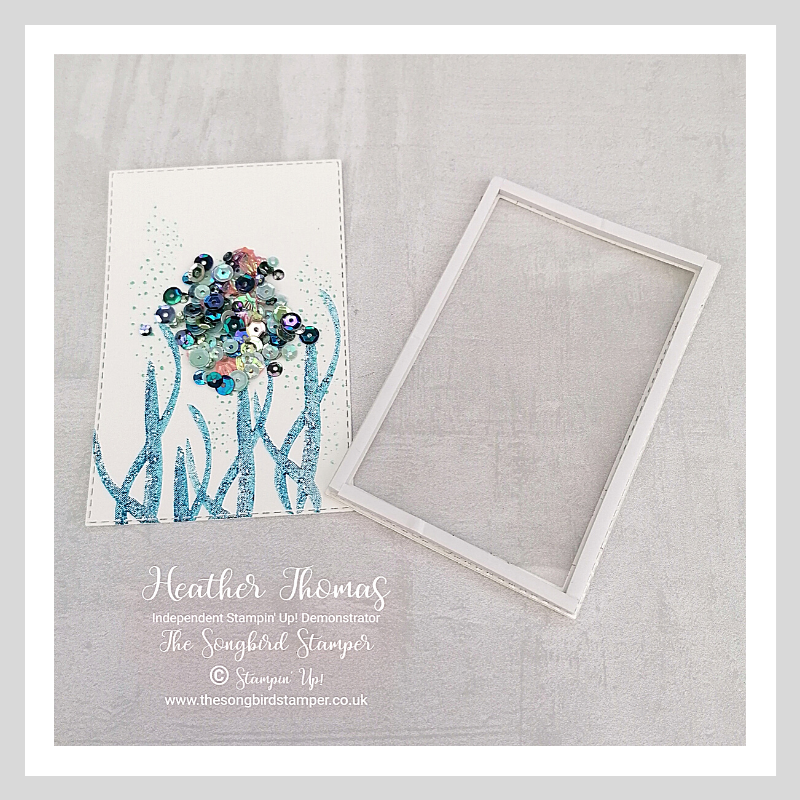
Stamp some images onto the whole Whisper White die cut, I used the Whale of A Time stamp set for the seaweed here, in stamped off Pacific Point, and stamped off Bemuda Bay for the small dots from the Seaside Notions stamp set. Once happy with your design, pop some sequins (I used the Whale of a Time sequins) onto the centre of this piece and then peel the backing off the foam strips and place this over the top. You now have your shaker element.
Finishing off the Seaside Notions Shaker Card
All I did to finish my Seaside Notions Shaker Card was to mat my shaker element onto a piece of Bemuda Bay card, wrap some white ribbon round the front panel, tie it into a knot and then stick this onto the front of my watercolour card. Oh, and I stamped a seahorse in Night of Navy, coloured it in with the Bermuda Bay Stampin’ Blends and then stamped and cut out the Happy Birthday sentiment to stick on the front too.
I hope you like this Seaside Notions Shaker Card, I really enjoyed making it, reminded me of sunnier days and holidays. Hopefully next year we will be able to go away again somewhere hot and sunny.
Until next time, stay safe and Happy Crafting xx
- Shop with me online – spend over £20 and receive 10% in Stampin’ Rewards – that’s 10% of your order price back to spend on a future order!
- Click Here to come and join our amazing team of Songbird Stampers, a whole new world of fun and friendship (and discounts!!) await you. Want more information? Why not check out all the FAQs over on the Join My Team page
- Why not follow me on Facebook, for live videos, projects and updates – The Songbird Stamper
- Or Subscribe to me on YouTube – The Songbird Stamper


