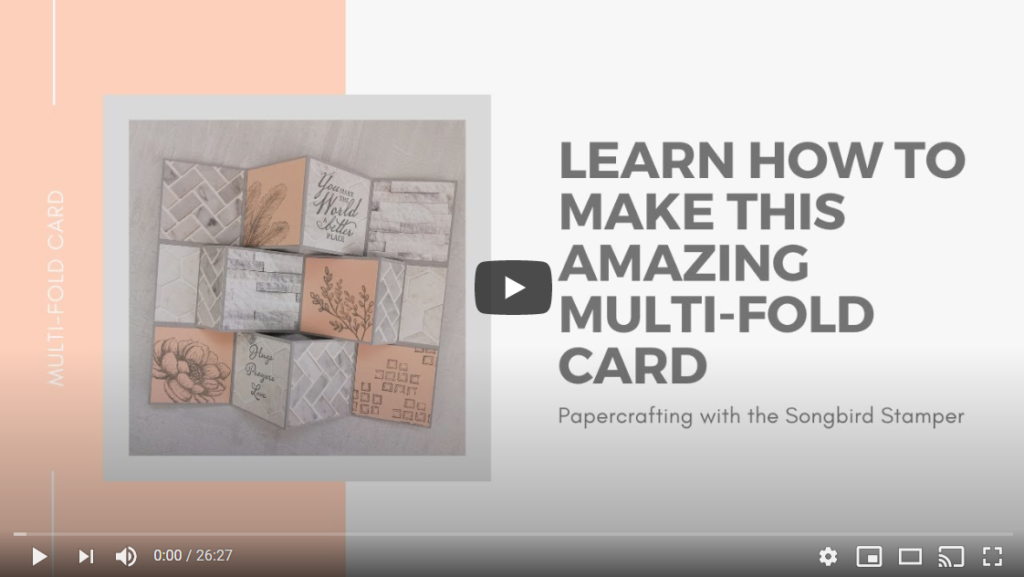
I have got something a little bit special for you today and I am calling it the Multi-fold Card. I came across a video on YouTube, with a fancy fold that I rather liked the look of, but the video was in a foreign language so I don’t know the name of the creator, the name of the fold, or even the measurements! I did know that I wanted to try and create something similar though, so I set about designing this card, with measurements to suit me.

The Multi-fold card folds up beautifully into a slim style card, with a belly band around. I just love how sweet and sophisticated it is, especially paired with the beautiful Tasteful Touches bundle. I simply love the delicate images and gorgeous sentiments which pair beautifully with the In Good Taste Designer Series Paper. I have created a video tutorial which is below, to help show you how the card is made, but the measurements are also listed to give you a helping hand.
The Tastful Touches Bundle is just one of many bundles that you can get for FREE during June when you join my team of Songbird Stampers, in addition to £130 worth of product of your choice, free shipping and lots of other perks. All you pay is £99, an absolute bargain if you ask me. For more information, why not send me an email, or click on the JOIN MY TEAM page for some Frequently Asked Questions.

The measurements for the Multi-fold card are as follows:
- 1 piece of Smoky Slate Card 8″ x 6″ – scored on the long side at 2″, 4″ and 6″ – scored on the short side at 2″ and 4″ – this will form the main card
- 2 pieces of Smoky Slate Card 6″ x 2″ to act as sturdying panels
- 1 piece of Smoky Slate Card 2″ x 6 1/2″ – scored on the long side at 2″, 2 1/4″, 4 1/4″, 4 1/2″
- 4 pieces of Petal Pink card 1 7/8″ x 1 7/8″ and 6 pieces of DSP the same size – to decorate the inside
- 4 pieces of DSP 1 7/8″ x 15/16″ (just under 1″) – to decorate the inside
- 2 pieces of DSP 1 7/8″ x 5 7/8″ – to decorate the sturdying panels
- 1 piece of DSP 1 7/8″ x 6 1/2″ – to decorate the belly band
Watch the video below for a step by step tutorial of how it all goes together.
If you like what you see, please don’t forget to subscribe to my newlsetter and my YouTube channel so that you don’t miss out on any future tutorials and card ideas. Thank you so much for visiting my site today, I loved making this card and hope you are inspired to have a go too.
- Shop with me online – use Host Code ZMXSCTU9 if spending between £25 and £150 to receive a FREE surprise from me in August.
- Click Here to come and join our amazing team of Songbird Stampers, a whole new world of fun and friendship (and discounts!!) await you. Want more information? Why not check out all the FAQs over on the Join My Team page
- Why not follow me on Facebook, for live videos, projects and updates – The Songbird Stamper
- Or Subscribe to me on YouTube – The Songbird Stamper


Lovely card. Looks like a good card for using up leftover dsp, too.
Absolutely Katherine! Thank you so much, I am glad you like it and hope it inspired you xx
Thanks so much for your fabulous tutorial and video. I fell in love with your gorgeous card so had to try my own. I’ve posted it to my blog, if you’re interested in a peek.
http://smallbitsofpaper.blogspot.com/2022/05/i-believe-in-you.html
Thank you so much for having a go at this, and for posting it so I can see it too!! I love your take on it, it looks fabulous, and I’m so glad you found the tutorial easy to understand and follow!!