I wanted to make something a little bit different this week, so I am here to tell you how to make a paper rosette – they really are much easier than you think and can be used as cake toppers, pencil toppers or just lovely decorations.
I made this paper rosette using some of the new Supple Shimmer 12″ x 12″ Speciality Paper, it’s sooooo pretty!! All you need to do is cut two lengths of 12″ x 1.5″ and then score each of these at 1/2″ intervals. Fold them concertina style and then glue them both together, at each end, to create a circle. Now for the fun part!
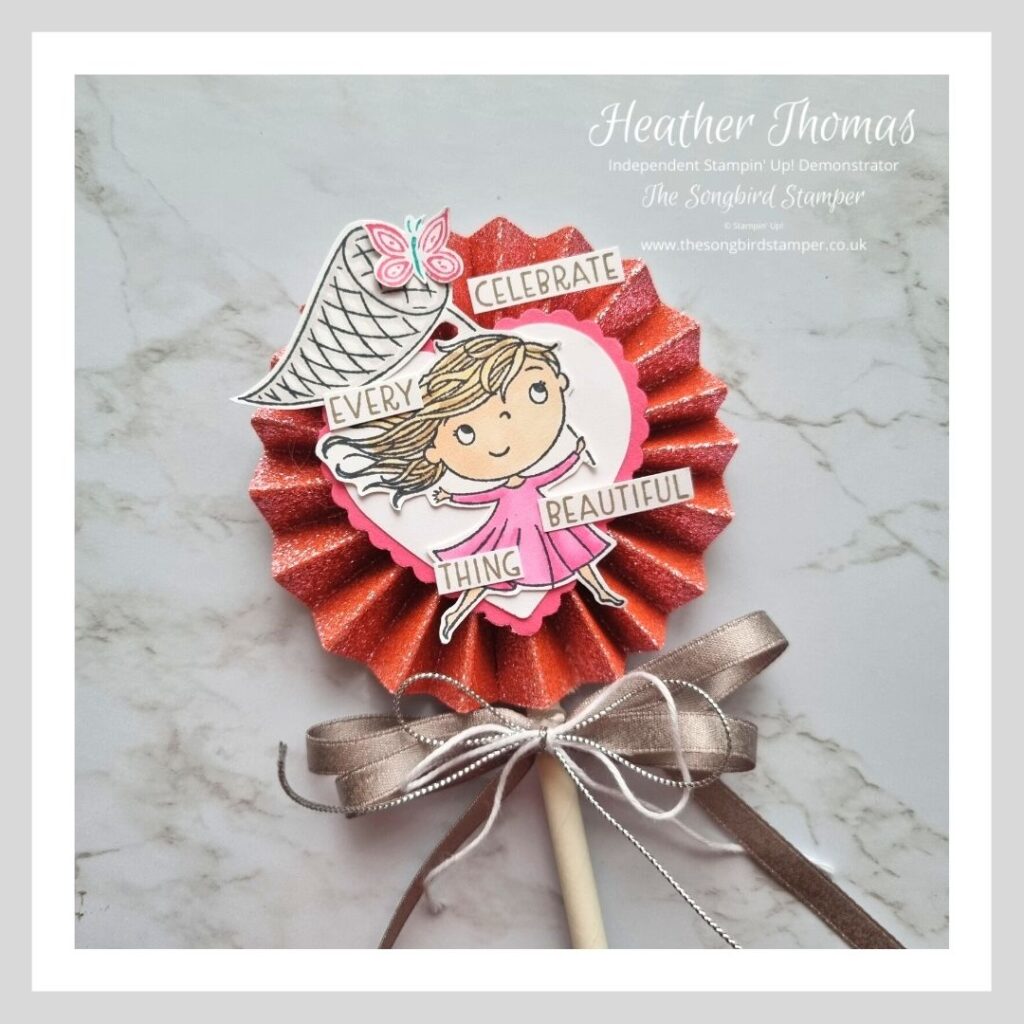
Squash the cardstock down so that it forms a circle and then squeeze it in to create a tight circle. You will need a hot glue gun next, unless you have a lot of patience. Take a circle of card around 2″ diameter and glue hot glue all over it. Lay the rosette down on top of it and hold until the glue cools and dries. I then put hot glue into the hole in the centre of the rosette too, just to ensure a good hold.
That’s the hard part over, and now you can concentrate on the decorating – yay! I went for a very girly theme here, perfect for a little girls birthday cake I thought. I coloured in the image from the Catching Butterflies stamp set and then fussy cut her out. The hearts are punched in Polished Pink and Basic White and the sentiment is also stamped and fussy cut. What a lovely saying that is!
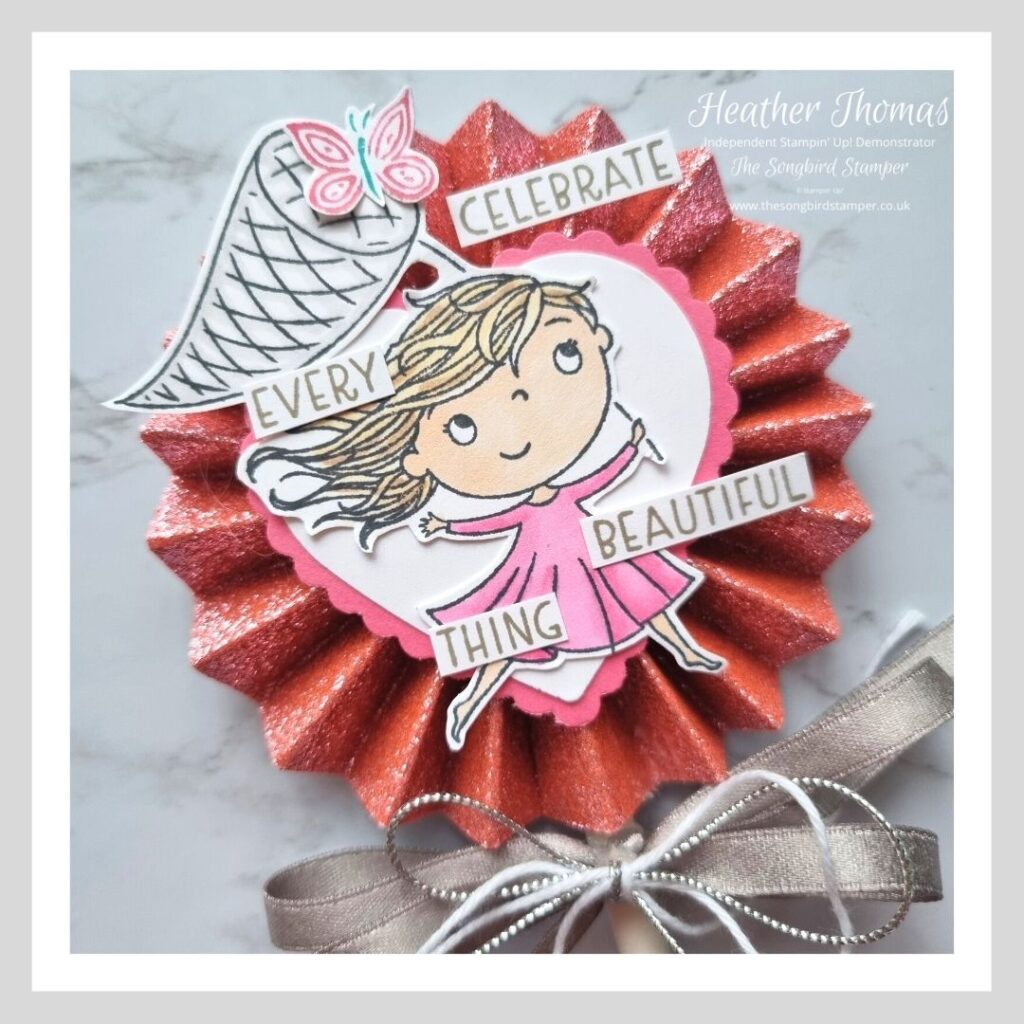
I ordered some paper straws from Amazon and these work perfectly to create a rod for putting into the cake, but you could also use a pencil too. Simply put some more hot glue into one of the folds in the back and then lay the straw in, I hope you can see from the picture. I created some bows from some shiny ribbons and twines and then hot glued these in place too.
I do hope this post has helped you to see how to make a paper rosette, but if you have any questions, please don’t hesitate to get in touch, and who knows – I might just add a video tutorial for you at some point!
Until next time, Happy Stamping,
Heather xx