Welcome to this month’s Creativity Abounds Blog Hop, where we are focussing on masculine makes, and I really wanted to show you how to make a simple masculine card, as these are often the kind of project we struggle with most.

The Creativity Abounds Blog Hop group consists of Stampin’ Up! Demonstrators from all over the world, and we just love sharing our joy of creativity with you.
As well as monthly blog hops, we also have a monthly tutorial bundle with the same theme, so if making cards for men is something you struggle with, this could be the perfect tutorial bundle for you! See the sneak peeks at the bottom of this post.
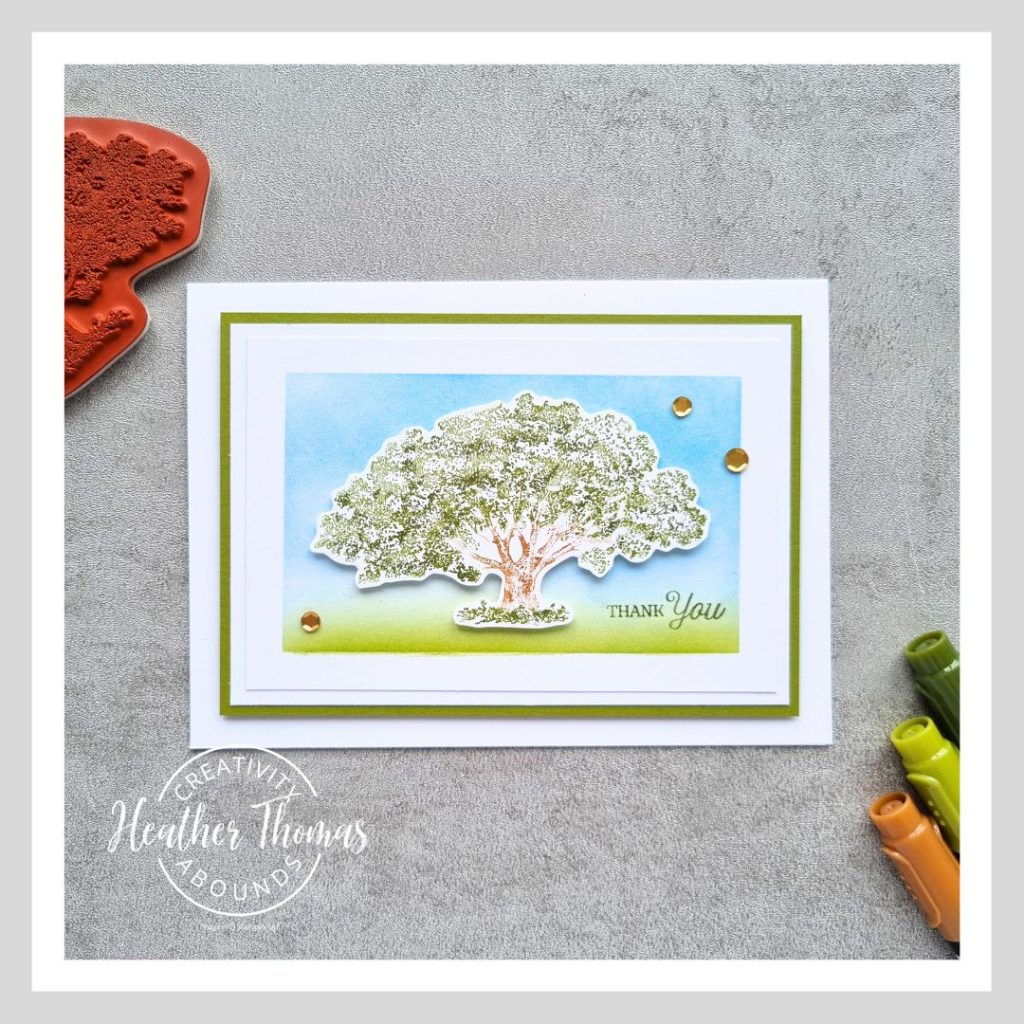
I have kept this card really simple and fairly neutral, so I actually think this card would work for the men and the women in your life. The card is stepped up with multiple layers, while the focal point is really very toned down.
I will give you all the measurements for the layers in a moment, just keep reading on, but first I wanted to share how I got the colours on my stamped image. Have you ever heard of the Stampin’ Write markers? They are a water based marker with a dual tip, one bullet tip and one brush tip.
The brush tips are perfect for colouring directly onto the red rubber stamps, which we then stamp onto white card. Here I used Pecan Pie to colour the trunk and a mix of Old Olive and Mossy Meadow to colour the grass and the leaves. Doesn’t it look fab!
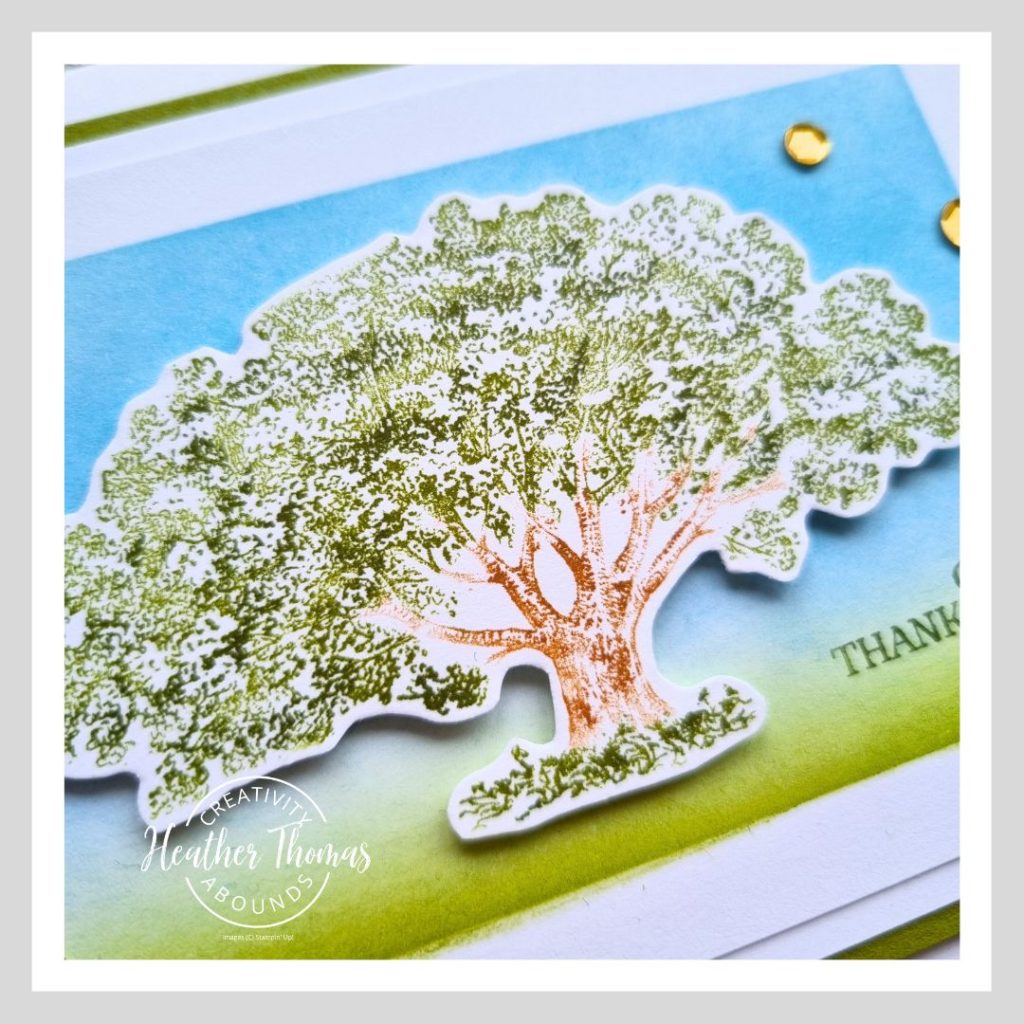
Once stamped I fussy cut this image out, ready to add to my card with dimensionals when it was complete.
The main card base is Thick Basic White and is a standard size of 14.5cm x 21cm scored at 10.5cm (8 1/2″ x 5 1/2″ scored at 4 1/4″) The next layer is Old Olive card measuring 13cm x 9cm (5″ x 3 3/4″) and then the next two are Basic White measuring 12.5cm x 8.5cm (4 3/4″ x 3 1/2″) and 12cm x 8cm (4 1/2″ x 3 1/4″).
Take the smallest white piece and gently mask off the four sides using some very low tack tape or our masking sheets. If you are using the masking sheets, try to take off a little bit of the sticky on your hand of clothes before sticking to the card otherwise it can rip when removed.
Then gently sponge on some light Old Olive ink for the grass and some Balmy Blue for the sky. It looks so beautiful when you remove the tape!
I stamped a sentiment in Old Olive and then stuck the two white layers and the Old Olive layer together with wet glue and then added the whole panel to the front of the card with dimensionals, before adding my tree topper with dimensionals too.
All that was needed now were a few gold sequins to finish. I think masculine cards look more effective if they are a little plainer and simpler – at least that is what my other half likes in a card.
I hope that you enjoyed learning how to make a simple masculine card today, and don’t forget to download the tutorial if you want to see more masculine themed projects.


Please do check out the rest of the hop too, I know everyone will have some amazing techniques for you!
Until next time, Happy Stamping xx
- Shop with me online – spend over £20 and receive 10% in Stampin’ Rewards – that’s 10% of your order price back to spend on a future order!
- Click Here to come and join our amazing team of Songbird Stampers, a whole new world of fun and friendship (and discounts!!) await you. Want more information? Why not check out all the FAQs over on the Join My Team page
- Why not follow me on Facebook, for live videos, projects and updates – The Songbird Stamper
- Or Subscribe to me on YouTube – The Songbird Stamper
Lovely card, Heather. You can never go wrong with a beautifully sponged background like this.
I love this clean and simple but so gorgeous card. Thanks for the inspiration and sharing!
Gorgeous background and card, Heather.