Hello & welcome back to the Casually Crafting Blog Hop. This months theme is Easter. I imagine that for some people Easter is the last thing on your minds, but I hope this hop will provide you with some much needed relief during a challenging time…
The Casually Crafting Design Team are a group of independent Stampin’ Up! demonstrators that want to share our take on casual crafting with you all. We will be sharing what we love every 3rd Friday of each month. Make sure you check out the rest of the Design Team’s creative projects from the photo links at the end of this post.
Welcome Easter…
Giving Easter cards isn’t a big thing in the UK, it all seems to be about the chocolate, but I think any excuse to send a card and tell someone you are thinking about them is a great idea, especially at the moment, so I’m on a mission to get people sending Easter cards this year. I have also made a cute little Easter treat holder for some mini chocolate eggs, to make me happy!
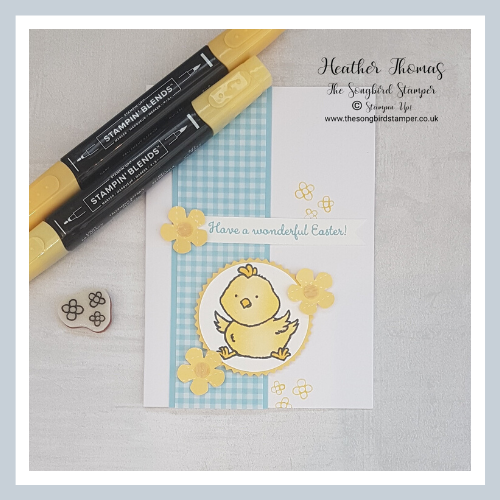
To make the card I started with a piece of Thick Whisper White card measuring 21cm x 14.5cm. I scored it in half at 10.5cm and then cut a piece of Balmy Blue card to 14.5cm x 4.5cm and a piece of subtles 6″ x 6″ paper to 14.5cm x 4cm. I glued these on top of one another and then stuck it onto the front of my card blank.
I stamped the chick image from the Welcome Easter stamp set (£19) in Memento black ink onto Whisper White card and coloured it in using the light and dark So Saffron Stampin’ Blends. His little feet and beak are coloured in using Dark Mango Melody and he is punched out using the 2″ circle punch with a background mat of so saffron punched out using the starburst punch.
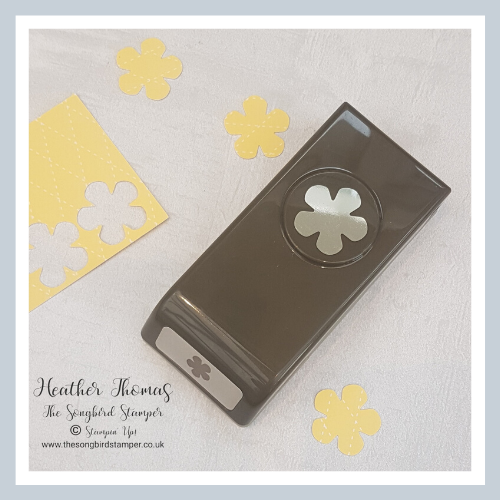
To make the flowers I used the small bloom punch which is FREE at the moment with a £90 purchase, though I for one hope that they carry this over to the new catalogue! I punched out three flowers and then used my fingers to bend the petals upwards to give a little shape before adding a little sequin to the middle.
I used the little flower stamp from the set to add some stamped flowers to the background, again in so saffron, before popping my chick up on dimensionals and adding the flowers. The sentiment is also from this set, and is in a beautiful handwritten font. I stamped this in Balmy Blue before trimming down to size and adding just underneath one of the flowers.
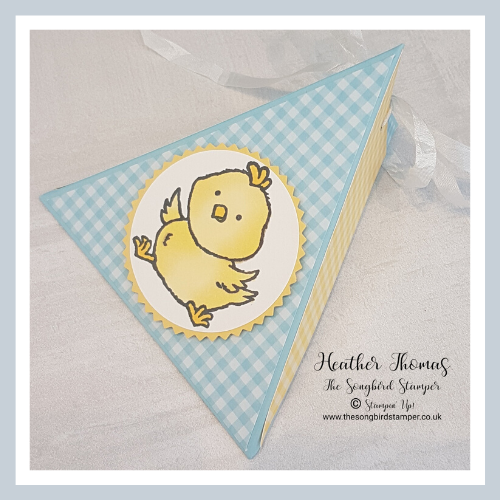
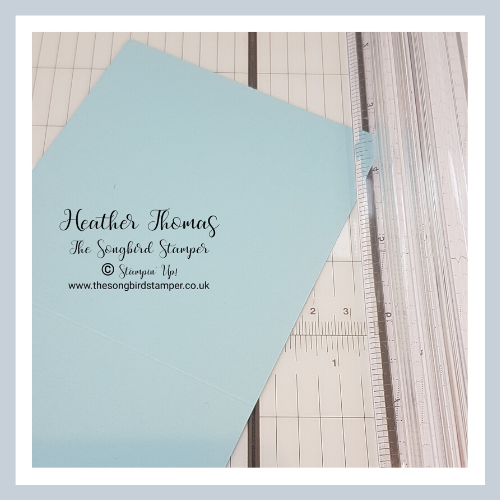
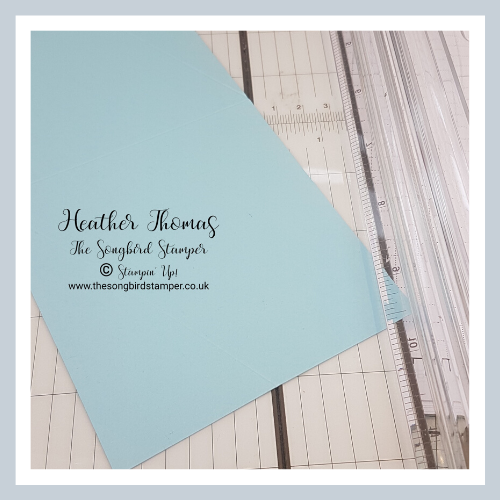
Next up is this matching treat holder. I was given something similar at On Stage in Dortmund and knew straight away that the design would become a firm favourite of mine. I just love the feel of this, its triangular shape and just how quick and easy it is to make when you get going. To start, you are going to need a piece of cardstock measuring 10cm x 21cm. Score it in half on the long side at 10.5cm and then make a little mark at each end of the short side, at the halfway mark, 5cm.
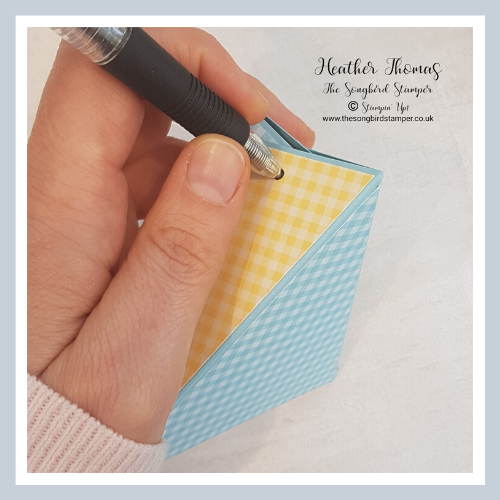
Using your paper trimmer but only the SCORING blade, line up both the little mark you made and the main middle score line on the groove of your trimmer, then score. You will need to do this four times, twice on each end.
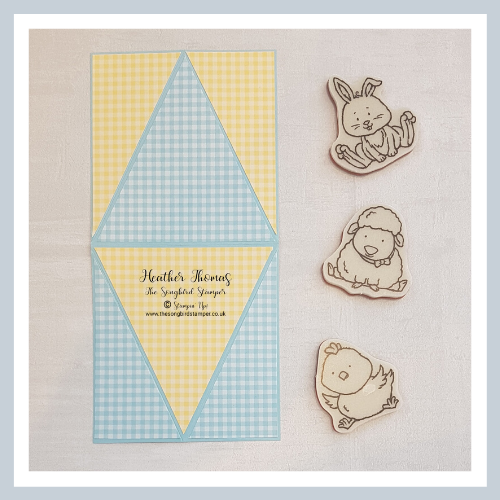
For the paper, I have used the subtles 6″ x 6″ paper stack, such gorgeous spring colours and of course they match with my cardstock and my colouring in too. I used one piece of Balmy Blue and one piece of So Saffron, cutting each to 10cm x 9.5cm. With the short (9.5cm) side at the top, you need fold the paper in half ever so gently, just to make a mark at the halfway point. When you have done this, line it up on your trimmer in the same way as we did above and then CUT from the mark to the bottom corner and repeat on the other side so that you have one large triangle and two smaller ones. Stick these onto your card as shown below – note those amazingly adorable little critters that come with the set!!
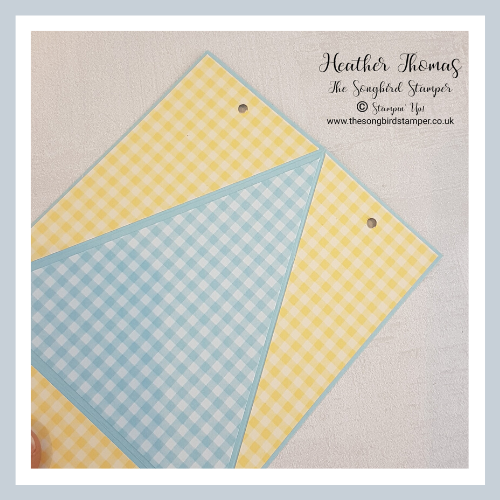
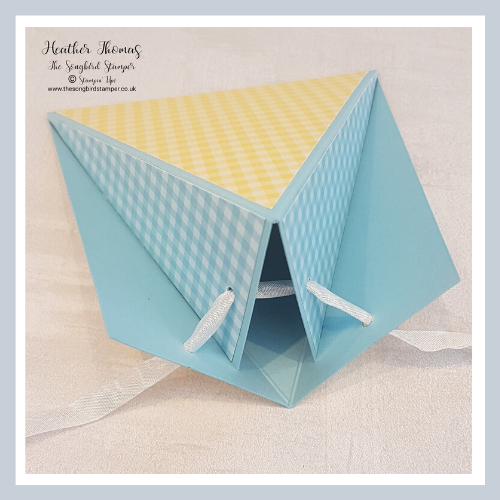
Next up, fold and burnish all of your score lines, then punch two small holes as shown in the picture below. To make sure the ones on the other side line up, close the box up and use a pen or pencil to make a mark through the punched hole before punching out the other two holes. Take a length of ribbon approximately 40cm and thread it through the holes as shown before pulling tight and tying in a bow – a picture paints a thousand words as they say!
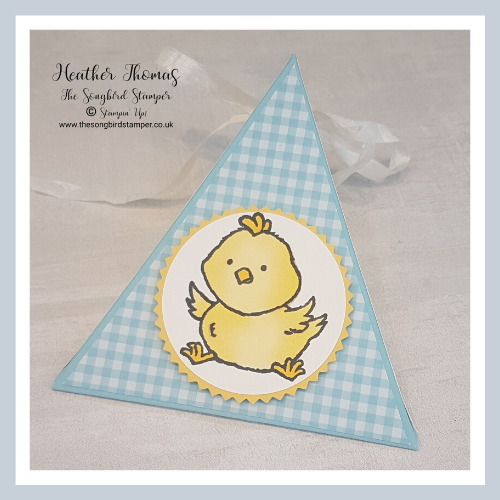
Finish off by replicating the stamping, punching and colouring from the card (see if you were paying attention!) and you are good to go! I used the white crinkle seam binding for the ribbon and it tied the most beautiful bow. This can also be coloured in with the Stampin’ Blends, so a fabulous ribbon to add to your craft stash.
If you are still with me then WELL DONE for sticking with it and THANK YOU for reading!! Don’t forget to come back after you have finished the hop to purchase any of the supplies you need simply by clicking on the photo links at the bottom of the page, but for now, enjoy hopping and seeing what the rest of the Casually Crafting Design Team have been up to.
Until next time, Happy Crafting and keep safe xx
 |  |  |  |
")
 Designer Series Paper")

 Circle Punch")


- Shop with me online – use Host Code SSDNFUA6 if spending between £25 and £150 to receive a FREE surprise from me in May.
- Click Here to come and join our amazing team of Songbird Stampers, a whole new world of fun and friendship (and discounts!!) await you. Want more information? Why not check out all the FAQs over on the Join My Team page
- Why not follow me on Facebook, for live videos, projects and updates – The Songbird Stamper
- Or Subscribe to me on YouTube – The Songbird Stamper
Lovely project Heather. Think I might be hopping back to you for the instructions at some point soon. Great hopping with you again this month. Stay safe, bx